Roof Boot Explained: What It Is and Why It Matters
Roof Boot Explained: What It Is and Why It Matters
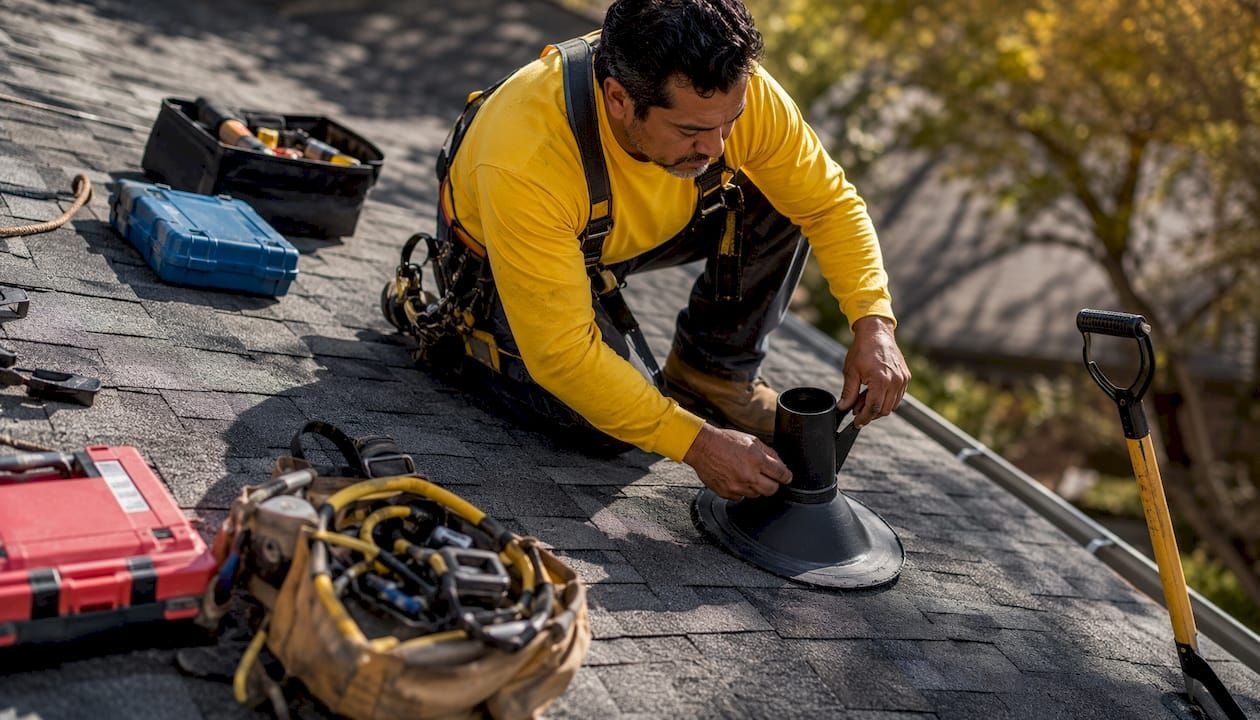
A roof boot, also called a pipe boot or vent boot, is a two-part flashing component that seals around pipes and vents where they punch through your roof. The flat base flange sits under your shingles; the cone-shaped rubber or metal collar wraps tightly around the pipe itself. Without it, every rain event sends water straight into your attic.
What you should do right now:
- Walk around your house and count the pipes sticking up through your roof (plumbing vents, HVAC exhausts, any antenna masts).
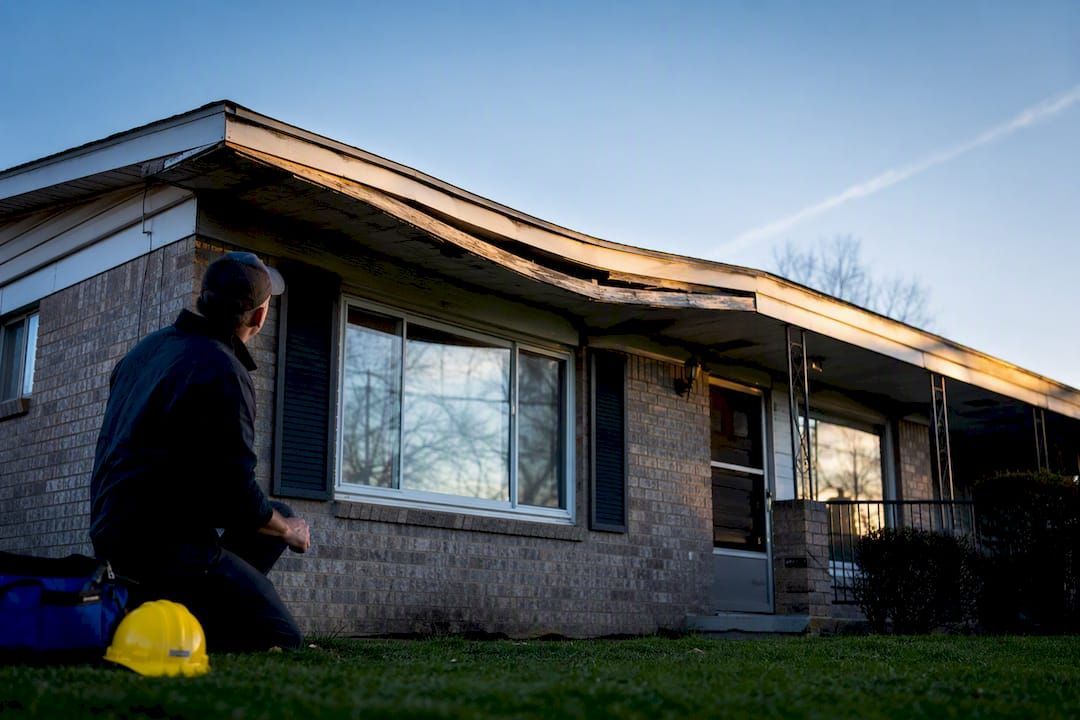
- From the ground, look for collars that appear cracked, shrunken, or pulling away from the pipe.
- If you see any of those signs, or if your boots are more than 10 years old, call a roofer for an inspection before the next rainy season.
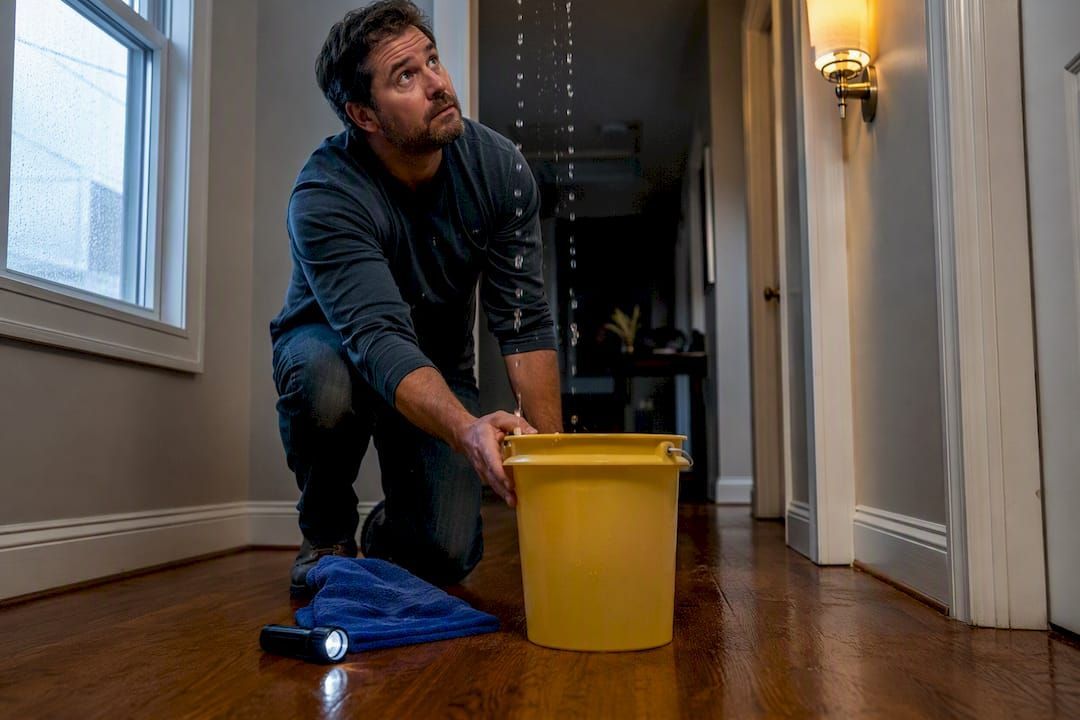
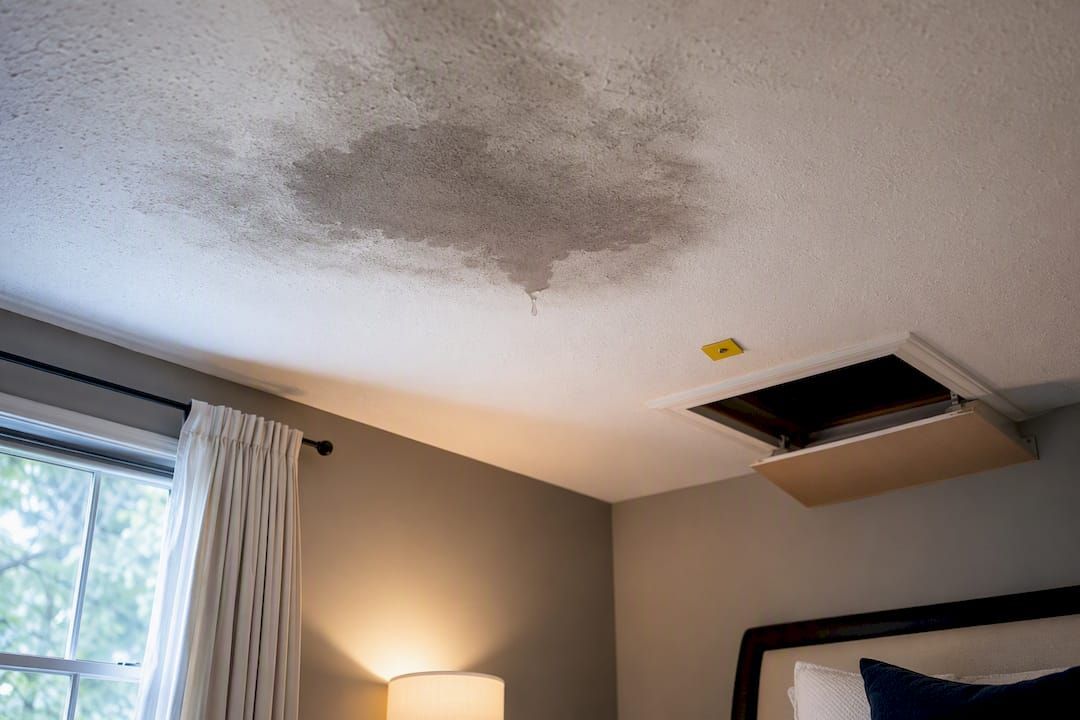
- If you notice ceiling stains below a vent pipe, treat it as urgent. That leak is already active.
What exactly is a roof boot and where do you find it?
A roof boot has two distinct parts working together. The base flange is a flat, roughly rectangular plate, usually galvanized steel or aluminum, that lays flush against the roof deck and slides underneath the upper shingles. The collar is the cone-shaped sleeve that rises from the center of that plate and compresses snugly around the pipe. Together they form a waterproof seal at one of the most vulnerable spots on any roof.
You will find roof boots wherever a round pipe penetrates the roof surface. The most common locations are plumbing vent stacks (those 3–4 inch pipes that let sewer gases escape), HVAC flue exhausts, and occasionally antenna or satellite mast poles. A typical house has anywhere from two to six of them, depending on the number of bathrooms and appliances vented through the roof.
From the ground, a boot looks like a short black or gray cone sitting at the base of a pipe. Up close on the roof, you can see how the base flange tucks under the shingles on the uphill side and laps over them on the downhill side. That shingle integration is what makes the whole system work. Understanding the residential roof layers helps clarify why that overlap sequence matters so much.
Why roof boots matter and what happens when they fail
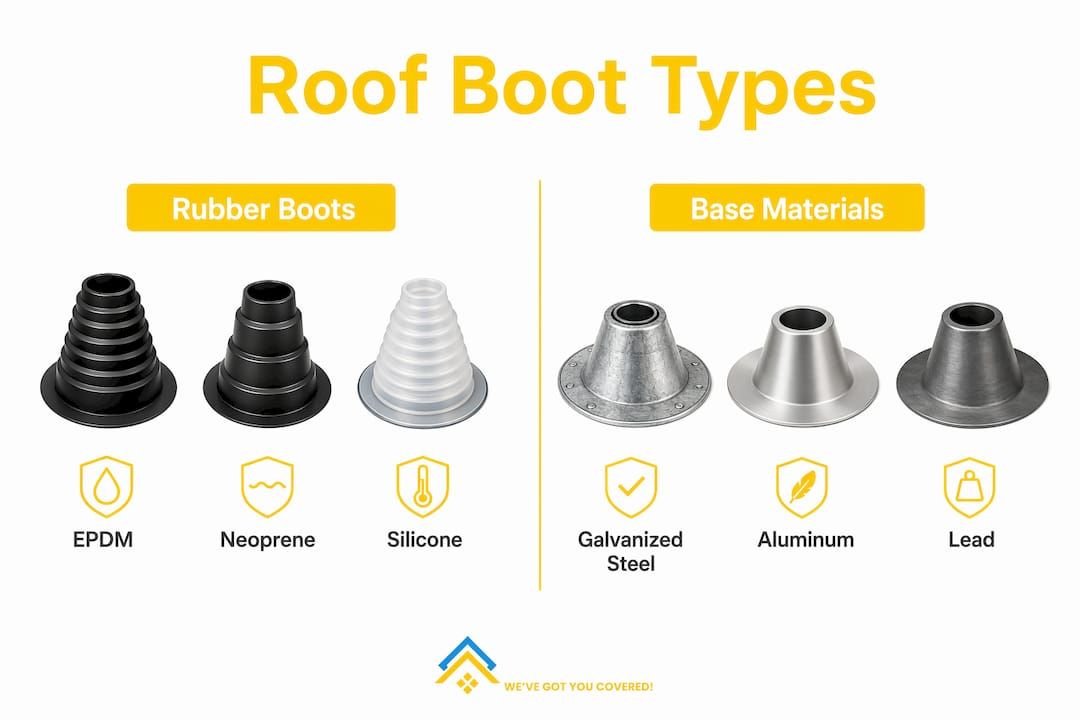
Roof boots seal around round roof penetrations to keep rainwater off the deck and out of the attic. A pipe punching through shingles creates a gap no shingle can bridge on its own, so the boot is the only thing standing between that gap and your insulation, joists, and drywall.
The failure sequence is predictable. A rubber collar develops a hairline crack from UV exposure. Rain works into the crack, runs down the pipe, and drips onto the attic insulation. The insulation stays wet, loses its R-value, and begins to grow mold. Eventually the roof deck beneath softens. By the time a ceiling stain appears in the room below, the damage is already weeks or months old.
Pipe boots account for roughly 30% of residential roof leaks , making them one of the highest-failure-rate components on an asphalt-shingle roof.
That figure is why roofers treat boot condition as a first-look item on any inspection. A $150 collar replacement, caught early, routinely prevents thousands of dollars in decking and interior repairs. The math is hard to argue with.
What types of roof boots are available and which material is right for you?
Roof boots come in several collar and base combinations. The collar material is usually what fails first, so that choice drives most of the decision.
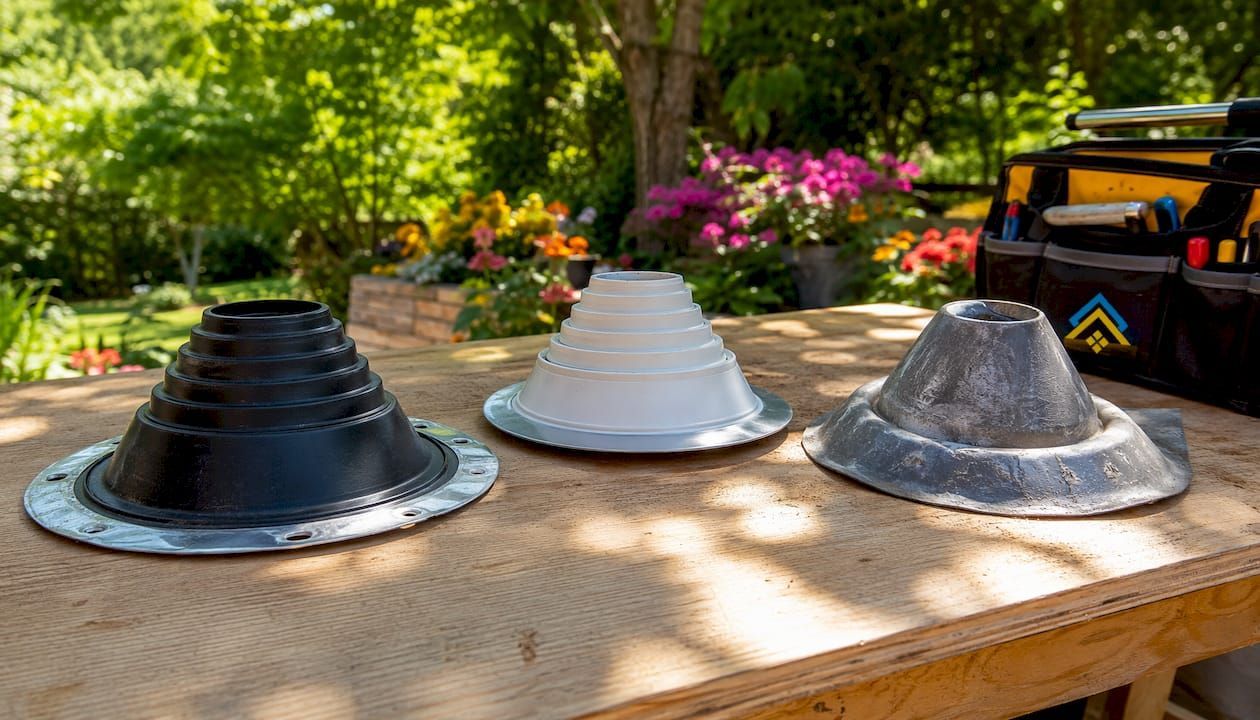
| Material | Lifespan | UV Resistance | Cost (approx.) | Best Use |
|---|---|---|---|---|
| EPDM rubber | moderate lifespan | Poor | Low | Budget replacement on moderate climates |
| Neoprene | moderate lifespan | Poor | Low | Similar to EPDM; slightly more flexible |
| Silicone | 15 years | Good | Moderate | High-UV climates; upgrade from rubber |
| Lead | 30+ years | Excellent | High | Long-term solution; manually formed to pipe |
| All-metal (aluminum/stainless) | Decades | Excellent | High | Premium installs; pairs with extended warranties |
Base flange materials follow a similar pattern. Galvanized steel is standard and lasts as long as most shingle roofs. Aluminum is lighter and corrosion-resistant. Stainless steel costs more but is the right call in coastal or high-humidity environments. Thermoplastic bases are common on low-slope and TPO roofs.
Lead boots deserve a special note. They are manually formed around the pipe on the roof, so they conform perfectly to any pipe diameter. They do not crack, shrink, or degrade from UV. The environmental concern with lead is real, but for a sealed, above-grade application on a pitched roof, most jurisdictions still permit them. Confirm local codes before specifying lead. For most homeowners replacing a single failed boot, a quality silicone collar on a galvanized base is the practical sweet spot. Premium all-metal pipe boot flashing installed by a certified contractor can carry extended leak warranties that rubber simply cannot match.
How roof boots fail and what causes each problem
Most boot failures fall into two categories: material degradation and installation errors. Knowing which one you are dealing with changes the repair strategy.
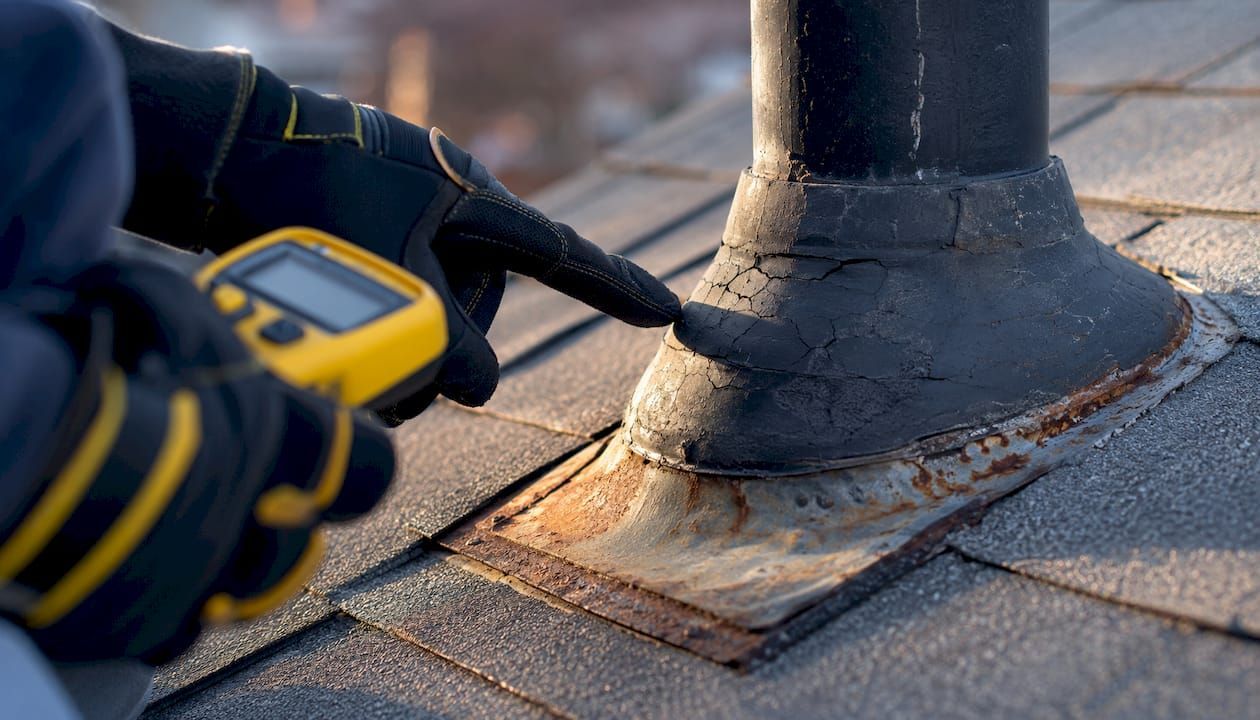
Material failures are the more common of the two. EPDM and neoprene collars absorb UV radiation year after year until the rubber becomes brittle. You will see surface chalking first, then radial cracks that spread outward from the pipe. Eventually the collar shrinks enough to pull away from the pipe entirely, leaving an open gap. Sealant applied over a cracked collar is a temporary measure at best. The base flange can also corrode, particularly on older galvanized steel in wet climates, though this takes longer than collar failure.
Installation errors cause leaks that show up much sooner, sometimes within months of a new roof. The most common mistake is laying the base flange on top of the upper shingles instead of sliding it underneath them. Water running down the roof then hits the uphill edge of the flange and channels directly under it. Insufficient fasteners, wrong fastener type for the roof material, and poor sealant application at the collar-to-pipe joint are the other frequent culprits. These are not DIY errors exclusively; they happen with rushed contractor work too. If you have a roof that leaks after rain and a boot was recently replaced, improper flange integration is the first thing to check.
Urgency guide: Active dripping in the attic or wet insulation directly below a vent pipe requires same-week attention. Surface chalking on the collar with no visible cracks can be monitored through the next inspection cycle.
How to inspect your roof boots safely
You do not need to walk the roof to get a useful first look. Start from the ground with binoculars or a phone camera with zoom. Then use a ladder to the eave if you are comfortable doing so safely. Only go on the roof itself if the pitch is low, the surface is dry, and you have proper footwear and a safety harness.
Inspection sequence:
- Ground-level scan. Identify every pipe penetration. Look for collars that appear dark, shrunken, or cracked. A collar in good shape looks smooth and snug against the pipe.
- Ladder check at the eave. If you can see the boot from the eave, look at the base flange. Is it sitting flat? Are the downhill shingles intact around it? Any lifted or missing shingles near the boot are a red flag.
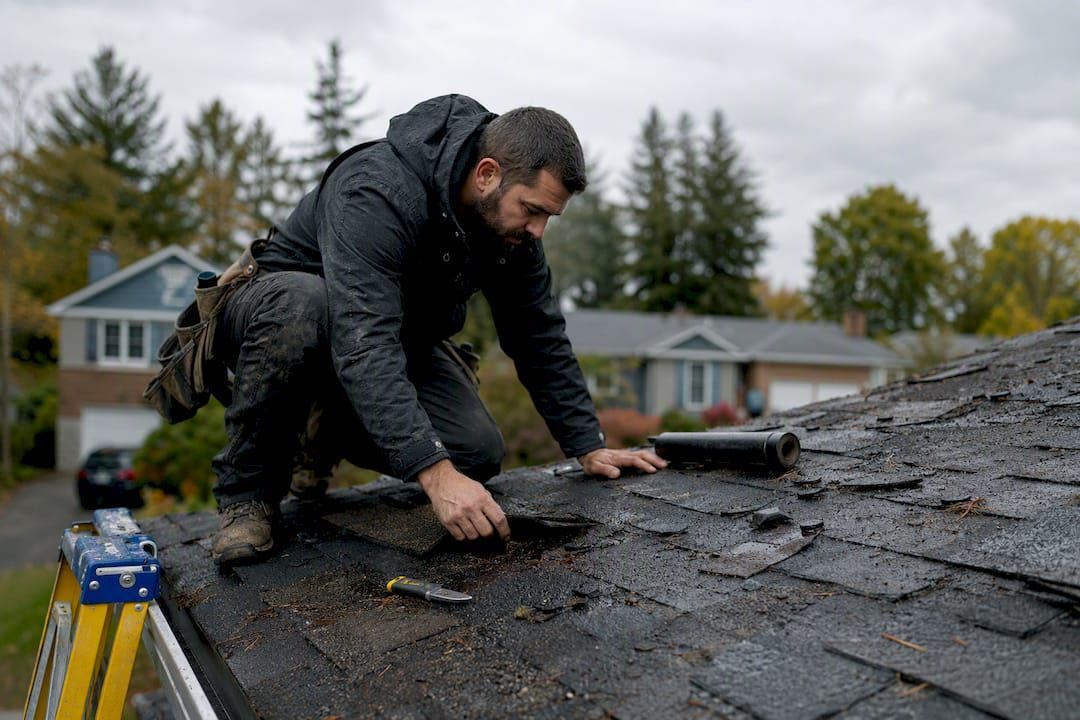
- Close inspection on the roof (if safe). Press gently on the collar. It should feel firm and spring back. A collar that crumbles or stays compressed is past its service life. Check fasteners for rust. Look at the sealant bead around the collar-to-pipe joint for gaps or peeling.
- Attic check. On a bright day, go into the attic and look for daylight around any vent pipe. Check the insulation directly below each boot for discoloration or dampness. Water stains on the decking or rafters confirm an active or recent leak.
- Document everything. Take a wide shot showing the boot in context, a close shot of the collar, and an attic shot if you found staining.
Pro Tip: Before calling a roofer, send those three photos in your first message. A contractor who can see the collar condition, the flange seating, and any attic staining can give you a much more accurate quote without a preliminary visit, and it filters out contractors who quote without looking.
Including boot checks in your annual roof inspection checklist takes less than 15 minutes and catches the majority of failures before they become interior damage.
Repair options: when a patch works and when you need a full replacement
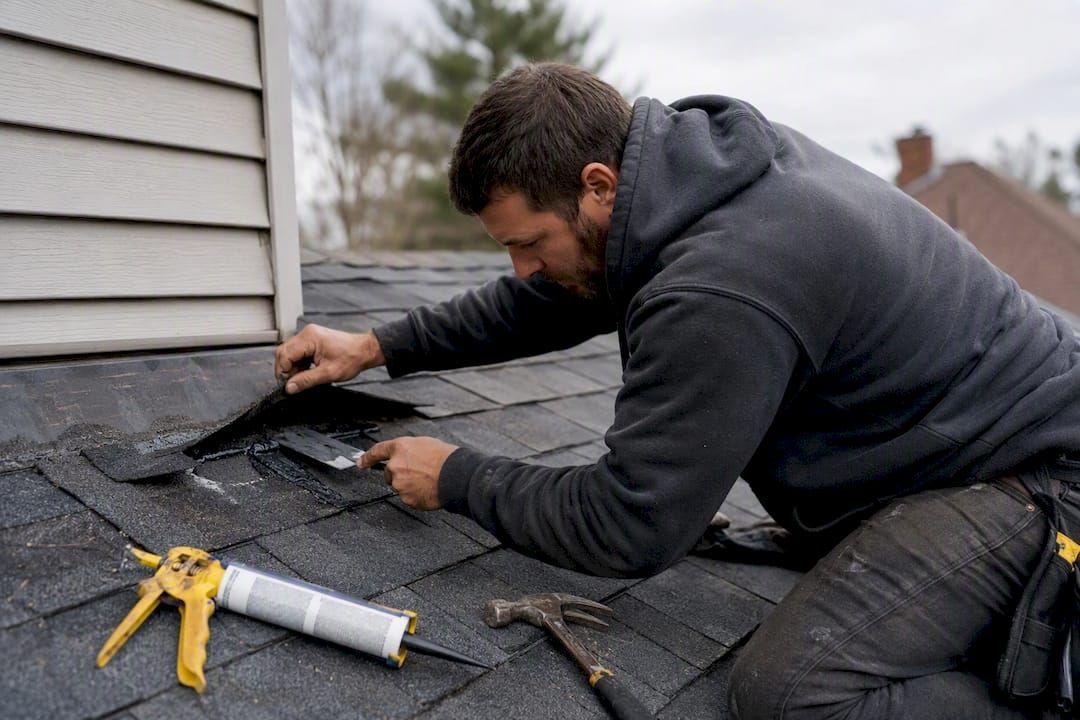
A tube of silicone caulk applied to a cracked collar will stop a drip for a season. That is the honest ceiling on DIY patching. The rubber is already degraded; caulk cannot restore its elasticity or adhesion to the pipe. Plan on a proper replacement within 12 months if you go this route.
Storm-collar retrofits are a step up from caulk. A metal storm collar clamps around the pipe above the boot and is sealed with butyl tape or caulk. It redirects water away from the cracked collar below. Retrofit storm collars run $90–$200 installed and buy meaningful time, but they do not fix the base flange or address any decking damage underneath.
Full replacement is the right call when:
- The collar has radial cracks or has pulled away from the pipe.
- The base flange is corroded, warped, or was never properly seated under the upper shingles.
- There is any sign of decking softness or rot around the boot. A roof deck repair adds cost but cannot be skipped once the wood is compromised.
- The boot is more than 10–12 years old and you are already on the roof for another repair.
A confident DIYer can replace a boot on a low-pitch roof with the right materials and a few hours. The critical step, sliding the new base flange under the upper shingles without cracking them, is where most DIY attempts go wrong. On any roof steeper than a 4:12 pitch, or on tile or metal roofing, hire a pro.
What roof boot repair and replacement actually costs in 2026
Rubber collars typically last 8–12 years; the base flange generally lasts as long as the shingles around it. Lead and all-metal boots can last decades. Budget for collar replacement on the same cycle as your roof's mid-life inspection.
| Repair Type | DIY Cost | Pro Cost | Notes |
|---|---|---|---|
| Rubber/EPDM collar replacement | $30 | $150–$200 | Most common repair |
| Storm-collar retrofit | $20 | $90–$200 | Temporary fix only |
| Full boot + base replacement | $50 | $250–$600 | Includes lifting shingles |
| Lead boot replacement | $80 | $350 | Longer lifespan justifies cost |
| Decking repair (if needed) | Varies | Add $200–$600+ | Depends on rot extent |
Most homeowners pay a moderate amount for a single pro boot replacement, with costs varying based on roof complexity and location. Complex roofs, steep pitches, or multiple failing boots push costs toward $1,000 and above. Labor accounts for the majority of the total on most jobs. The boot itself is rarely the expensive part.
How a correct roof boot installation works
Understanding the installation sequence helps you evaluate a contractor's quote and spot shortcuts before they become leaks.
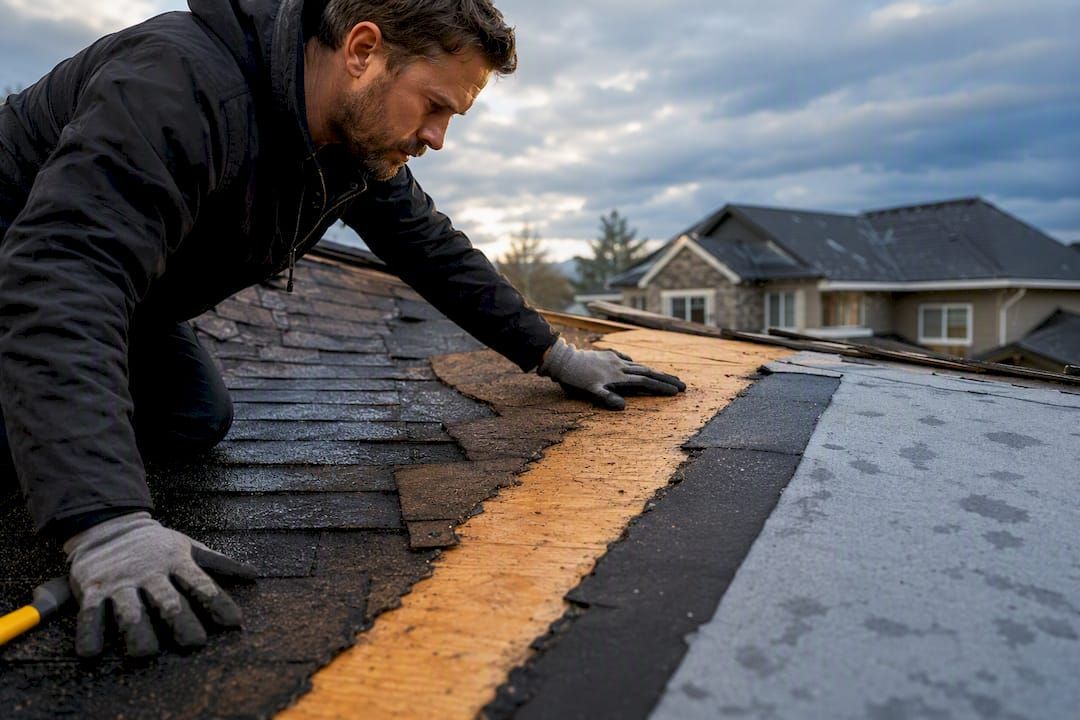
- Remove the surrounding shingles. The upper shingles covering the base flange must come off cleanly. Rushing this step cracks shingles and creates new leak points.
- Pull the old boot. Remove all fasteners and lift the old base flange. Inspect the decking underneath for soft spots or staining.
- Slide the new base under the upper shingles. The uphill edge of the new flange goes under the shingles above it. This is the step that separates a watertight installation from one that leaks in the first heavy rain. Improper flange integration is the most common installation error roofers see.
- Fasten the base. Use roofing nails or screws appropriate for the roof material. The downhill edge laps over the lower shingles and is fastened through them.
- Seat and seal the collar. Slide the collar down the pipe until it compresses against the base. Apply a compatible sealant at the collar-to-pipe joint per the manufacturer's spec.
- Replace the shingles. Reinstall or replace the lifted shingles, sealing any exposed nail heads.
A storm-collar retrofit skips steps 1 through 4 entirely. It is faster and cheaper, but it leaves the degraded base flange in place. That distinction is why roofers call it a stop-gap, not a repair.
Simple maintenance steps that extend a roof boot's life
Most boot failures are predictable and preventable with a short annual routine.
Annual tasks: Walk the perimeter and scan every boot with binoculars after the first heavy rain of the season. Look for water tracks on the pipe below the collar, which indicate the seal has broken. Clear any debris (leaves, pine needles) that packs against the base flange and holds moisture.
Every 3–5 years: Have a roofer do a hands-on inspection of every boot, not just a visual from the ground. A roofer can press-test the collar and check fastener condition in a few minutes per boot.
At reroof time: Always replace rubber boots when you replace the shingles. Installing new shingles over a 10-year-old rubber collar guarantees a callback within a few years. Upgrading to silicone or lead at reroof time adds minimal cost relative to the labor already being paid.
Pro Tip: If you live in a high-UV climate like Northern California, silicone collars are worth the modest price premium over EPDM. They handle the sun significantly better and can double the service interval between replacements.
A roof longevity checklist that includes boot condition alongside shingle and flashing checks gives you a complete picture of where your roof stands each season. Pairing that with a roof maintenance plan means nothing gets missed between inspections.
When to call a licensed roofer and what to ask them
Some boot problems are genuinely DIY-friendly. Others require a licensed contractor, and knowing the difference saves money and prevents worse damage.
Call a pro when:
- You find wet insulation or active dripping in the attic below a vent pipe.
- The decking around the boot feels soft when you press on it from the attic.
- You have multiple boots failing at once, which usually signals the whole roof is approaching end of life.
- Your roof pitch is steeper than 4:12, or the surface is tile, slate, or metal.
- The original installation was done incorrectly and the base flange was never properly seated.
Questions to ask before you hire:
- Are you licensed and insured in this state? Ask for the license number and verify it.
- Does the repair include lifting the shingles and replacing the base flange, or only the collar?
- What warranty do you offer on labor, and what does it cover?
- Will you inspect the decking under the boot and include any needed repairs in the quote?
- Do you carry manufacturer certifications (such as GAF certification) that extend material warranties?
Get at least two quotes. A quote that only mentions "sealing the boot" without mentioning shingle removal is almost certainly a collar-only patch, not a full replacement. Ask directly what the scope includes.
Why professional installation and inspection matter
At Upstateroofingpros, every roof inspection includes a hands-on check of every pipe boot on the property, not just a visual scan from the ladder. The team checks collar flexibility, base flange seating, fastener condition, and attic signs of past leakage. That process catches the boots that look acceptable from the ground but are already failing at the collar-to-pipe seal.
The difference between a proper replacement and a storm-collar retrofit shows up clearly over time. A homeowner who patches a cracked collar with a retrofit may spend $150 today and $3,000 in decking and drywall repairs two years later. A full replacement done correctly, with the base flange properly integrated under the upper shingles, typically holds for the life of the surrounding shingles. Upstateroofingpros uses premium materials and backs installation work with a labor warranty, details available on the roof warranty page.
Key Takeaways
A roof boot is a small component with an outsized impact on roof integrity: a failed rubber collar is responsible for roughly 30% of residential roof leaks, yet a timely replacement costs a fraction of the interior damage it prevents.
| Point | Details |
|---|---|
| Rubber collars fail relatively quickly; inspect them regularly, especially in high-UV climates. | |
| Proper installation is critical: The base flange must slide under the upper shingles; a collar-only patch without lifting shingles is a temporary fix. | |
| Replacement cost is manageable | Most homeowners pay $150–$450 for a pro boot replacement, far less than the interior damage a slow leak causes. |
| Upgrade at reroof time | Replacing rubber boots with silicone or lead when you reroof adds minimal cost and extends service life significantly. |
| Upstateroofingpros inspects every boot | Their inspection process checks collar condition, base seating, and attic signs, and backs repairs with a labor warranty. |
The one thing most homeowners get wrong about roof boots
The conventional wisdom says "caulk it and check it next year." Every experienced roofer has seen where that ends. The caulk holds through one dry summer, fails in the first freeze-thaw cycle or heavy UV season, and the homeowner discovers the problem when a ceiling stain appears in the living room.
What actually matters is not the sealant on top of the collar; it is whether the base flange is correctly seated under the upper shingles. A boot with a perfect collar and a misseated flange will leak. A boot with a slightly weathered collar and a correctly integrated flange will often stay dry for years. Homeowners focus on the visible part (the collar) and miss the part that does the real waterproofing work (the flange). The next time you get a boot repair quote, ask specifically whether the contractor plans to lift the shingles and check the flange. If the answer is no, you are buying a patch, not a repair.
Upstateroofingpros can inspect and fix your roof boots
A failing roof boot rarely announces itself until the damage is already done. Upstateroofingpros offers roof boot inspections and repairs across Northern California, including Sacramento, Roseville, and surrounding areas. The team handles everything from a single cracked collar to a full multi-boot replacement with decking repair, using premium materials that outlast builder-grade rubber by years.

If you have spotted a cracked collar, noticed a ceiling stain, or simply have not had your boots checked in the last few years, the right move is a professional inspection before the rainy season. Upstateroofingpros provides a detailed roof inspection that covers every penetration on your roof, with a written report and a clear repair quote. Request your inspection today and know exactly where your roof stands.
Useful sources and further reading
-
Roof Vent Pipe Boot: Failure Point & Replacement | The Roofing Brief — The primary source for rubber collar lifespan (8–12 years), the 30% leak-share statistic, and the cost-effectiveness argument for proactive replacement.
-
Pipe Boot Flashing Component Guide | CapOut — Covers material types including EPDM, neoprene, lead, and all-metal options with UV degradation and lifespan comparisons.
-
Using Pipe Boot Flashing for a Roof Leak Repair | GAF — Installation best practices from a major manufacturer, including the correct shingle integration sequence and the limitations of storm-collar retrofits.
-
How Much Does It Cost to Replace Roof Vent Boots | Angi — U.S. cost data with an average around $400 and a typical homeowner range of $250–$600; useful for budgeting.
-
Roof Repair Cost Guide 2026 | The Roofing Brief — Broader repair cost context including storm-collar retrofit pricing ($90–$200) and full replacement ranges.
-
Vent Pipe Boot Replacement Cost | CurrentCost.org — Detailed U.S. cost breakdown by line item (boot, labor, flashing, permits, disposal) with low/average/high ranges for budgeting.
Recommended
Recent Posts