
Why Roofs Need Ice Protection to Stop Winter Leaks
Ice protection stops water from ice dams and wind-driven rain from working under your shingles and into your home. The threat comes from heat loss inside your house that melts roof snow, sends it sliding down to a cold eave, and refreezes it into a dam that traps more water behind it. Building codes and roofing manufacturers both call for a self-adhering membrane at the eaves, valleys, and roof penetrations to catch what that dam lets through.
- Immediate risk: Backed-up meltwater can reach your attic and ceilings within a single freeze-thaw cycle.
- Long-term prevention: Air sealing, insulation, and ventilation stop dams from forming in the first place; membrane is the backup plan.
- When to call a pro: Active interior leaks, ice buildup you can't safely reach, or repeat dams in the same spot.
Key Takeaways
Ice protection works because it seals the exact spots where ice-dam meltwater backs up, while air sealing and insulation stop the dam from forming at all.
| Point | Details |
|---|---|
| Ice dams start with heat loss | Warm air escaping into the attic melts snow that refreezes at the cold eave, building a dam. |
| Membrane targets high-risk zones | Eaves, valleys, and penetrations get self-adhering coverage because that's where water backs up. |
| Code sets a 24-inch minimum | The IRC requires ice barrier coverage 24 inches past the wall line in cold climates. |
| Fix the cause, not just the symptom | Air sealing, insulation, and ventilation stop dams; membrane is the backup protection. |
| Upstate Roofing handles both | Inspections, insulation and air-sealing work, and ice and water shield installation come from one contractor. |
What Is an Ice Dam and How Does It Form?
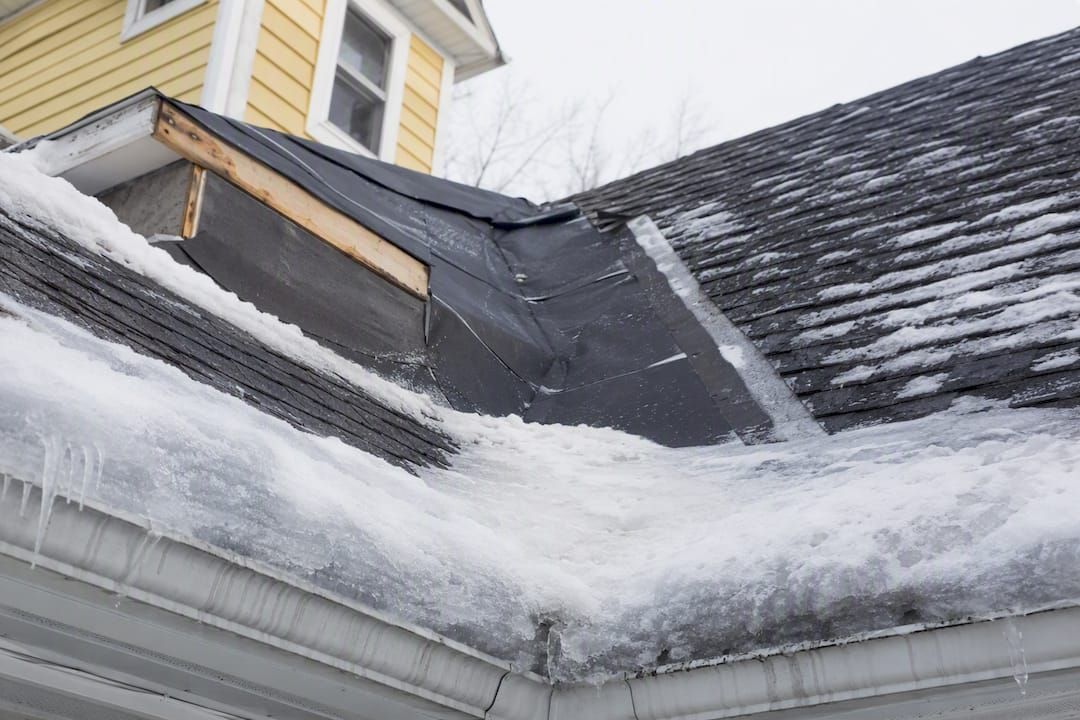
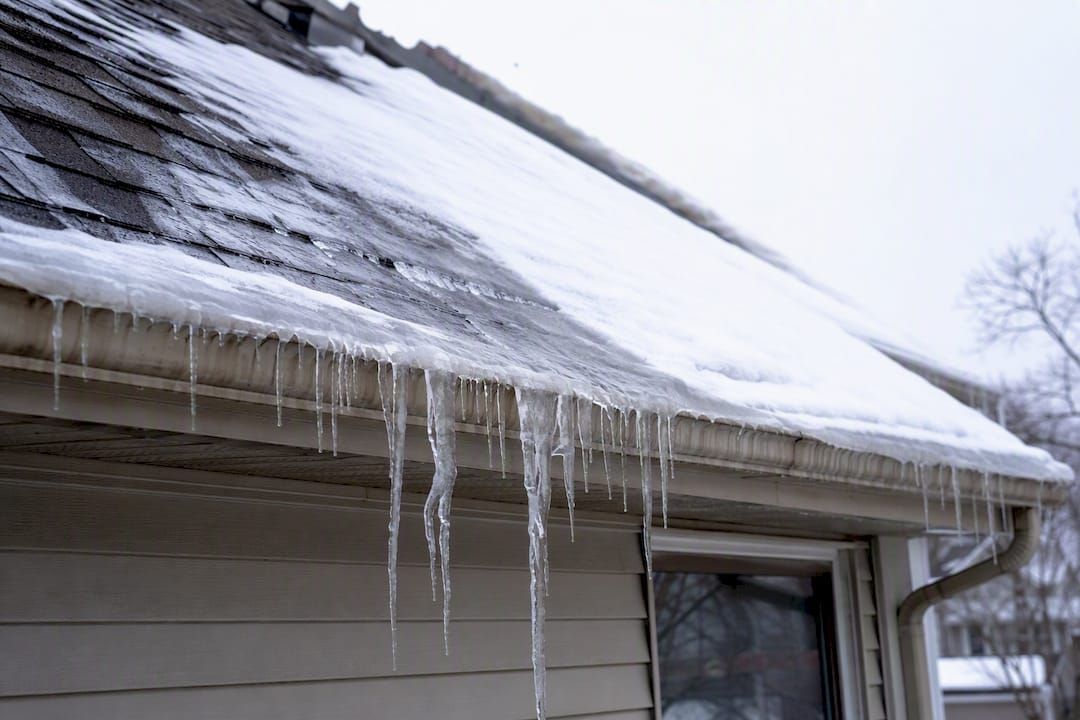
An ice dam is a ridge of ice that forms at your roof's edge and blocks melted snow from draining off normally. It happens through a predictable melt-refreeze cycle: heat escaping from your living space warms the upper roof deck, that warmth melts the snow sitting on it, and the resulting water runs downhill until it hits the cold overhang past your exterior wall, where it freezes again. Each cycle adds another layer of ice, and eventually the dam holds back a pool of water with nowhere to go but under your shingles.
Several conditions make this worse:
- Inadequate attic insulation letting heat rise straight to the roof deck.
- Air leaks around recessed lights, chimneys, and plumbing stacks feeding warm air into the attic.
- Blocked or missing soffit-to-ridge ventilation that traps heat instead of flushing it out.
- Roof geometry like valleys and low-slope sections that collect water and snow.
- Dark shingles absorbing solar heat even on cold days, accelerating melt unevenly across the roof.
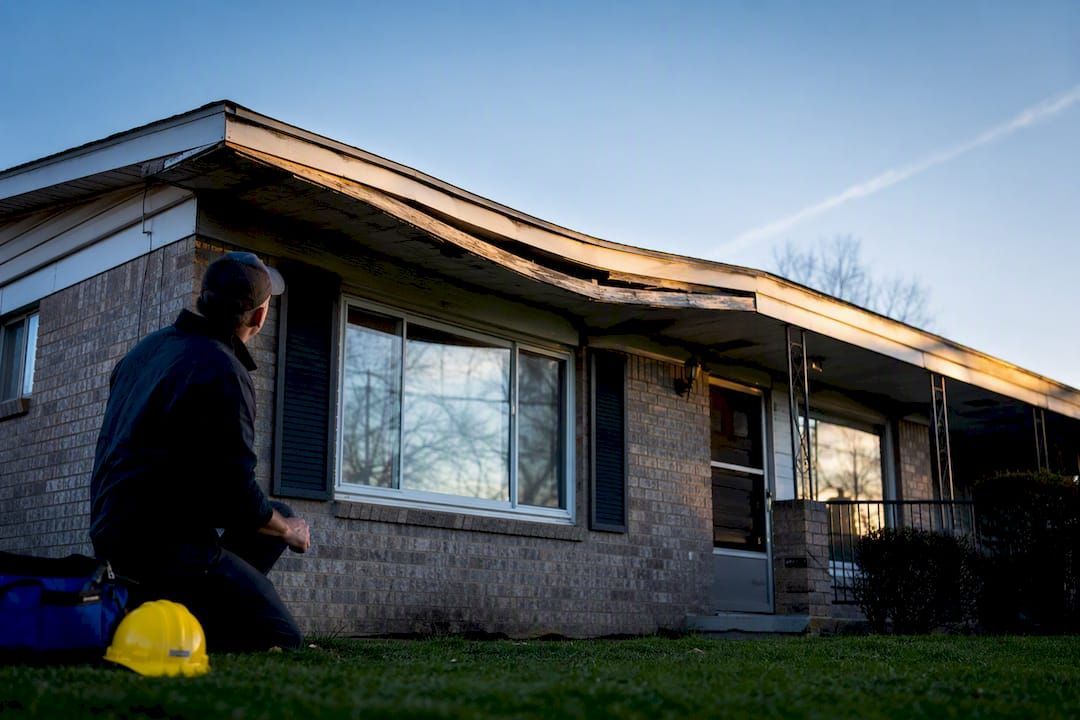
Pro Tip: Walk your property after a snowfall and look at the roof from the ground. Patchy melt, snow that's disappeared over parts of the attic but not the eaves, or long icicle bands along the gutter line are early warning signs of a warm roof deck. It doesn't take much snow accumulation on a poorly insulated roof to start this cycle, which is why the Asphalt Roofing Manufacturers Association points to air sealing and insulation as the real long-term fix, not just membrane alone.
How Ice Dams and Trapped Water Damage Your Roof
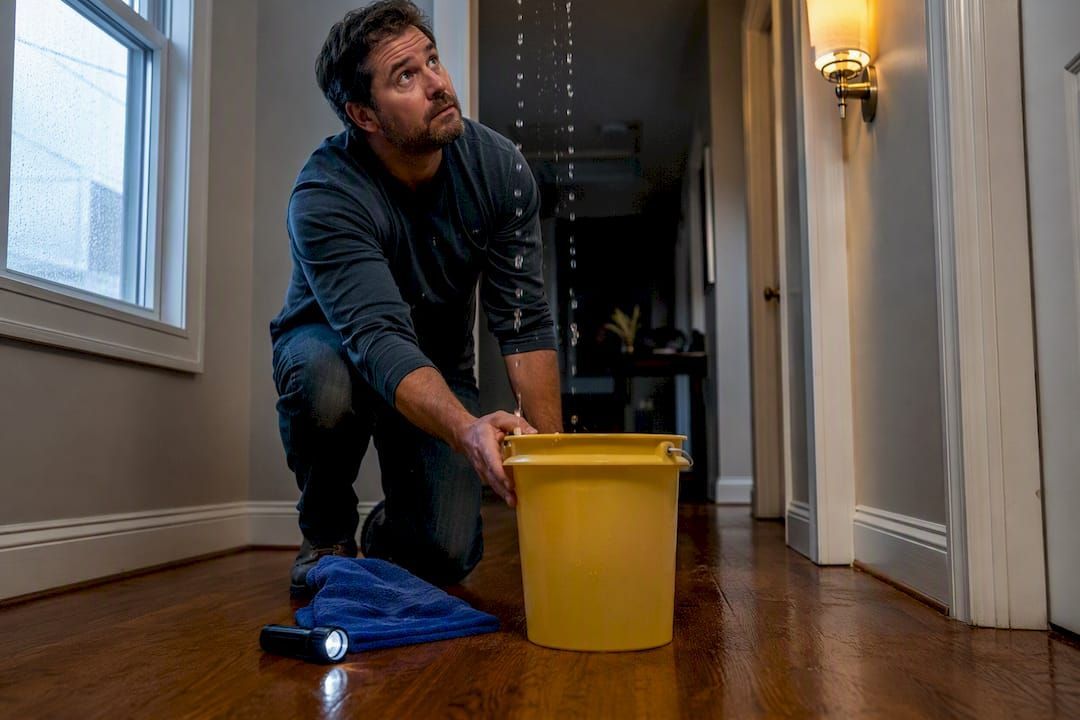
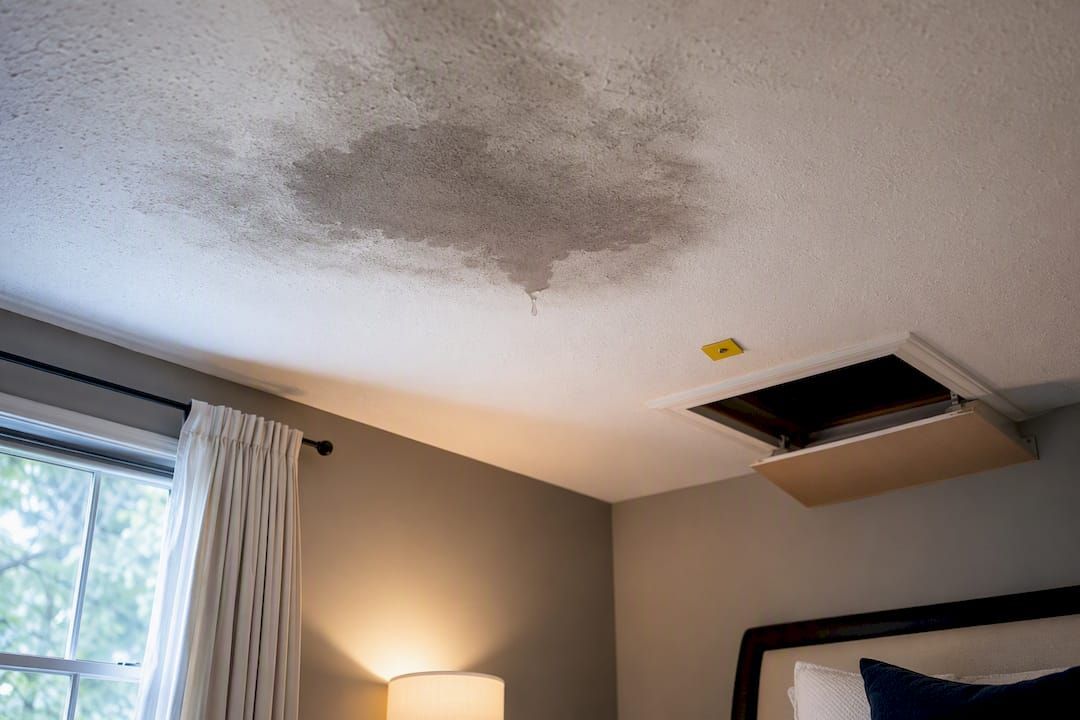
Once water backs up behind a dam, it finds every gap in your roofing system. It seeps under shingles, soaks into the roof deck, and drips into attic insulation before showing up as ceiling stains or peeling paint indoors. According to UMN Extension, that backed-up meltwater is a direct path into attics, walls, and living spaces once it gets past the shingle line.
The damage tends to spread beyond the obvious leak point:
- Fascia and soffit boards rot from repeated soaking.
- Wet insulation loses much of its R-value, driving up heating bills even after the leak stops.
- Drywall staining and bubbling paint show up on ceilings and upper walls.
- Mold can take hold in damp insulation and framing within days.
- Hardwood floors and finishes warp if water tracks down through wall cavities.
Watch for musty smells, discolored ceiling patches near exterior walls, or peeling paint near the roofline. These are usually the first visible clues that something has been happening above you for longer than you'd think.
What Ice and Water Shield Actually Does
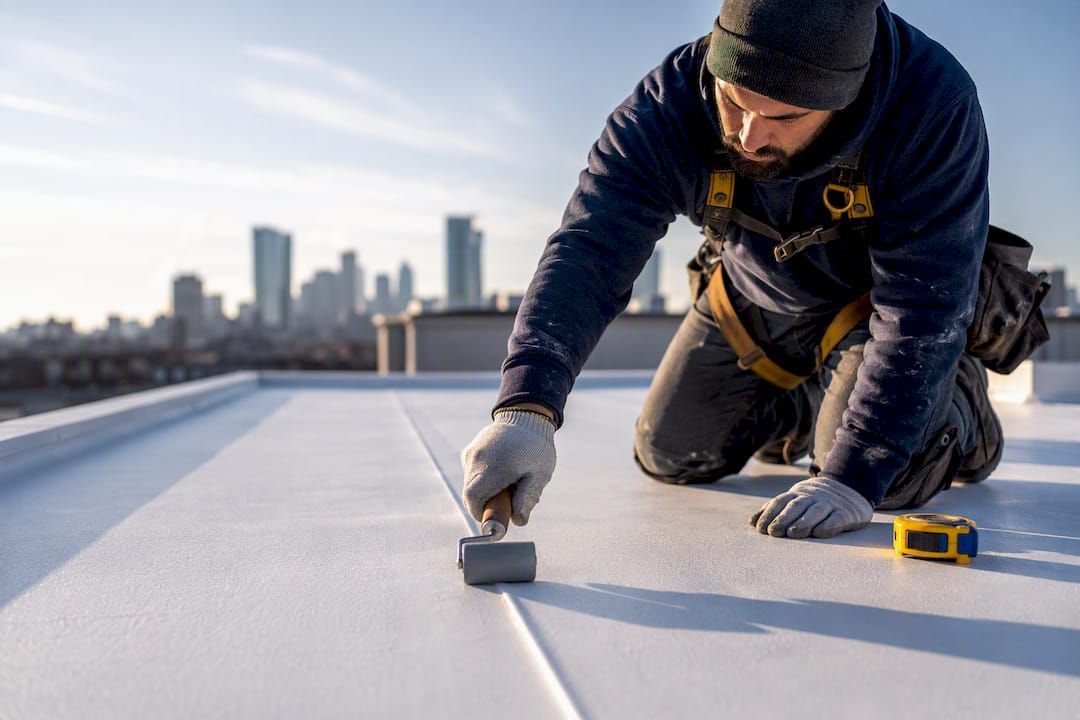
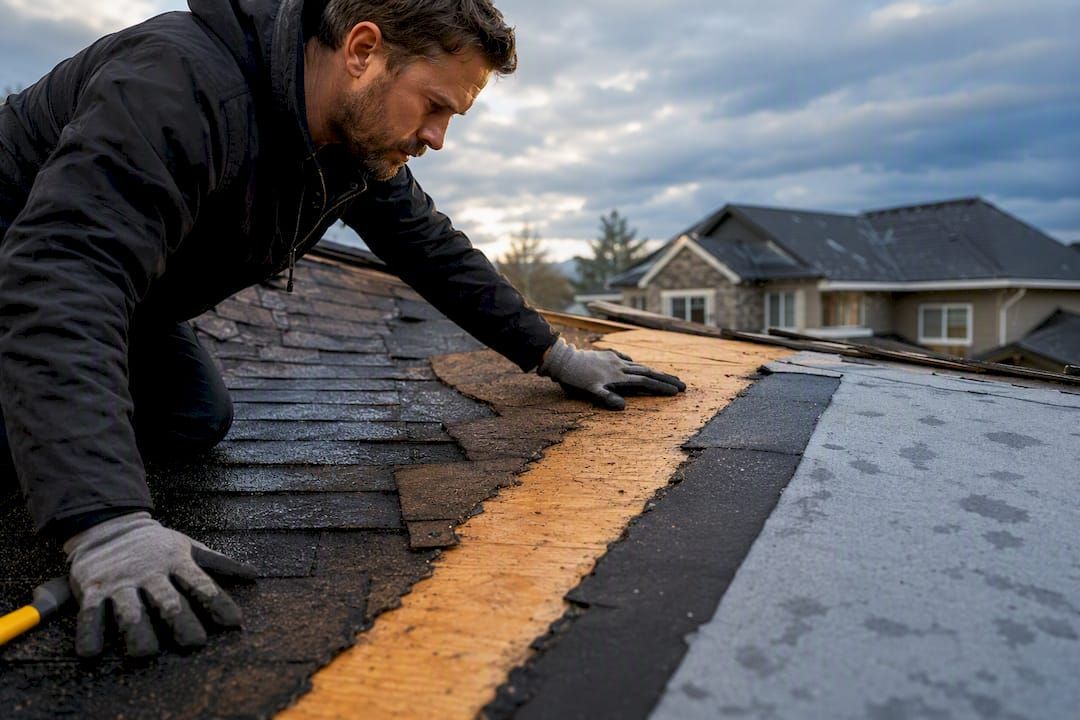
Ice and water shield is a self-adhering, polymer-modified bitumen membrane installed under your roofing material at the areas most exposed to backed-up water. Unlike standard felt or synthetic underlayment, it forms a fully bonded, waterproof layer that seals tightly around every nail and staple driven through it. Standard underlayment sheds water moving downhill; it isn't built to hold back standing water that ice dams create, which is why West Country Roofing draws a clear line between the two products for eaves and valleys specifically.
What makes it work:
- It bonds directly to the roof deck, so there's no gap for water to travel through.
- The membrane self-seals around fastener penetrations instead of leaving pinholes.
- It resists standing and backed-up water, not just water flowing in one direction.
- It adds a layer of protection against wind-driven rain, not only ice.
- It's suited to low-slope sections where water drains slowly regardless of season.
You'll see manufacturers like W.R. Grace (Grace Ice & Water Shield) and IKO offering their own versions of this membrane, each with installation guidance tailored to their product lines. The concept is the same across brands: a waterproof barrier where your roof needs it most.
Where Your Roof Needs Ice Protection
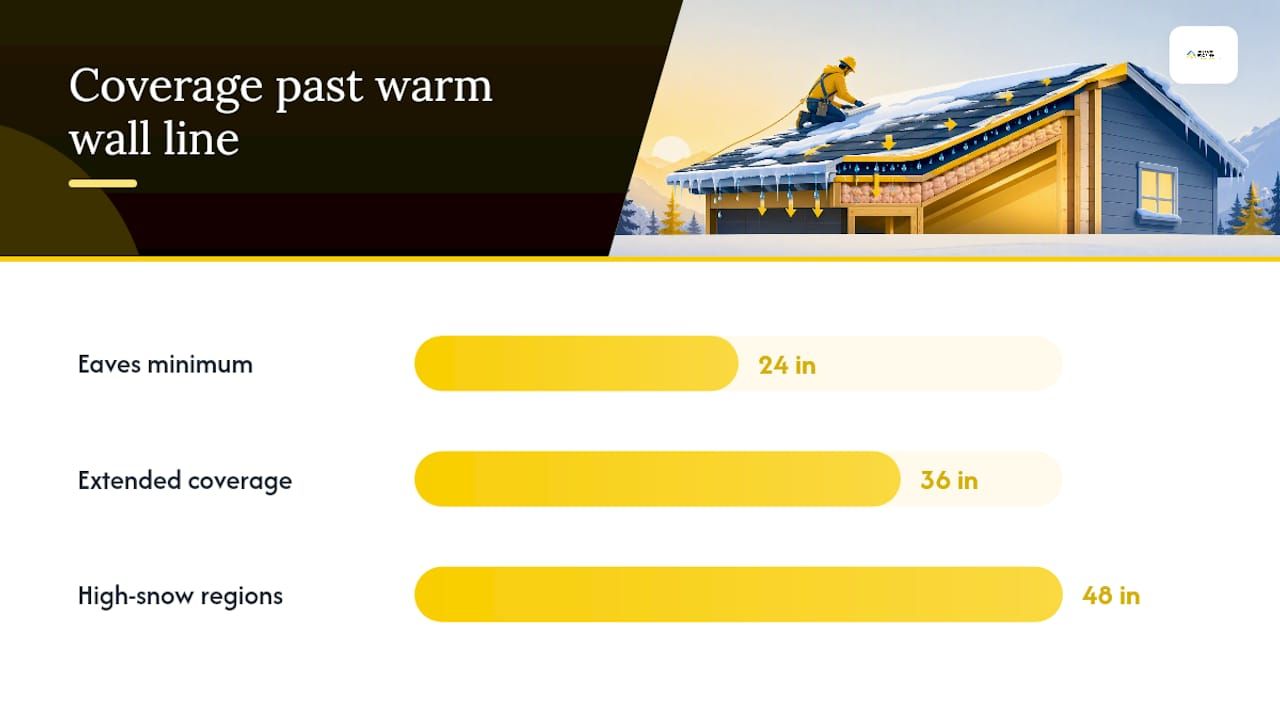
Membrane coverage isn't spread evenly across a roof. It targets the spots where water is most likely to pool or back up. BASC/PNNL guidance recommends installing it at eaves extending at least 24 inches past the interior line of your exterior wall, often called the "warm wall line" because it marks where heated living space ends and the cold overhang begins.
Beyond the eaves, coverage typically includes:
- Roof valleys, where two slopes funnel water into a single, high-volume channel.
- Around chimneys, skylights, and vent penetrations, which is where BCP Inc. flags the highest leak risk on most roofs.
- Low-slope sections under a 4:12 pitch, where water drains too slowly to rely on shingles alone.
Homes with cathedral ceilings, poor attic ventilation, wide overhangs, or north-facing slopes that hold snow longer often call for extended coverage. Contractors in colder or high-snow regions commonly push past the 24-inch minimum to 36 or even 48 inches for exactly that reason.
Fixing the Real Cause: Insulation, Air Sealing, and Ventilation
Membrane protects your roof deck, but it doesn't stop ice dams from forming. That takes reducing the heat loss that melts snow in the first place, and Building Science Corporation points squarely at attic air leakage as the main driver worth fixing.
Work through these steps in order when planning a fix with a contractor:
- Seal attic air leaks around recessed lighting, plumbing chases, chimneys, and attic hatches.
- Upgrade insulation to reduce heat transfer into the attic space, especially over living areas below.
- Restore continuous ventilation from soffit to ridge so any residual heat gets flushed outside instead of warming the roof deck.
- Add ice and water shield at vulnerable areas as a backup against whatever heat loss you haven't fully eliminated.
Contractors often use a blower door test or an infrared scan on a cold day to pinpoint exactly where warm air is escaping, since guesswork rarely finds every leak.
Pro Tip: Recessed lights, knee walls, and plumbing chases are the usual repeat offenders for hidden air leaks. Cathedral ceilings complicate this because there's little to no attic space to insulate or ventilate, which often means leaning more heavily on membrane coverage as a practical trade-off.
Maintenance and Emergency Steps You Can Take Now
Routine care keeps small problems from becoming big ones. Keep gutters clear so meltwater has somewhere to go, and remove excess roof snow with a roof rake worked from the ground rather than climbing up yourself.
If you're already dealing with an active ice dam:
- Create a drainage channel through the dam using warm water on a mild day, working from the eave upward.
- Set buckets or towels indoors under any active drip to protect ceilings and floors.
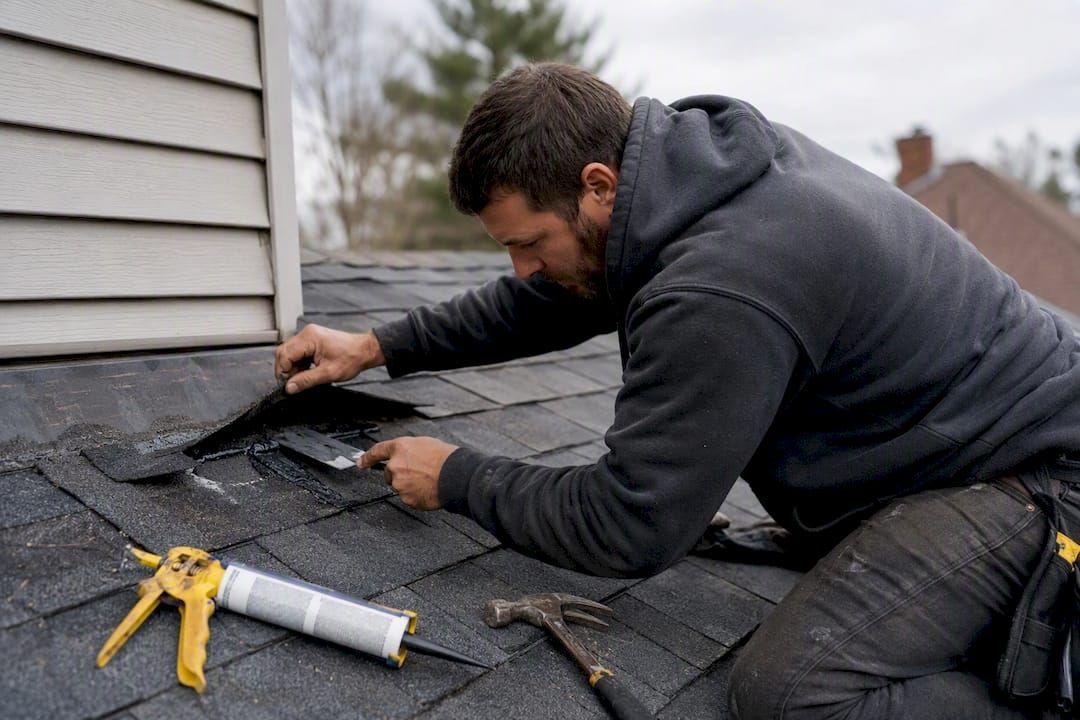
- Inspect flashing around chimneys and vents once the snow clears for early signs of damage.
- Never use an open flame, salt in excess, or sharp tools to chip at ice. Both practices can damage shingles or start a fire.
UMN Extension is direct about this: call a professional for anything involving roof access or a stubborn dam. If water is already inside your walls or ceiling, professional leak detection and repair finds the entry point before more damage spreads.
What Building Codes Require for Ice Protection
The 2021 International Residential Code requires an ice barrier from the eave to at least 24 inches inside the exterior wall line in any area with an average January temperature at or below about 25°F. Valleys and penetrations need protection regardless of climate zone.
- Long overhangs or regions with heavy snowfall often call for coverage beyond the code minimum.
- Manufacturers and experienced roofers frequently recommend coverage greater than the code minimum in consistently cold climates to account for additional risk.
- Installed membrane costs typically run $0.50 to $1.20 per square foot, depending on region and roof complexity.
How a Roofing Contractor Diagnoses and Fixes Ice-Dam Risk
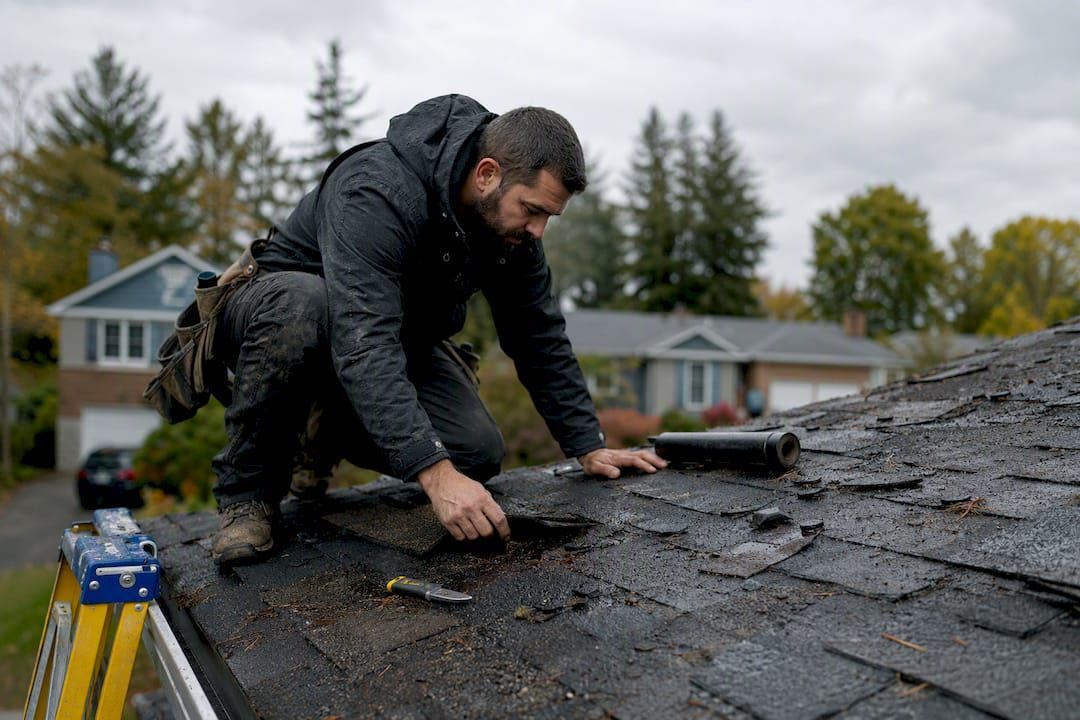
A thorough evaluation starts with a visual roof inspection, then moves into the attic to check insulation depth and look for air leaks. Contractors often follow up with a blower-door or smoke test, and an infrared scan on a cold day, to map exactly where heat is escaping into the roof deck.
Typical fix sequence:
- Seal attic air leaks and repair or upgrade insulation.
- Correct ventilation gaps from soffit to ridge.
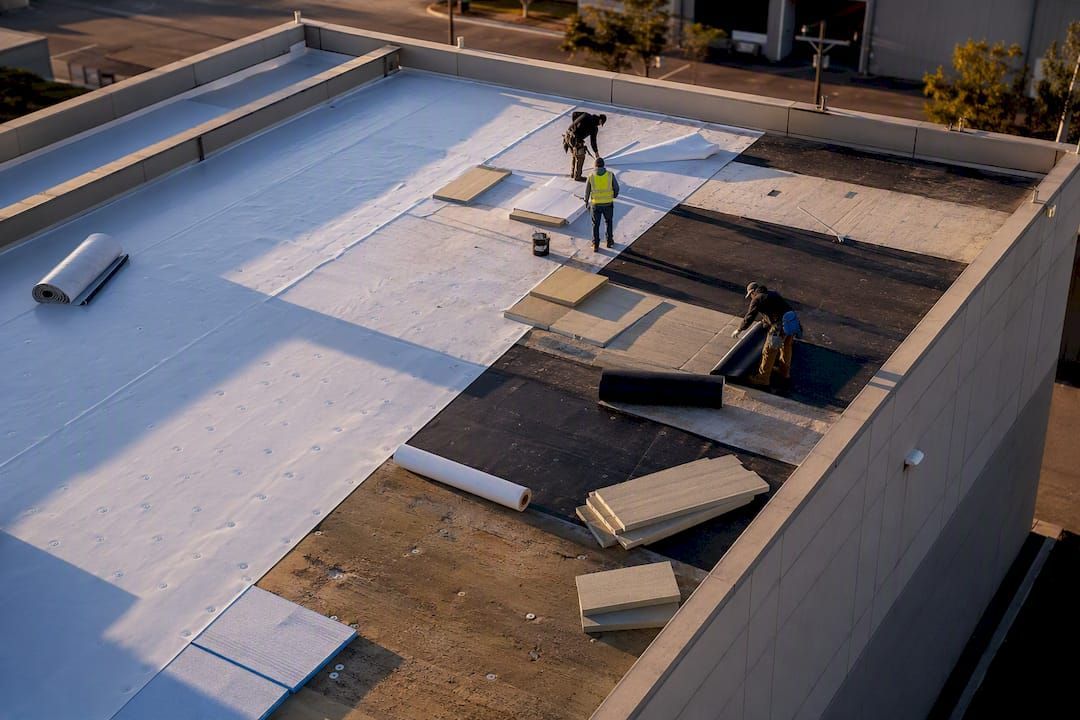
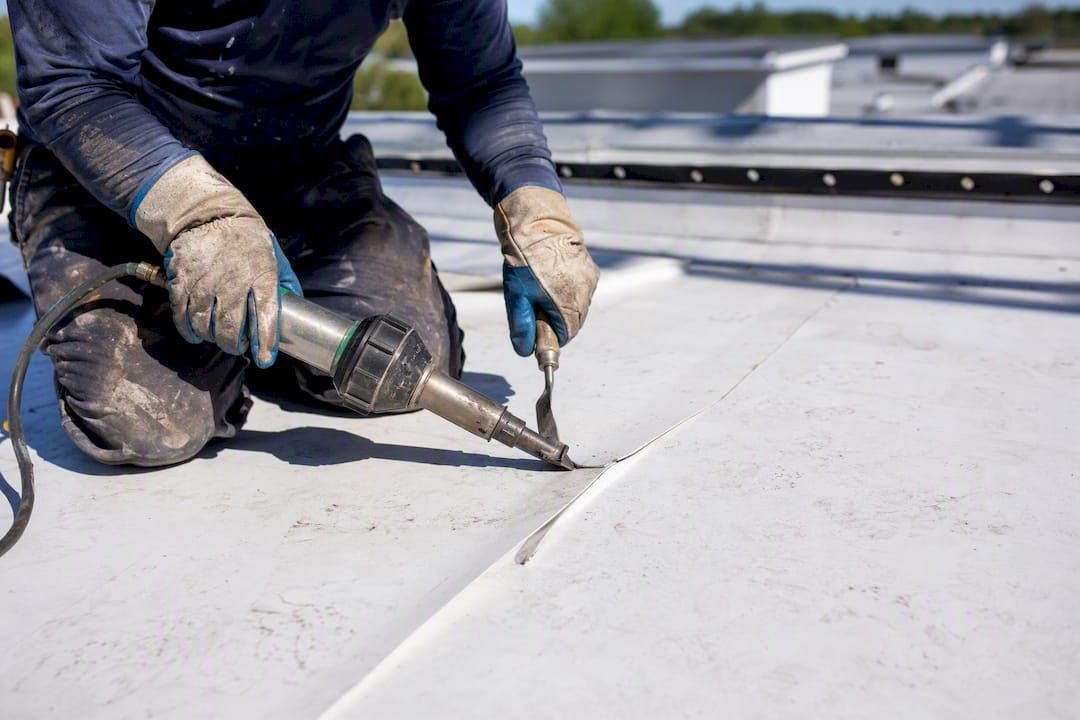
- Install targeted ice and water shield at eaves, valleys, and penetrations.
- Follow up with a final inspection to confirm the fix holds through the next freeze-thaw cycle.
Upstate Roofing handles each of these steps directly, from roof inspection through repair and membrane installation, without treating the membrane as a standalone fix.
A Contractor's Quick Note
Fix the heat loss first. Membrane buys you protection while that deeper work gets done, and a licensed roofer will back the installation with a warranty so you're not guessing whether it holds.
Get Your Roof Ready Before the Next Freeze
Upstate Roofing handles the full picture: attic air sealing, insulation upgrades, ventilation corrections, and targeted ice and water shield installation at your eaves, valleys, and penetrations. Instead of patching a symptom, our crews trace the problem back to the heat loss causing it, so the fix actually holds through the next winter instead of reappearing at the same spot.
If you've noticed uneven melt patterns, icicle bands, or a ceiling stain that showed up after the last snowfall, don't guess at the cause. Schedule a roof inspection and we'll walk the attic and roof deck together, tell you exactly where the heat is escaping, and lay out a fix before the next freeze-thaw cycle does more damage.