

First Half Hour After a Roof Leak: Triage, Document, and Stabilize

September 9, 2026

Share this article

First Half Hour After a Roof Leak: Triage, Document, and Stabilize

The moment you spot an active leak, contain the water with buckets or towels, keep everyone clear of sagging ceilings or exposed wiring, and decide fast: if water is pooling near outlets, the ceiling is bulging, or you can see daylight through the roof deck, call an emergency roofing crew immediately. If it's a slow drip with no structural signs, you likely have time to stabilize it yourself and schedule a repair.


TL;DR:

  • Most roof leaks are caused by hidden breaches that water travels along rafters and seams before dripping, making pinpointing the true source challenging.
  • In case of active flow, bulging ceilings, or storm damage, immediate professional intervention prevents worse structural or electrical hazards.
  • Proper tarping requires tucking the tarp under shingles to prevent runoff funneling into the leak, avoiding worsening the problem.
  • Cost of emergency repairs is higher, but splitting mitigation from permanent fixes helps reduce expenses, especially with proper documentation for insurance claims.

Upstateroofingpros
upstateroofingpros.com
Find the Leak Before It Spreads
Upstate Roofing provides precise leak detection and repair, helping identify hidden breaches behind visible ceiling drips.
Request leak detection

How Do You Find Where a Roof Leak Is Actually Coming From?

The wet spot on your ceiling almost never sits directly below the hole in your roof. Water hits the roof deck, then runs sideways along rafters, sheathing seams, or insulation paper before it drips somewhere convenient for gravity, not for you. A leak that shows up over your kitchen island might actually originate ten feet up-slope near a chimney flashing or a cracked vent boot. This is the single biggest reason homeowners misdiagnose leaks and patch the wrong spot.

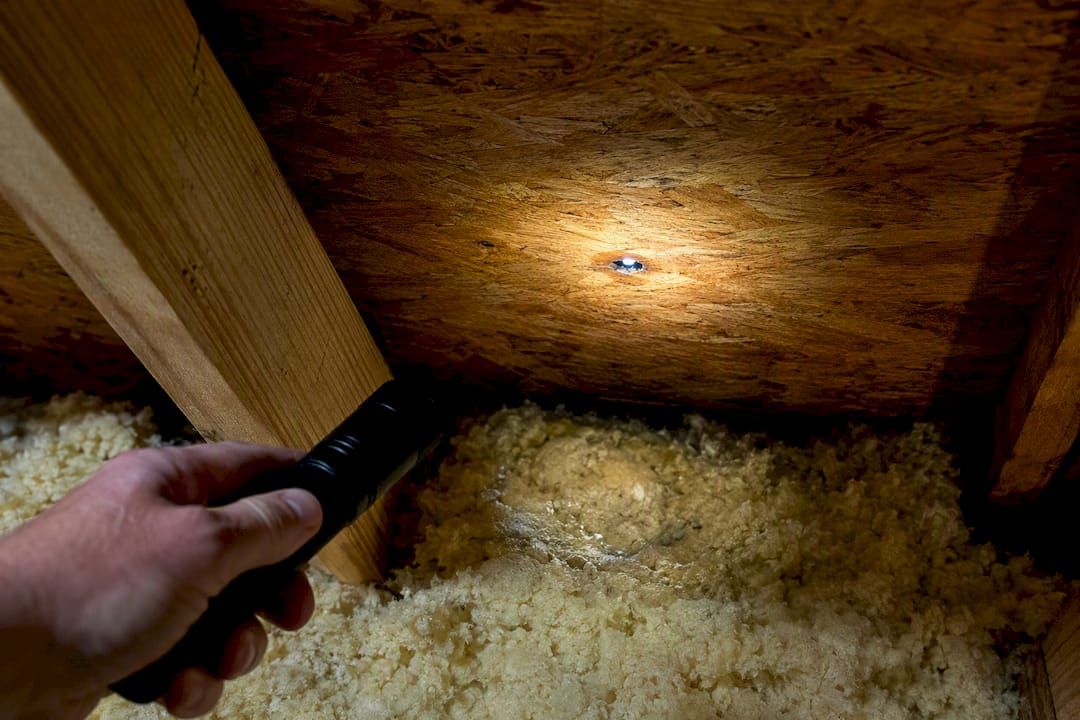
If you can safely access your attic, bring a flashlight and look for the real clues: dark water staining on the underside of the sheathing, wet or compressed insulation, and any pinpoint of daylight coming through the roof deck. Daylight is the giveaway. A hole big enough to let light through is big enough to let in a lot of water during the next storm.

Stay off the attic decking if you can't confirm it's structurally sound, and never walk on the exterior roof surface during or immediately after a storm. That's a job for someone with the right harness and footing, not a homeowner in socks with a flashlight.

Use these cues to judge how urgent the situation really is:

  • Active, flowing water (not just dripping) coming through a light fixture or ceiling seam means the source is a real breach, not a slow seep.
  • A sagging or bulging ceiling signals trapped water with real weight behind it. Treat this as an emergency.
  • A visible hole, missing section of shingles, or tree limb through the roof after a storm is unambiguous. Call for emergency leak detection and repair right away.
  • A small, occasional drip with no ceiling deformation usually means you have hours, not minutes, to contain it and plan next steps.

Getting the location right the first time saves you from tarping the wrong section of roof, which happens more often than most people expect.

What Should You Do Inside the House Right Now?

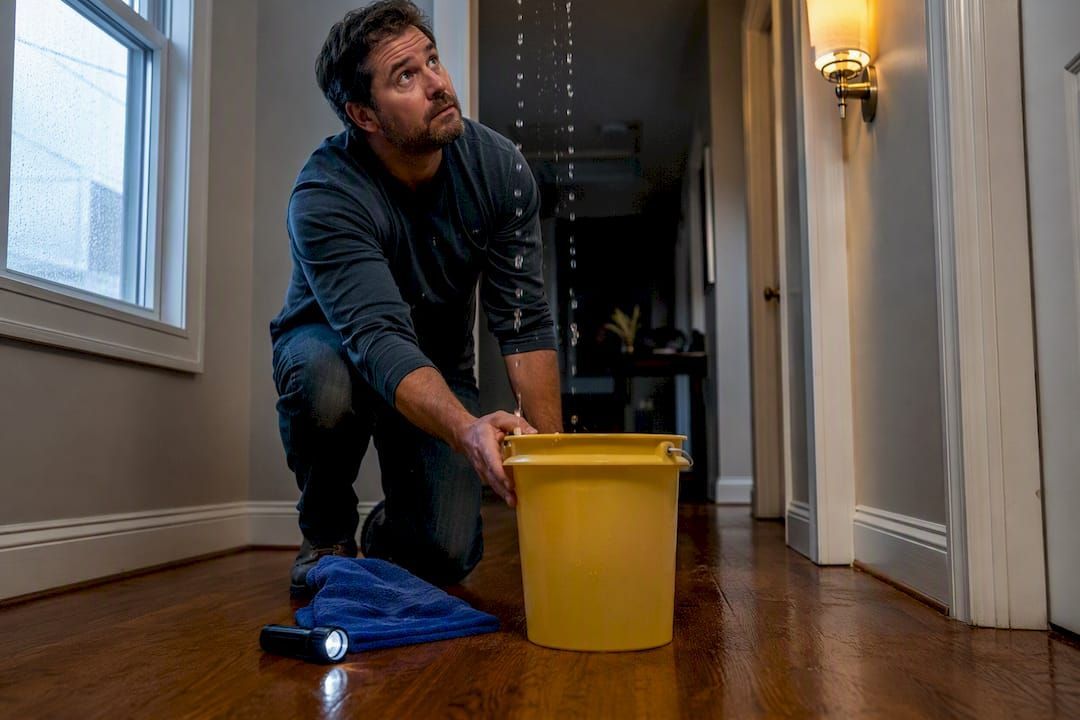
The first half hour matters more than almost anything that happens after it. Water that sits on drywall, flooring, or insulation for even a few hours starts breeding mold and weakening structural materials, so speed beats perfection here.

  1. Contain the water. Set a bucket directly under the drip, and lay a towel folded into the bucket to muffle splashing onto floors and furniture nearby.
  2. Relieve a ceiling bulge deliberately. If drywall is bulging with trapped water, don't wait for it to give way on its own. Poke a small controlled hole at the lowest point of the bulge with a screwdriver, positioned directly over a bucket, so the water drains where you choose rather than where the ceiling decides to collapse. Only do this if the area is clear of light fixtures or wiring.
  3. Move and cover what's valuable. Slide furniture and electronics out from under the leak, and drape plastic sheeting over anything too heavy to move.
  4. Check the breaker panel before touching anything wet. If water is anywhere near an outlet, switch, or light fixture, shut off power to that circuit at the breaker box, and don't walk across wet flooring while the power is still live. If you're unsure which breaker controls that area, call an electrician instead of guessing.
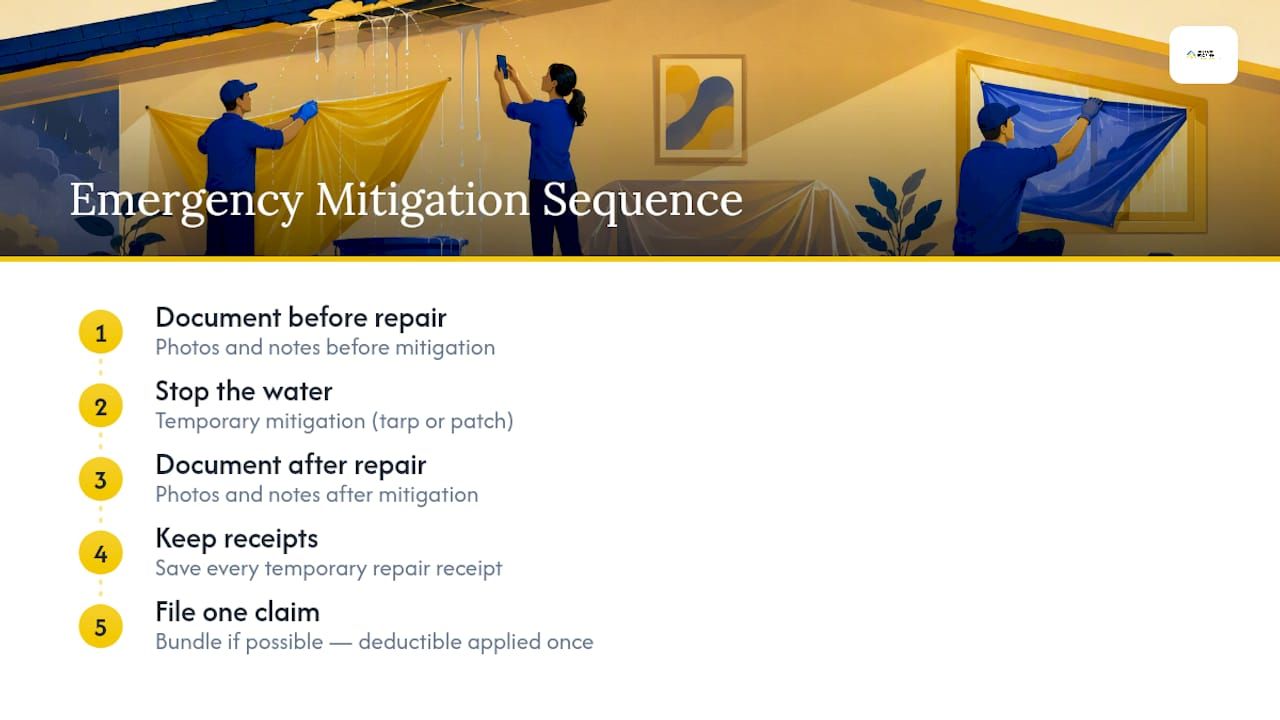
  5. Document everything before you clean up. Shoot wide shots of the room, close-ups of the water damage, and a few seconds of video showing active dripping, with a phone timestamp visible if possible.

Pro Tip: Keep every receipt for buckets, tarps, or a shop vac you buy that day. Insurers generally reimburse documented mitigation costs when you file promptly, but only if you can prove you spent the money trying to limit the damage.

What's the Right Way to Tarp a Leaking Roof?

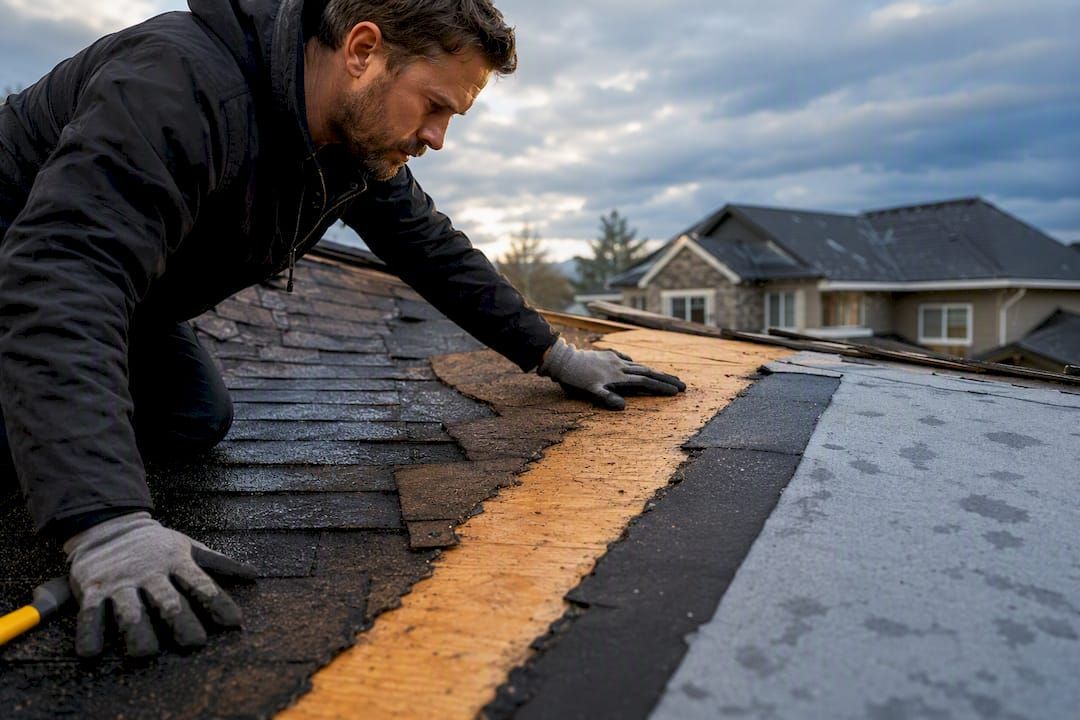
Tarping is where most DIY attempts go wrong, and the mistake is almost always the same: laying the tarp flat over the damaged area instead of tucking the top edge underneath the row of intact shingles above it. Water runs downhill. If the top edge of your tarp sits on top of the shingle line instead of under it, you've built a shelf that catches runoff and funnels it straight into the gap you're trying to cover.

Do it right, and a tarp can hold for days. Do it wrong, and you can make the leak worse than if you'd done nothing.

  • Slide the top edge of the tarp at least two feet under the shingle course above the damage, never just resting on top of it.
  • Wrap the tarp around 2x4 boards at each end and screw through the wood into the roof deck, not directly through the tarp material, which tears.
  • Extend the tarp well past the damaged area on all sides. A tarp that barely covers the hole will shift in wind and expose the gap again.
  • Skip roofing cement and polyurethane sealants below about 40 degrees Fahrenheit. Most won't cure properly in the cold, and you'll have a mess that looks fixed but isn't.

Never attempt any of this during an active storm, in high wind, or on a steep or multistory roof. That's exactly the scenario emergency roof leak repair crews are trained and equipped for, and it's not worth a fall risk to save a service call. If a tree limb or debris punched a hole through the deck itself, a flat piece of plywood screwed over the opening from inside the attic is a safer stopgap than trying to patch the exterior surface in bad conditions.

When Does a Roof Leak Become a True Emergency?

Not every leak needs a 2 a.m. phone call. The line between "handle it tonight" and "wait until morning" comes down to a short list of red flags.

Call emergency help immediately if you see:

  • Water actively flooding into a room, not just dripping
  • A ceiling that's visibly sagging or bulging under weight
  • Water anywhere near an electrical panel, outlet, or fixture
  • A tree limb, debris, or storm damage that's punched a hole through the roof deck
  • Any opening large enough that heavy rain could pour straight through overnight

If it's a slow, isolated drip with no structural distortion and no electrical exposure, you can usually stabilize it yourself and schedule a repair within 48 to 72 hours, often avoiding emergency-rate premiums entirely.

When you do call, have three things ready to tell the dispatcher: the exact location of the leak in the house, how severe the water flow is right now, and whether electrical fixtures or wiring are involved. That single piece of information changes how fast a crew responds and what equipment they bring.

What Does an Emergency Roof Repair Actually Cost?

Emergency pricing runs higher than scheduled repair work, mostly because you're paying for a crew to drop what they're doing and show up same-day, often after hours. Understanding the trade-off up front helps you make a smarter call about what to fix immediately versus what to schedule.

A common strategy that saves real money is splitting the job into two phases: pay for emergency mitigation now to stop the water, then schedule the permanent fix at standard rates once the immediate danger is gone. That approach frequently avoids the premium tacked onto full same-day repairs.

For insurance purposes, document the damage before and after mitigation, file your claim promptly, and keep every receipt tied to the temporary repair costs. Most policies apply your deductible once per claim, so bundling the tarp job and the permanent repair under one filing, when possible, usually works out better than filing twice.

How Do You Prevent the Next Emergency Leak?

Twice a year, walk the roofline and check the spots that fail most often: flashing around chimneys and skylights, rubber vent boots (they crack with age faster than shingles wear out), and gutters or valleys clogged with leaves that back water up under the roofing material. Trim back branches that overhang the roof, since falling limbs and constant shade both accelerate wear.

  • Replace cracked or dried-out vent boots before they leak, not after.
  • Clear gutters and valleys each fall before the rainy season starts.
  • Get a professional roof inspection at least once a year, and always after a major storm.
  • Handle small caulking touch-ups yourself; leave flashing, decking, and structural repairs to a licensed contractor.

Roofs older than 15 to 20 years deserve a closer look even without visible problems, since materials degrade well before they fail outright.

How Upstate Roofing Handles Emergency Calls in the Field

Emergency response at Upstate Roofing centers on stopping water intrusion fast, then giving homeowners a clear path to permanent repair rather than leaving them with a tarp and no plan. That means tarping, targeted leak detection, interior mitigation guidance, and scheduling the follow-up repair once the property is stable.

One pattern technicians see constantly: homeowners photograph the ceiling stain but never document the attic or the exterior source, which weakens an insurance claim when the adjuster asks for a fuller picture.

The strongest claims come from homeowners who photographed the damage from three angles: the interior stain, the attic entry point, and the exterior roof surface, all timestamped the same day the leak was discovered.

That habit alone often speeds up claim approval more than any single repair decision.

Why the Standard Leak Advice Misses the Real Priority

Most guides treat an emergency roof leak like a plumbing problem: stop the water, move on. That's backwards. The water is rarely what causes the expensive damage. It's the delay between discovery and documentation that costs homeowners money, because insurers pay out based on what you can prove, not what you remember.

The conventional advice to "call a roofer immediately" also oversimplifies a decision that actually has two valid paths. A slow drip with no structural distress doesn't need a same-day crew charging emergency rates. It needs a bucket, a phone camera, and a scheduled appointment within a few days. Treating every leak as a five-alarm fire is how homeowners end up paying premium pricing for problems that could have waited.

What actually matters, in order: get people and wiring away from danger, contain the water before it spreads, photograph everything before you clean up, and only then decide whether the severity justifies emergency rates or a scheduled fix. Skip the documentation step, and even a perfect repair job won't protect you financially if the ceiling comes down again next season.

— Cesar

Get a Same-Day Response When Your Roof Is Actively Leaking

A professional roofing service runs emergency response for homeowners in local areas, and the advantage over trying to manage this alone is straightforward: a licensed crew can tarp the breach correctly the first time, locate the actual source instead of guessing from a ceiling stain, and document everything in a way that holds up with your insurer.

Before you call, have three things ready: your address, a couple of photos or a short video of the leak, and whether water is anywhere near electrical fixtures. That information lets dispatch send the right crew with the right equipment on the first trip instead of a second visit to grab a part they didn't know they needed.

If the leak has already caused staining, a bulging ceiling, or you're not sure how bad the damage is, schedule a leak detection and repair visit and get a technician looking at the actual source, not just the symptom. For roofs that have taken repeated hits or are simply past their prime, it's worth pairing that visit with a look at roof repair options so you know whether you're buying time or buying a bigger problem down the road.

Sources

Recommended

Recent Posts

September 14, 2026
Decide whether to repair or replace your roof with the 25%/50% cost test, 60%/80% lifespan checks, and a concise inspection checklist for homeowners.
September 12, 2026
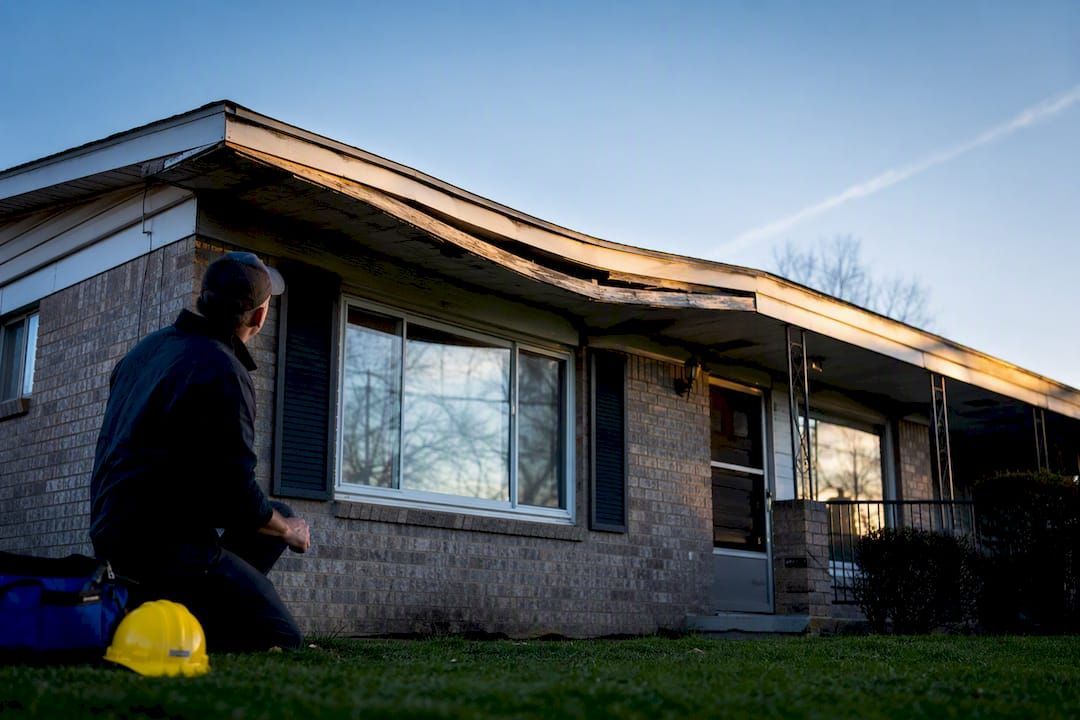
Visible roof sag is a structural emergency. Photograph it, restrict access, and book a same week structural inspection to get engineer led fixes and U.S....
September 7, 2026
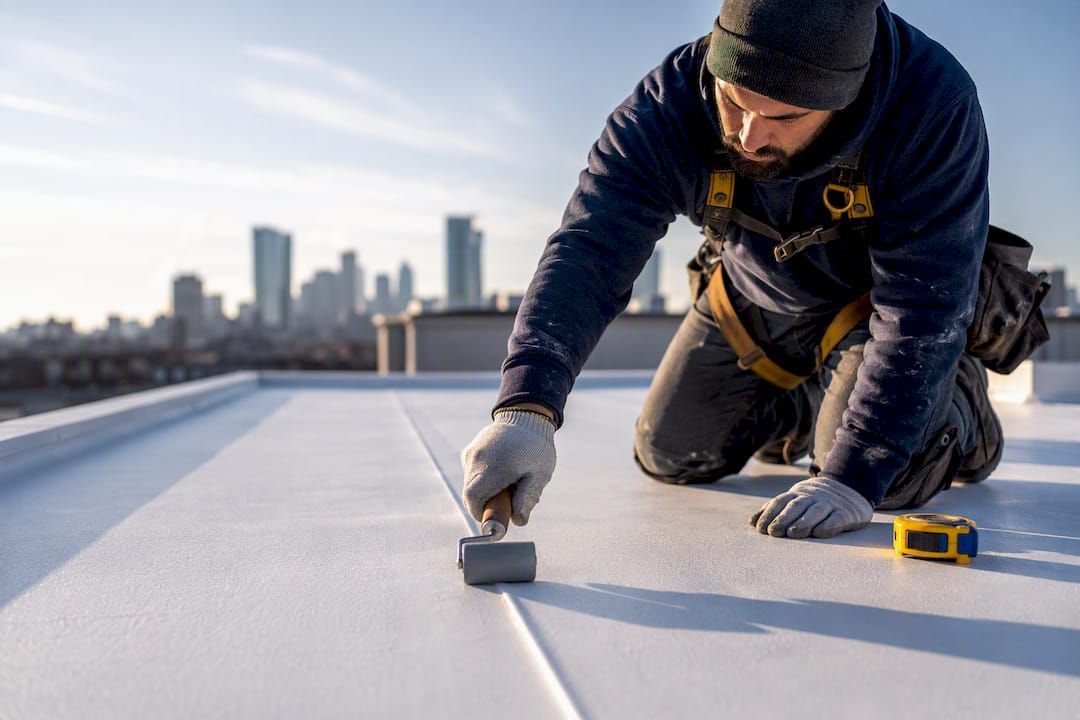
Get 2026 U.S. TPO roofing costs by specification: $5.50–$14 per sq ft, 45, 60, 80 mil options, attachment effects, insulation choices, and contractor bid...
September 5, 2026
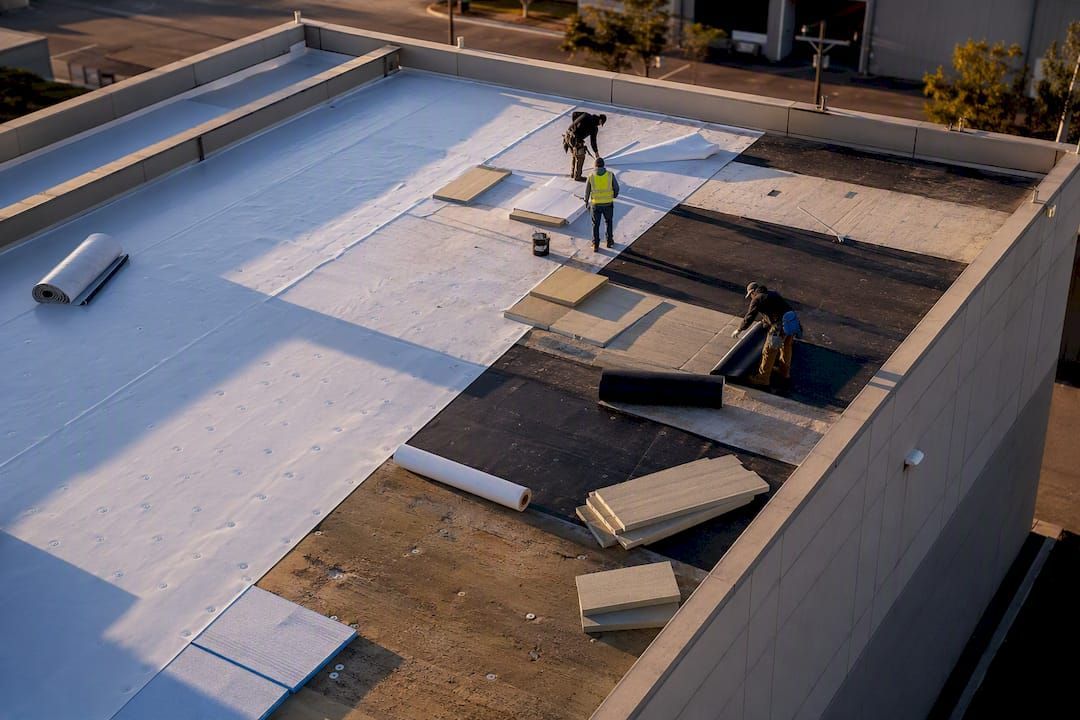
Estimate U.S. commercial roof replacement budgets: $4.00–$18.00 per sq ft, single ply often $5.50–$8.00. Learn how code driven insulation, lifecycle cost,...
September 2, 2026
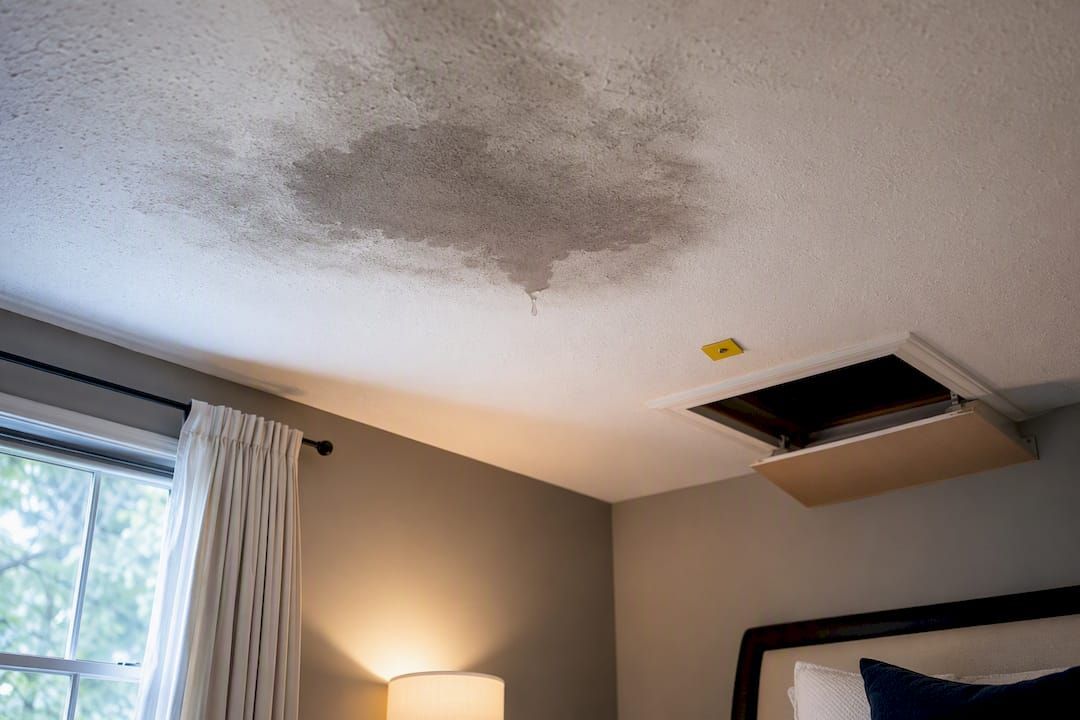
Assess ceiling water stains fast with five minute checks, a 48 hour tape test, and a $35 moisture meter to find active leaks and stop recurring stains.
August 25, 2026
Learn essential steps for a storm damage roof inspection, from documenting issues to choosing the right professional—act quickly!
August 23, 2026
Discover what you can expect to pay for roof leak repairs in 2026, from small fixes to larger projects, and avoid budget surprises.
August 21, 2026
Discover effective strategies for TPO roof repair. Learn how to identify leaks, limit damage, and when to call a professional for help.
August 18, 2026
Discover why roofs require ice protection to prevent winter leaks. Learn how proper insulation and membranes guard your home against water damage.
August 18, 2026
Discover the most common causes of flat roof failures and learn proactive steps to protect your building from costly damage.

Show More