
What to Know Before a Storm Damage Roof Inspection

August 25, 2026

Share this article

What to Know Before a Storm Damage Roof Inspection

If a storm just passed, get up close to your roof's evidence now: photograph everything before you touch anything, protect the interior from further water intrusion, and book a professional inspection within 72 hours if you spot missing shingles, active leaks, or dented metal. This article walks through the checklist, the documentation standards insurers expect, and when to bring in a roofer instead of handling it yourself.


TL;DR:

  • Photographs of exterior and interior damage must be taken immediately, with clear scale references and timestamps, before any repairs or patching.
  • Wind damage typically shows lifted or missing shingles at the perimeter, hail damage presents as bruised shingles and granule loss, and water intrusion signs include attic stains and soaked insulation.
  • Conduct a zone-by-zone inspection using binoculars first, then photograph each zone with scale references, noting areas with and without damage to support insurance claims.
  • Document every damage point along with negative findings, keep physical samples, and record all repair-related receipts to strengthen insurance submissions.
  • Call a professional roofer immediately if active leaks or significant damage occur, ensuring their inspection report includes detailed zone assessments, photographic evidence, and repair scope options.

What to do right after a storm: safety and documentation priorities

Roofs are unstable after wind or hail events, and wet shingles are slicker than they look. Stay off the roof deck until you know what you're standing on, and watch for downed power lines near the eaves or gutters. Follow this order in the first 24 to 72 hours:

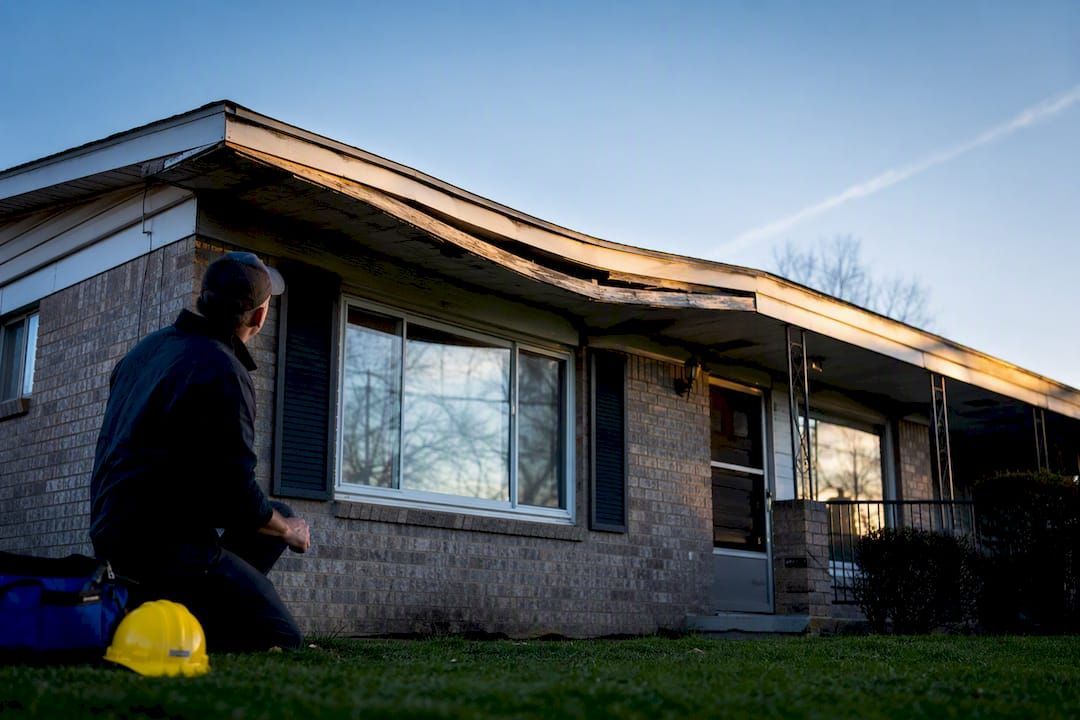
  1. Walk the perimeter from the ground and photograph all four exterior elevations before disturbing anything.
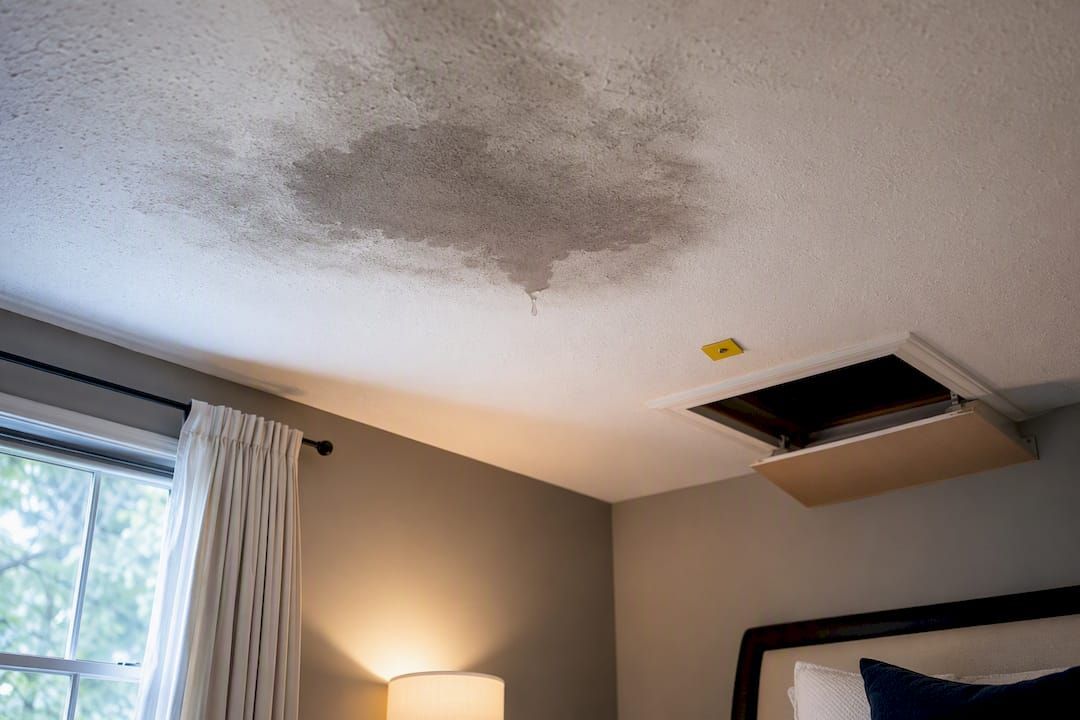
  2. Check the attic and ceilings for new stains, wet insulation, or daylight coming through the decking.
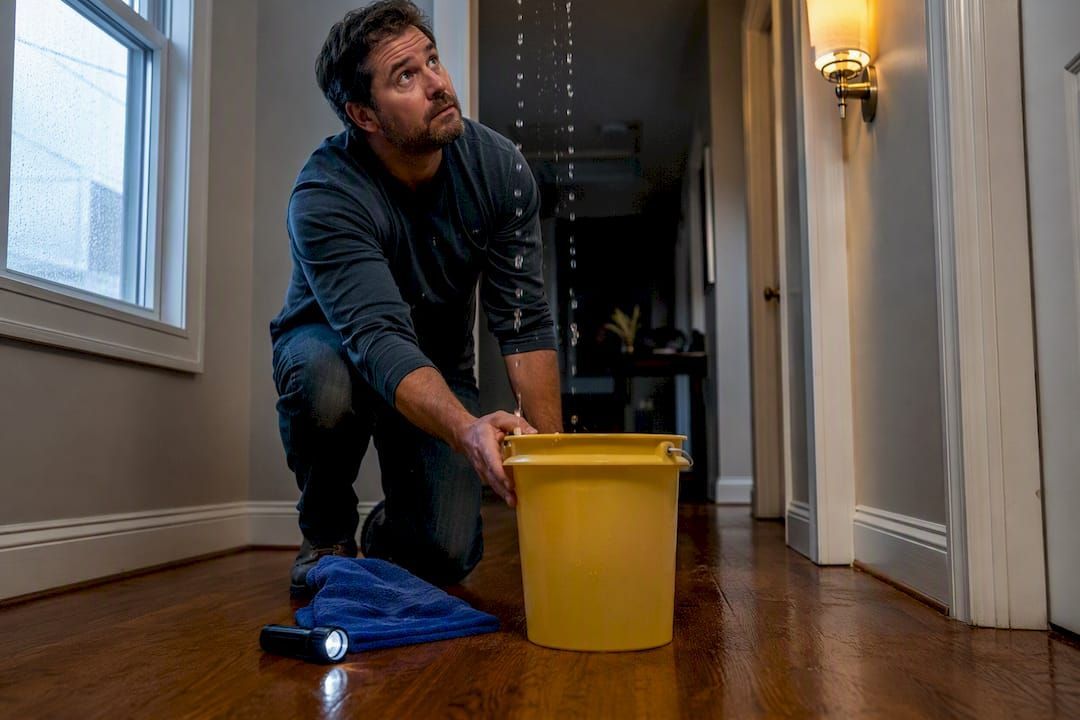
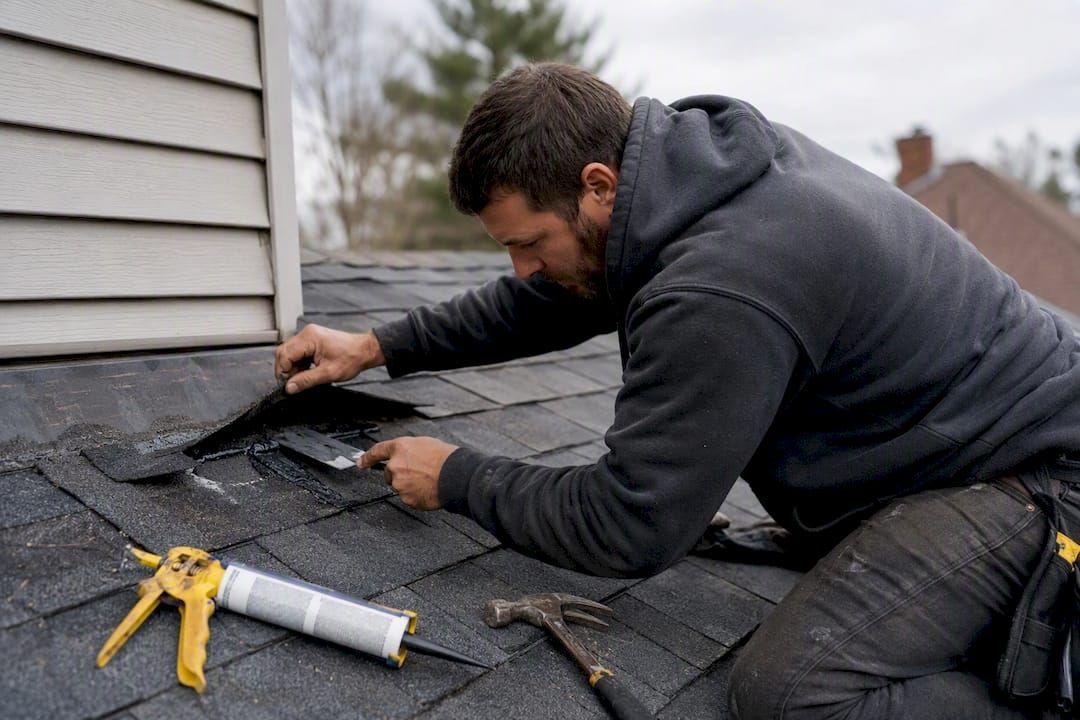
  3. Photograph close-ups of any visible damage, then arrange temporary tarping if water is actively entering.
  4. Keep every receipt tied to emergency work, since documented mitigation costs are usually covered.
  5. Schedule a full inspection within 72 hours and note your insurer's claim filing window.

Insurers expect documentation before mitigation, so resist the urge to patch things yourself before the photos exist.

Pro Tip: Take a "before" photo of the tarp installation and a labeled receipt afterward. A weighted tarp job looks improvised to an adjuster; a professionally fastened one with wood battens or strap anchors reads as legitimate emergency repair.

Common types of storm roof damage and how to spot them

Different storm events leave distinct fingerprints on a roof, and knowing which one you're looking at helps you gauge urgency and talk to an adjuster with confidence.

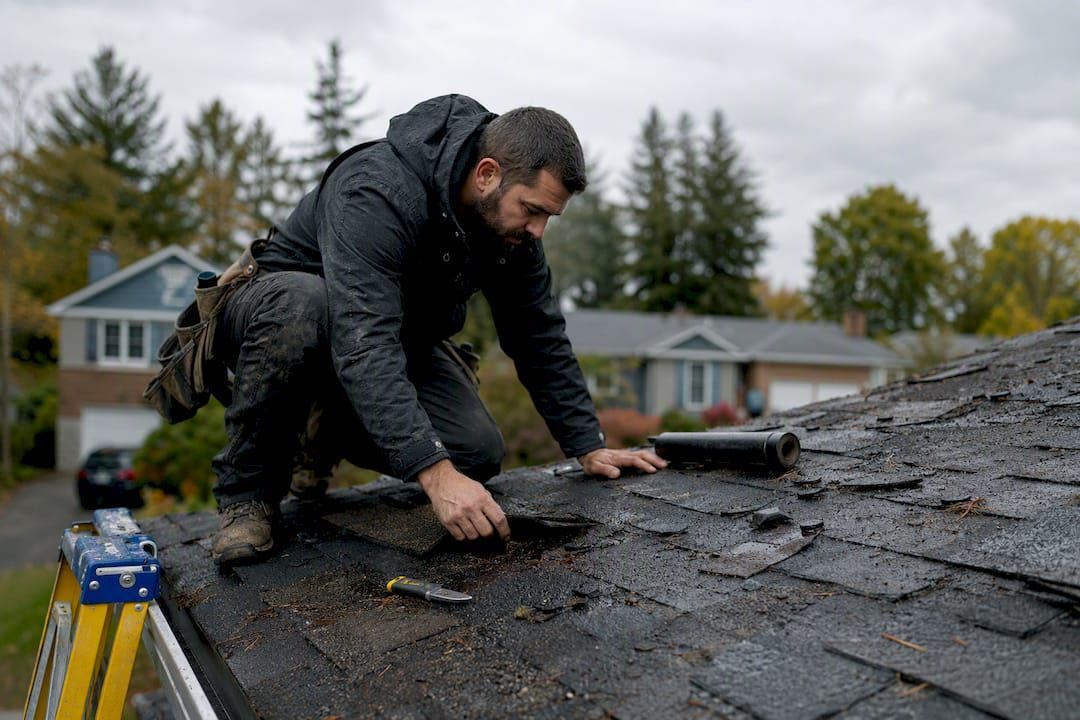
  • Wind damage: lifted, creased, or missing shingles, often starting at the perimeter and starter strip where fasteners are weakest.
  • Hail damage: bruised or dented shingles, granule loss, and dented metal on vents, flashing, or gutters.
  • Debris impact: cracked tiles, punctured underlayment, or cracked skylight glazing from branches or airborne material.
  • Water intrusion: attic staining, wet insulation, or sagging decking, which signals a breach even when the exterior looks fine.
  • Gutter and flashing damage: dents in gutters and loosened flashing frequently track the same storm event as the roof damage itself.

Sudden, heavy granule buildup in your gutters or at the base of downspouts is one of the clearest homeowner-visible signs that hail has struck your roof, even before you spot a single dented shingle from the ground.

Zone-by-zone inspection checklist for storm damage

A defensible roof damage assessment doesn't wander randomly across the roof. It moves through defined zones in sequence, the same way a professional storm inspection does, so nothing gets skipped and nothing gets double-counted.

Start with a ground survey and binoculars or a zoom lens before anyone climbs a ladder. Then work through:

  1. Field (central roof area): sample several 10 square foot test squares in different sections and count hail strikes per square to estimate impact density across the whole field.
  2. Perimeter and starter course: look for edge uplift, nail pullout, and drip edge that has separated from the fascia.
  3. Ridges and hips: check for missing ridge caps, visible uplift, and loose or exposed cap fasteners.
  4. Valleys: inspect for denting, granule loss, and flashing that has shifted out of alignment.
  5. Penetrations and flashings: examine every vent boot, skylight seal, and chimney flashing individually.
  6. Attic and interior: look for daylight through the decking, wet insulation, and stains or cracks on structural members.

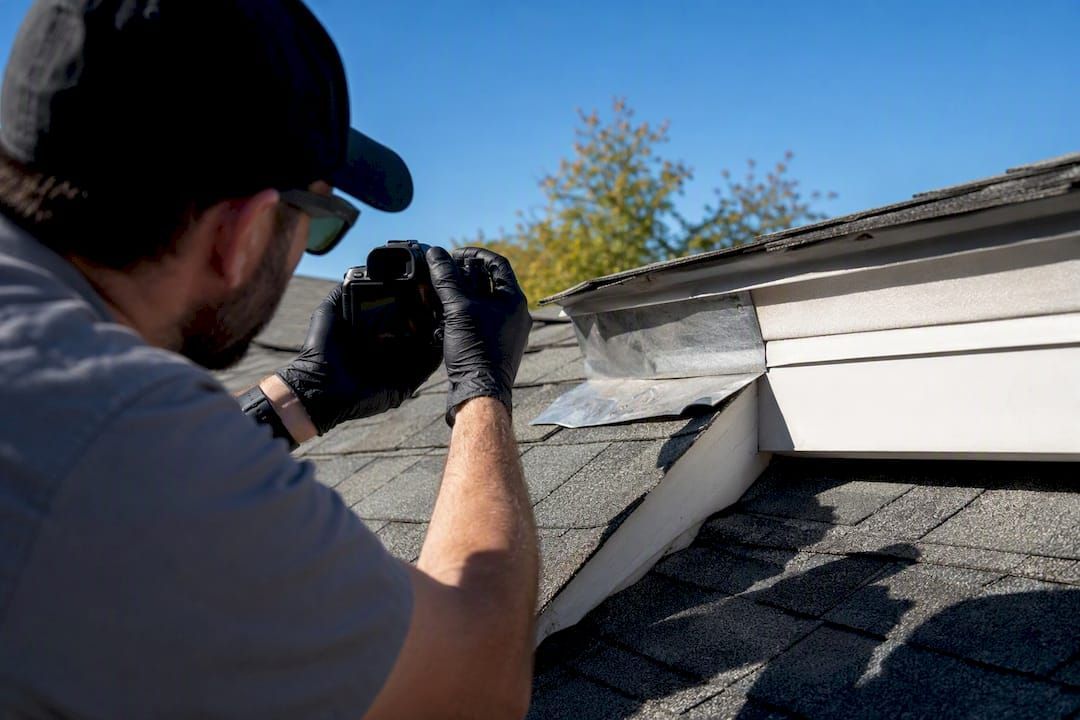
For each zone, take a wide context photo first, then a close-up with a coin or ruler in frame and a visible timestamp. Photos without a scale reference are often waved off by adjusters as too generic to prove anything.

Pro Tip: Photograph zones with no visible damage too, and note it in writing. "No damage observed in the north valley" is not filler. It's what keeps an adjuster from claiming you missed an area later.

How to document roof damage for an insurance claim

The gap between a claim that pays out fully and one that gets partially denied often comes down to documentation quality, not the actual severity of the damage. Insurers respond to specifics.

  • Shoot full-elevation photos from the ground, plus aerial or drone images if you have access to them.
  • Capture every close-up with a scale reference and a timestamp before any repair work begins.
  • Use the test-square method for hail claims: count strikes across multiple 10 square foot samples rather than relying on one spot check.
  • Record negative findings zone-by-zone, not just the damaged areas, since a complete zone-by-zone report with both positive and negative results carries more weight than a photo dump of only the worst spots.
  • Keep physical material samples (a damaged shingle, a piece of dented flashing), label them, and store every invoice or receipt tied to emergency work.

Carriers increasingly cross-check ground-level claims against their own aerial imagery and roof-age data, so your timestamped photos serve as the anchor that ties damage to a specific event date rather than general wear.

Deciding whether to file an insurance claim

Before you file anything, run the math. Compare your repair estimate against your deductible, which for wind or hail events is often a percentage of your dwelling coverage rather than a flat dollar figure, a detail many carriers apply. Typical roof repairs run $300 to $2,000, with national averages closer to $900 to $1,200 and major structural fixes reaching $5,000 or more. If your estimate barely clears the deductible, filing may not be worth the premium impact.

  • Check whether your policy pays actual cash value (ACV) or replacement cost value (RCV). An older roof under ACV can mean a payout far below repair cost.
  • Expect an adjuster visit that may be in-person, virtual, or based entirely on aerial imagery.
  • Avoid signing an assignment of benefits (AOB) before you understand what rights it hands over.
  • Be wary of any contractor promising a "guaranteed approval" before an adjuster has even seen the roof.

Pro Tip: Ask your adjuster directly whether your policy applies ACV or RCV to roof surfaces. That one answer changes whether filing makes financial sense.

When to call a professional roofer

Some situations don't leave room for a slow decision. Call a roofer immediately if you see active interior leaks, a sagging roofline, large sections of missing shingles, or water actively entering a living space.

A credible inspection report should include:

  1. Zone-by-zone findings, including areas with no damage.
  2. Test-square counts for hail density where applicable.
  3. Photographic evidence with scale references for every damaged zone.
  4. Repair or replacement scope options with a clear mitigation plan.

A roofer can document conditions and speak to an adjuster on your behalf, but if a claim gets disputed at a level beyond scope disagreements, that's when a public adjuster or attorney enters the picture. Ask any contractor how they document negative findings and request a sample report before you sign anything.

Upstate Roofing's approach to storm damage inspections

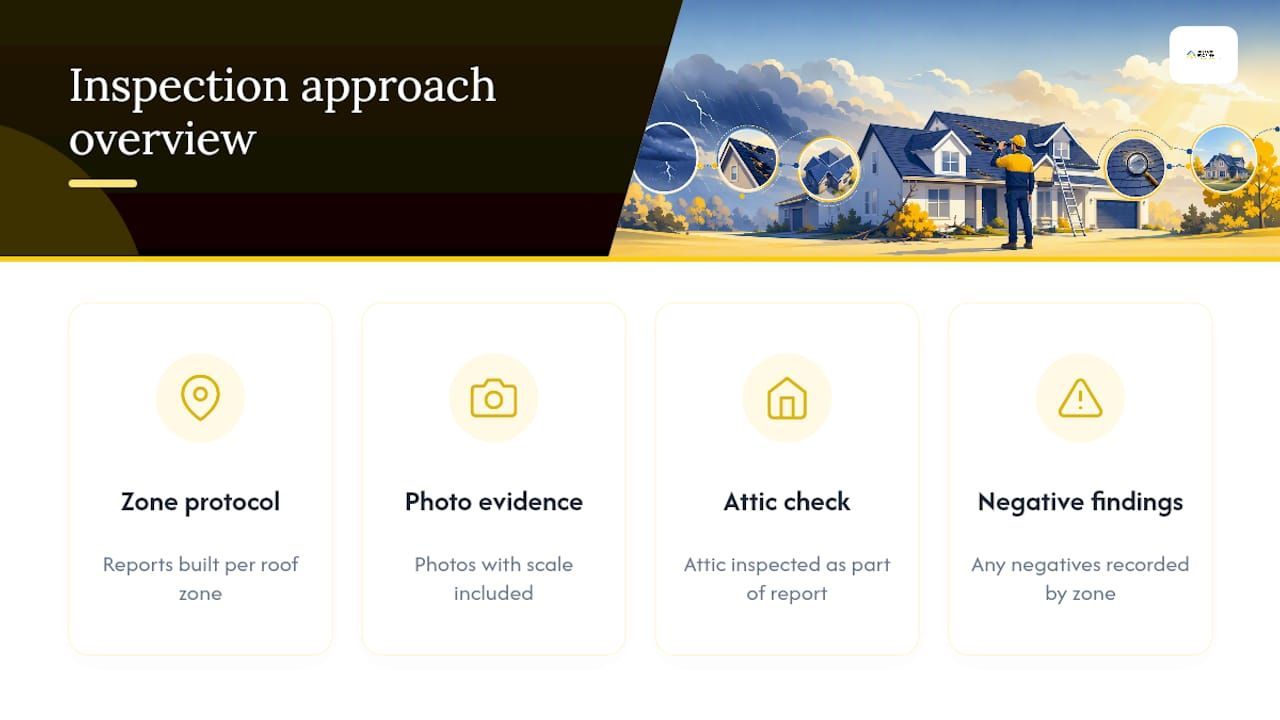
Upstateroofingpros teams build inspection reports around the same zone-by-zone protocol and photo-with-scale documentation covered above, including attic checks and negative findings by zone. Homeowners can review the full roof inspection process or start from the roof inspection checklist before scheduling a visit.

A roofer's checklist for the first contractor visit

When a roofer arrives after a storm, the first few minutes matter. Expect a quick safety check, an attic look for active leak sources, and a walk of the exterior before anyone touches a ladder. Have your own photos, any prior estimates, and your insurance contact ready to hand over. From there, priority areas typically get tarped or patched immediately while the rest of the scope gets mapped out for a full repair plan.

— Cesar

Fast, documented storm inspections from Upstate Roofing

Upstateroofingpros is the practical alternative to piecing together your own documentation and hoping an adjuster agrees with it. Our teams show up with photo reports built to the zone-by-zone standard, check the attic for hidden intrusion, handle emergency tarping when needed, and walk your claim through with local carrier experience instead of guesswork.

Licensed crews across Northern California use the same test-square counts and scale-referenced photos adjusters expect to see, so your claim starts with evidence instead of a dispute. If your roof took a hit in the last storm, schedule a roof inspection now, or if you're already seeing interior stains, get a roof repair estimate started the same week.

Sources

Recommended

Recent Posts

August 23, 2026
Discover what you can expect to pay for roof leak repairs in 2026, from small fixes to larger projects, and avoid budget surprises.
August 21, 2026
Discover effective strategies for TPO roof repair. Learn how to identify leaks, limit damage, and when to call a professional for help.
August 18, 2026
Discover why roofs require ice protection to prevent winter leaks. Learn how proper insulation and membranes guard your home against water damage.
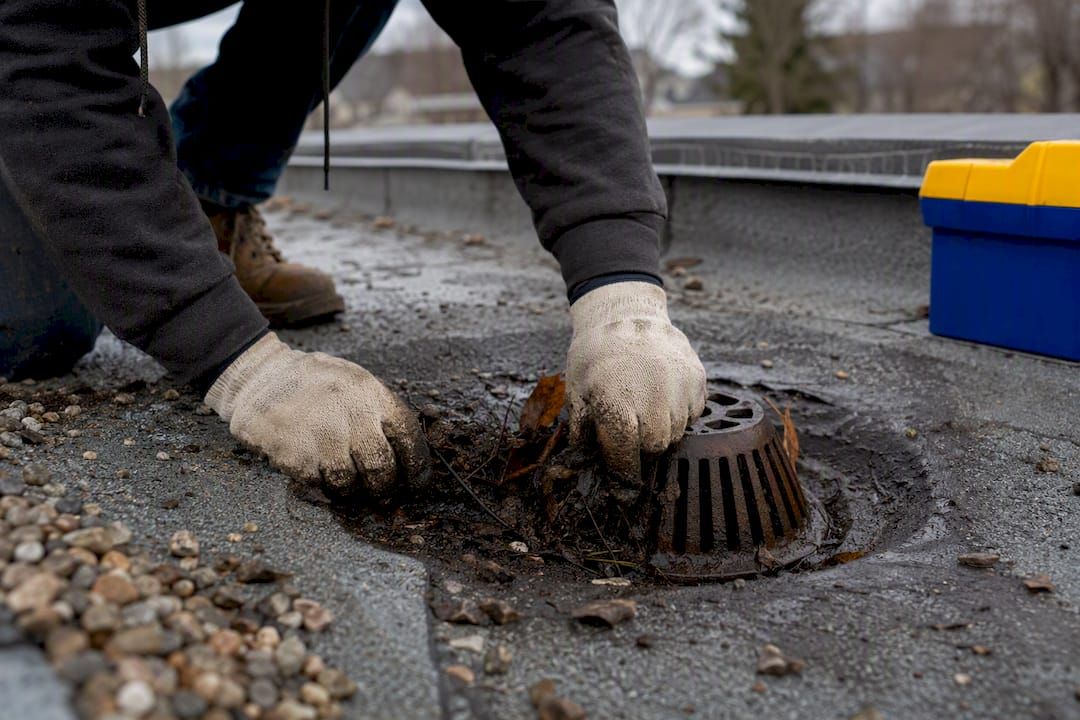
August 18, 2026
Discover the most common causes of flat roof failures and learn proactive steps to protect your building from costly damage.

August 14, 2026
Discover how roof insulation stabilizes your home’s temperature and saves you money on energy bills, cutting costs by up to 20%.
August 11, 2026
Discover how reflective roofing materials can significantly reduce cooling costs, extend roof life, and improve energy efficiency for your building.
August 10, 2026
Discover how TPO heat welding creates watertight seams that prevent leaks, ensuring a durable waterproof membrane for your projects.
August 10, 2026
Learn how moss and algae can damage your roof's integrity and appearance. Discover crucial steps homeowners must take to protect their homes.
August 4, 2026
Discover what a PVC roofing membrane is and why it's ideal for roofs exposed to chemicals and grease. Learn about its benefits and applications.
August 2, 2026
Discover replacement picture window prices ranging from $300 to $2,500. Get tips on comparing quotes and choosing the best options for your home.
Show More