
What to Do When You Find a Leak in a TPO Roof

August 21, 2026

Share this article

What to Do When You Find a Leak in a TPO Roof

Most localized TPO leaks can be permanently repaired. A targeted inspection tells you whether the damage is confined to a seam, a puncture, or a flashing detail, or whether it points to something systemic like saturated insulation across a wide area. Replacement becomes the right call when seam failures show up in multiple locations, insulation underneath has absorbed water, or you're calling for the same emergency patch three times a year.

Take these steps the moment you spot water:

  • Locate and photograph the leak source, both inside and on the roof surface, before anyone starts cleanup.
  • Restrict roof traffic to the affected area until a professional evaluates it.
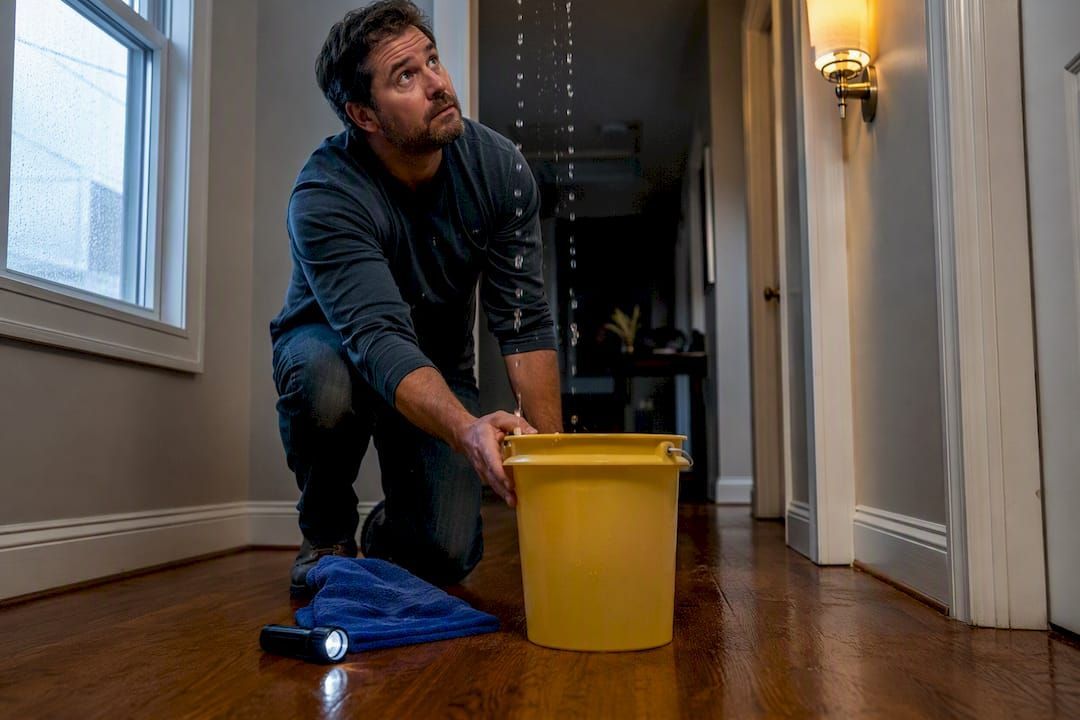
  • Set up temporary containment (tarps, catch buckets) for active drips, but don't apply caulk or tape to the membrane yourself.
  • Call a roofing contractor immediately if you see interior water intrusion, ponding deeper than an inch that isn't draining, or soft, spongy spots underfoot on the roof.

Key Takeaways

Most localized TPO roof damage is repairable through targeted cleaning, welding, and flashing work, while widespread seam failure or saturated insulation calls for replacement.

Point Details
Verdict comes from inspection A targeted inspection, not the leak's size, determines whether repair or replacement makes sense.
Diagnostics need multiple methods Combine visual checks, seam probing, infrared scans, and moisture meters to find hidden problems.
Surface prep decides weld quality Clean and prime oxidized membrane before welding, or the patch fails within months.
Area thresholds guide the decision Repair below 15 to 20% damage; consider replacement above 25% with wet insulation present.
Upstate Roofing offers documented repairs Upstate Roofing provides manufacturer-compliant TPO inspections and repairs with written QA reporting.

Common TPO Roof Repair Problems and Their Warning Signs

TPO membranes fail in a handful of predictable ways, and each leaves its own signature on inspection. Seam separation is the most frequent culprit. It shows up as a "cold seam," a weld that never fully fused during installation or that degraded over time from UV exposure and thermal cycling. You'll spot it as a visible gap or a seam edge that lifts when you tug on it gently.

Punctures and tears come from foot traffic, dropped tools during HVAC service, or wind-blown debris. Most start small, under two inches, but they widen fast once water gets underneath and starts working the membrane loose from the substrate.

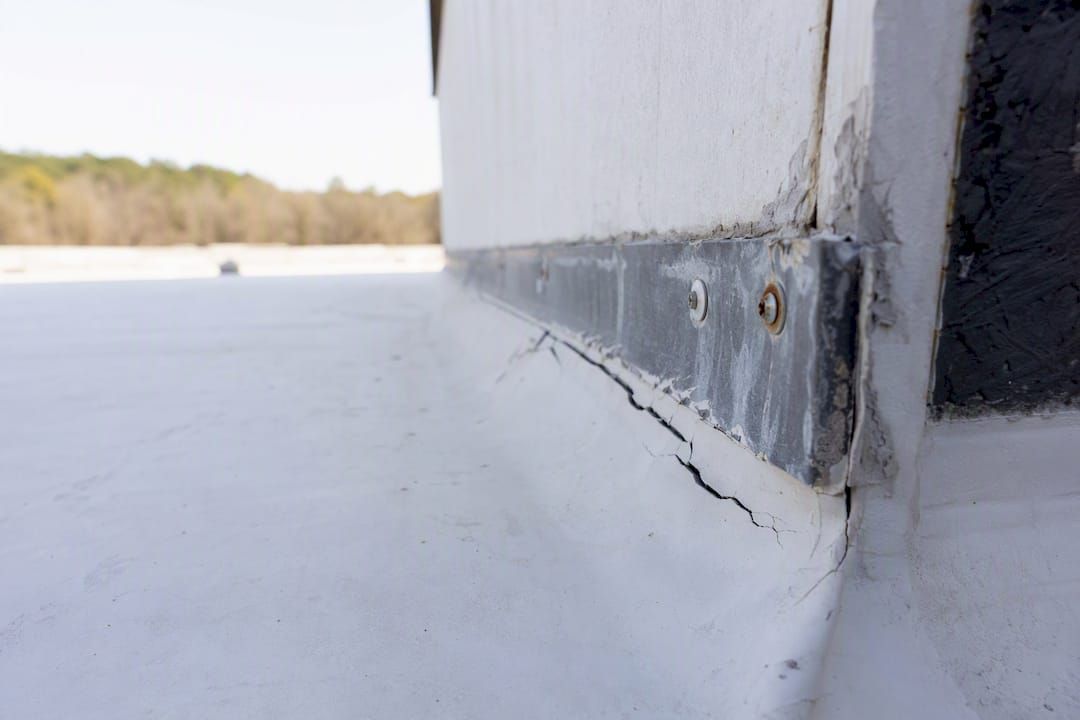
Flashing failures at curbs, drains, and scuppers tend to look different: cracked sealant, pulled fasteners, or membrane that's separated from the vertical wall. Ponding water that sits for more than 48 hours accelerates all of the above, since prolonged saturation speeds up membrane fatigue at the edges and low points.

Statistic Callout: Accurate diagnosis typically requires combining several methods. Visual inspection, seam probing, infrared thermography, and electronic moisture meters each reveal a different failure mode, and skipping one often means missing the real problem.

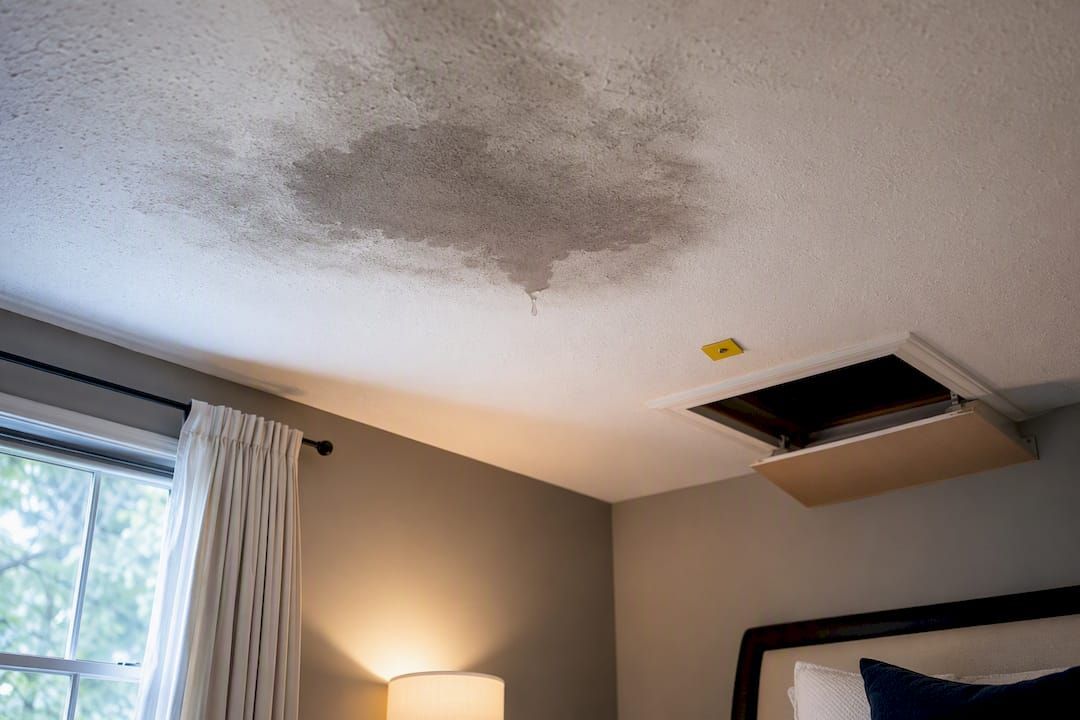
Interior clues matter too. Ceiling stains, bubbling paint, or a musty smell near an HVAC unit usually mean water has been traveling laterally under the membrane long before it showed up as a visible drip.

How Do You Diagnose a TPO Roof Leak?

Work from the outside in. Start at the perimeter and flashing details, since that's where most failures originate, then move to drains and scuppers, and finish with a systematic seam probe across field panels.

  1. Visual walk-through first. Check every penetration, curb, and drain before you touch a single tool. This catches the obvious stuff, cracked sealant, exposed fasteners, torn membrane, at no cost.
  2. Seam probing. Run a seam probe or blunt tool along weld lines to find soft spots or separations that aren't visible from above.
  3. Infrared thermography next. Infrared scans reveal temperature differences that often correspond to trapped moisture under the membrane, but they work best at night after the roof has absorbed daytime heat, and they can be thrown off by wind or a recent rain event.
  4. Electronic moisture meters and core cuts. A moisture meter distinguishes a surface-wet membrane from insulation that's actually saturated underneath. When readings are ambiguous, a small core cut confirms it directly.
  5. Water or spray testing. Controlled water testing, including ponding or spray tests, combined with infrared scanning helps pinpoint the exact leak source when the visible damage doesn't match where water is showing up inside.

Pro Tip: Document everything on a grid map of the roof, not just a handful of photos. Contractors bidding the job and manufacturers reviewing warranty claims both want to see exactly where each reading was taken, not a vague description of "the north corner."

Step-by-Step TPO Patch Repair and Seam Welding Methods

Surface prep decides whether a repair lasts five years or five months. Weathered TPO develops an oxidized layer from UV exposure, and that layer has to come off before anything sticks. Manufacturer guidance from WeatherBond calls for cleaning weathered membrane with a dedicated cleaner and, where oxidation is heavy, a primer pad before hot-air welding. Skip that step and the new weld looks fine on day one, then peels within a season.

  1. Clean and prep the area. Wipe down the repair zone with weathered membrane cleaner. If the membrane is heavily oxidized, a primer pad should show dissolved membrane residue on the rag, that's the visual confirmation the oxidized layer is actually gone.
  2. Cut and bevel the patch. Round the corners of any TPO patch and bevel the edges so water can't catch a lip. Patches should extend at least two inches past the damaged area in every direction.
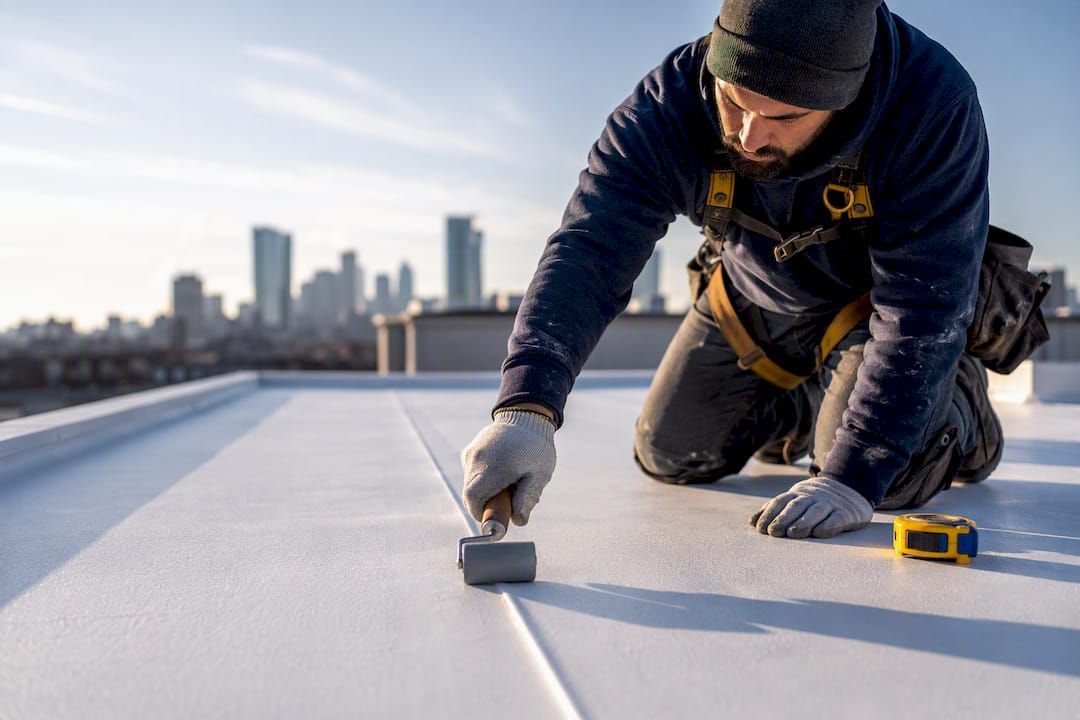
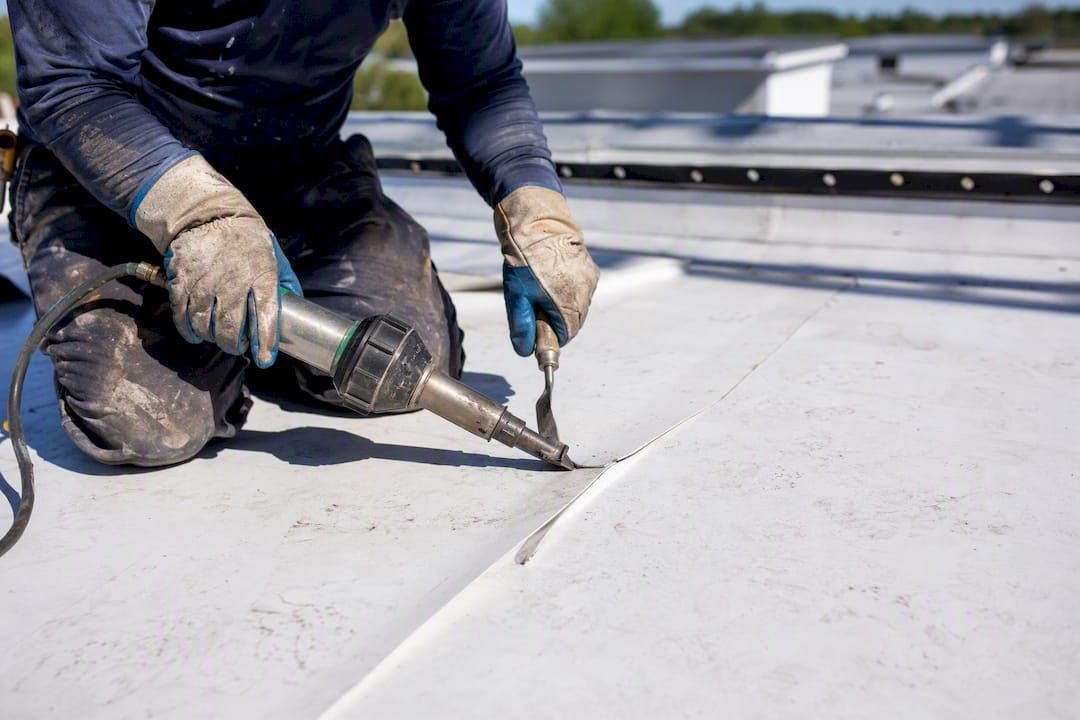
  3. Weld or bond the patch. Hot-air welding is the standard for a true fusion bond. Weld temperature and speed are operator-dependent, which is why experienced techs continuously probe the seam and adjust settings as they go rather than trusting a fixed setting.
  4. Re-weld failed seams. Probe the full length of the failed seam first to find where the separation actually ends, then re-weld past that point with clean edge prep on both sides.
  5. Rebuild flashing details. Curb flashings, water stops, and penetration details should follow manufacturer-specified upturns and securement, manufacturers generally recommend a membrane upturn of sufficient height at vertical terminations to ensure waterproofing integrity. Liquid-reinforced flashing works for irregular shapes where a factory-cut boot won't fit cleanly.
  6. Verify the repair. Probe every new weld while it's still warm, then follow up with a flood test or controlled water test on flashing details, and a rescan with infrared if the original leak was hard to pinpoint.

Pro Tip: Ask your contractor whether they own a hand-held weld probe and whether they're testing every seam or just the ones that "look questionable." A crew that probes everything is telling you something about how they treat the rest of the job.

How Much Does TPO Roof Repair Cost?

Repair pricing varies by scope, but a few benchmarks help you sanity-check a bid. Individual patch repairs commonly run $150 to $400 per patch, seam re-welding often falls in the $5 to $12 per linear foot range, and curb flashing rebuilds can cost $15 to $35 per linear foot or $500 to $2,000 per HVAC curb depending on how much demolition and rebuild the curb needs.

Use area as your decision filter, not gut feeling:

  • Under 15 to 20% of the roof affected by isolated seam or puncture issues: repair is almost always the economical move.
  • Over 25% of the field showing multiple failure points, or widespread wet insulation confirmed by moisture testing: replacement starts to make more financial sense than chasing repairs.

Statistic Callout: A useful rule of thumb: if your annual repair spend climbs toward roughly $0.30 to $0.40 per square foot per year, you're likely paying for a replacement in installments without getting a new warranty in return.

Your warranty type changes this math. A material-only warranty covers defective membrane but leaves labor and consequential damage on you. An NDL (No Dollar Limit) warranty covers both material and labor up to the full contract value, but it usually requires manufacturer-certified installation and documented maintenance to stay valid.

TPO Roof Maintenance That Protects Your Warranty

A roof that gets looked at twice a year rarely surprises you with a five-figure emergency bill. Documented semi-annual inspections paired with prompt repair typically cost a fraction of what deferred maintenance eventually costs, often in the range of a few cents per square foot annually, and that investment buys years of added service life.

Build your schedule around these tasks:

  • Inspect every drain, scupper, and gutter line each spring and fall, plus after any major storm.
  • Clear debris and check for standing water that hasn't drained within 48 hours.
  • Re-probe seams near HVAC units and high-traffic walk paths where wear concentrates.
  • Keep dated photos and technician notes in one file, not scattered across email threads.

Warranty coverage depends on more than just using the right membrane. Manufacturers typically require certified installers, approved repair materials, and documented maintenance records to keep an NDL warranty intact, and some conduct milestone inspections to confirm the roof has been maintained as promised.

Pro Tip: A reflective coating can extend membrane life on an aging roof, but check your warranty language first. Some manufacturers treat coating as a maintenance step; others treat it as an alteration that requires pre-approval to avoid voiding coverage.

What Should You Ask a TPO Roofing Contractor?

A contractor who can't answer these questions clearly probably isn't the right one for a warranty-sensitive repair.

  1. Are you licensed, insured, and certified by the membrane manufacturer for the specific TPO product installed on this roof?
  2. What does your written scope include: cleaning method, primer use, weld specs, and post-repair testing?
  3. Will you provide a flood test or infrared rescan and put the results in writing?
  4. What's covered under your workmanship warranty, and for how long?
  5. Can you show me the weld probe or testing equipment you'll actually use on this job?

Treat a verbal-only guarantee, a pitch for a cheap "coating fix" over a real repair, or the absence of any post-repair testing as red flags. Compare bids on scope and documentation, not just price per square foot.

How Upstate Roofing Handles TPO Roof Repairs

Upstate Roofing's team of fully licensed, highly skilled professionals brings hands-on experience to every TPO inspection and repair across Northern California. We rely on advanced diagnostic tools and premium, manufacturer-approved materials to deliver repairs that hold up and stay warranty-compliant.

  • Full inspection covering seams, flashings, drains, and suspected moisture zones before any repair recommendation
  • Manufacturer-compliant cleaning, priming, and welding procedures on every patch and seam repair
  • Written documentation of findings and repair results for your records and warranty file
  • Specialized TPO roofing services tailored to commercial and large residential systems

What Owners Get Wrong About TPO Repairs

Owners under-document damage and skip semi-annual checks, then pay for it later in emergency calls. Prioritize repairs that protect insulation and warranty status over cosmetic fixes. Planned maintenance always beats repeated patching.

Request a TPO Roof Inspection From Upstate Roofing

Upstate Roofing gives you something a one-off patch job can't: a documented, warranty-aware repair plan built around your specific membrane and manufacturer requirements, not a generic caulk-and-hope fix.

When you request an inspection, expect moisture mapping across the affected area, a written scope covering exactly what's being repaired and how, and a warranty-conscious plan that keeps your NDL or material coverage intact. Our team walks the roof, tests seams and flashings, and hands you documentation you can file with your warranty provider or use to compare against another contractor's bid.

Start with a roof repair request if you already know where the leak is, or ask about leak detection and repair if the source is still a mystery. Either way, insist on a written post-repair QA report before you consider the job closed.

Frequently Asked Questions

Can a TPO roof leak be fixed without replacing the whole roof? Yes, in most cases. Localized seam separations, punctures, and flashing failures respond well to targeted patching and welding when the surrounding membrane and insulation are still dry and intact.

How long does a typical TPO roof repair take? A single patch or seam re-weld often takes a few hours from diagnosis to completion. More involved flashing rebuilds or multi-point repairs, including flood testing and infrared verification, can stretch across one to two days depending on access and weather.

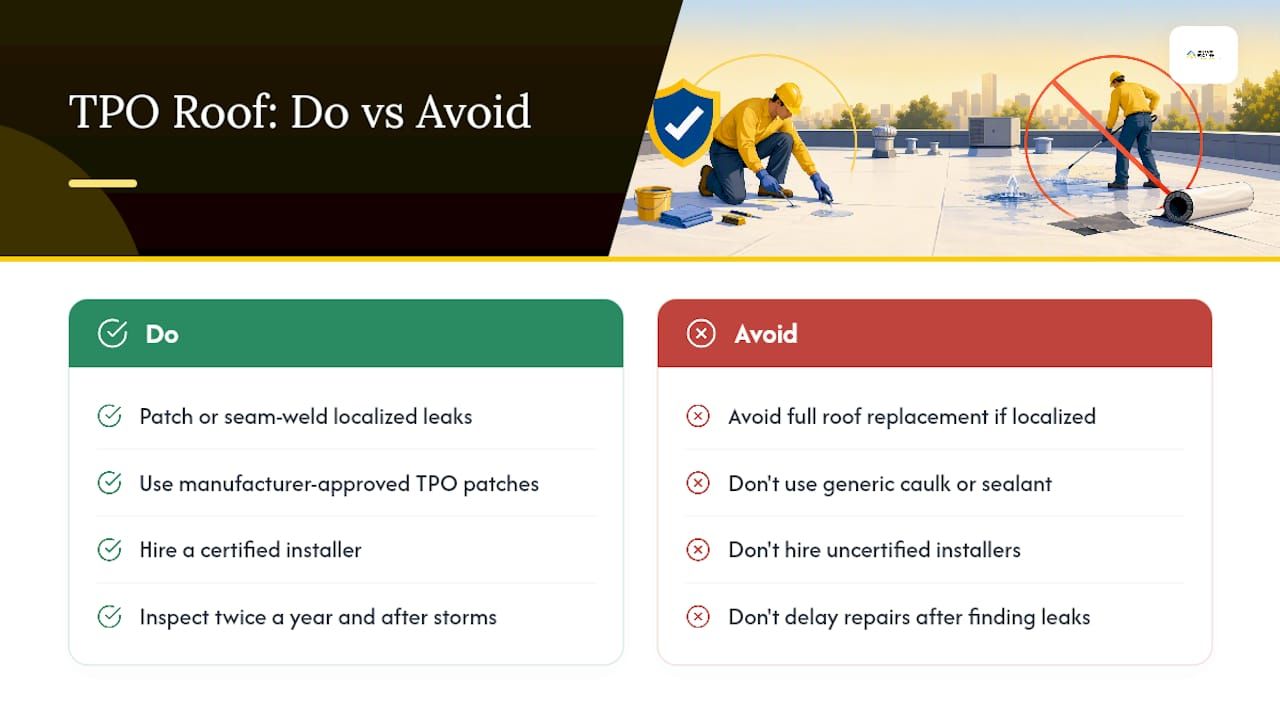
What's the best sealant for a TPO roof patch? TPO doesn't bond well with generic roofing sealants. Manufacturer-approved TPO patch materials and hot-air welding, following the cleaning and priming steps outlined in WeatherBond's repair guidance, produce a far more durable bond than caulk or liquid sealant alone.

Will a TPO roof repair void my warranty? It can, if the repair uses non-approved materials or an uncertified installer. Confirm your warranty type first. NDL warranties typically require manufacturer-certified work and documented maintenance to stay valid.

How often should a TPO roof be inspected? Twice a year at minimum, plus after any major storm. That cadence catches seam and flashing issues while they're still cheap to fix.

Sources

Recommended

Recent Posts

August 25, 2026
Learn essential steps for a storm damage roof inspection, from documenting issues to choosing the right professional—act quickly!
August 23, 2026
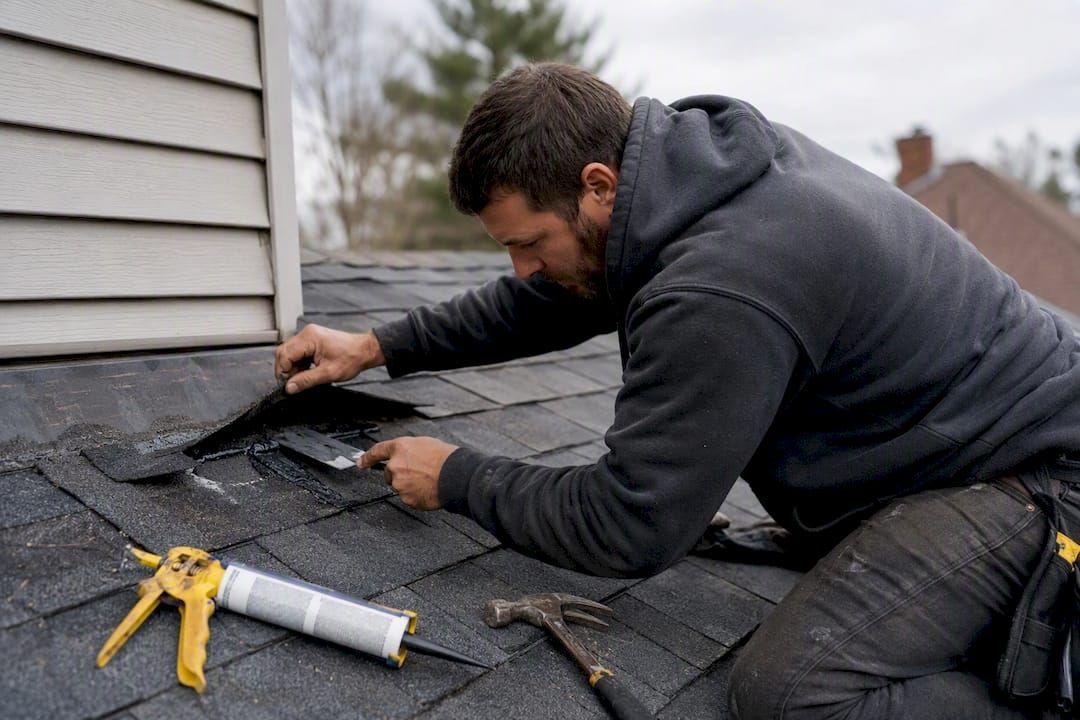
Discover what you can expect to pay for roof leak repairs in 2026, from small fixes to larger projects, and avoid budget surprises.
August 18, 2026
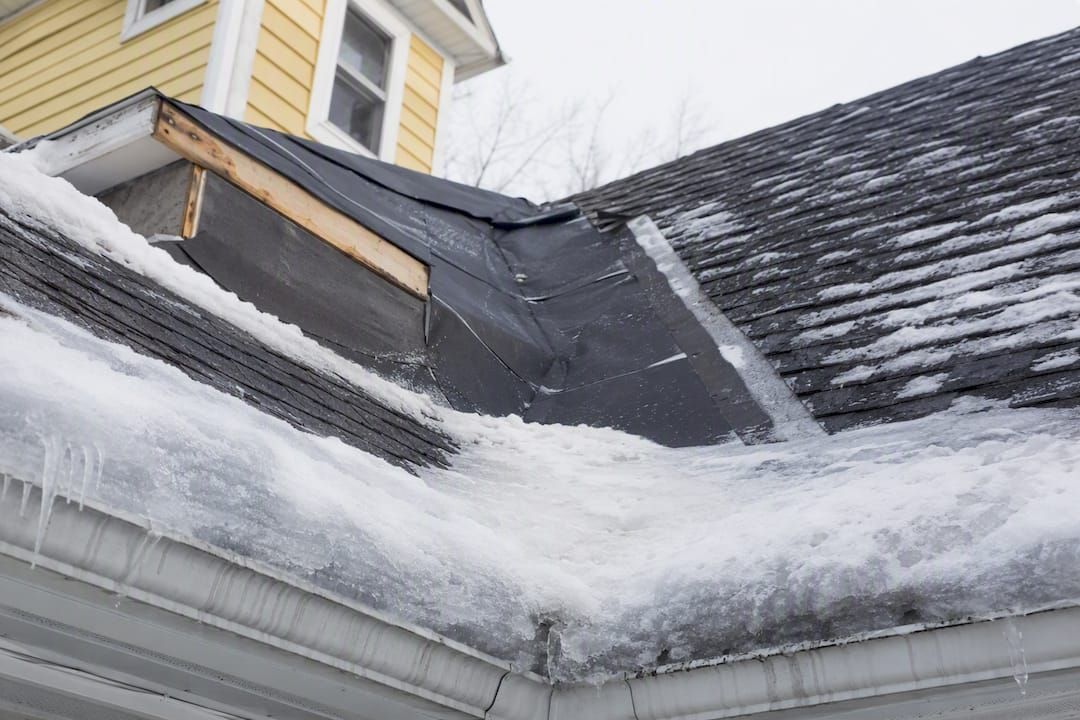
Discover why roofs require ice protection to prevent winter leaks. Learn how proper insulation and membranes guard your home against water damage.
August 18, 2026
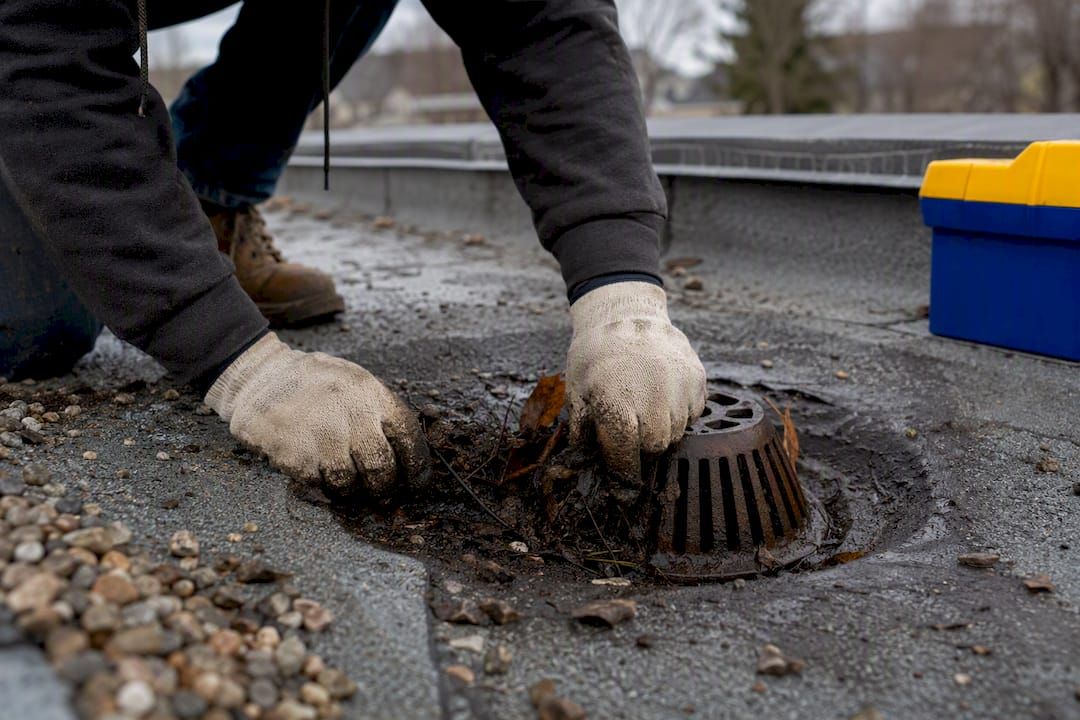
Discover the most common causes of flat roof failures and learn proactive steps to protect your building from costly damage.

August 14, 2026
Discover how roof insulation stabilizes your home’s temperature and saves you money on energy bills, cutting costs by up to 20%.
August 11, 2026
Discover how reflective roofing materials can significantly reduce cooling costs, extend roof life, and improve energy efficiency for your building.
August 10, 2026
Discover how TPO heat welding creates watertight seams that prevent leaks, ensuring a durable waterproof membrane for your projects.
August 10, 2026
Learn how moss and algae can damage your roof's integrity and appearance. Discover crucial steps homeowners must take to protect their homes.
August 4, 2026
Discover what a PVC roofing membrane is and why it's ideal for roofs exposed to chemicals and grease. Learn about its benefits and applications.
August 2, 2026
Discover replacement picture window prices ranging from $300 to $2,500. Get tips on comparing quotes and choosing the best options for your home.
Show More