TPO Heat Welding: The Complete Technical Guide
TPO Heat Welding: The Complete Technical Guide
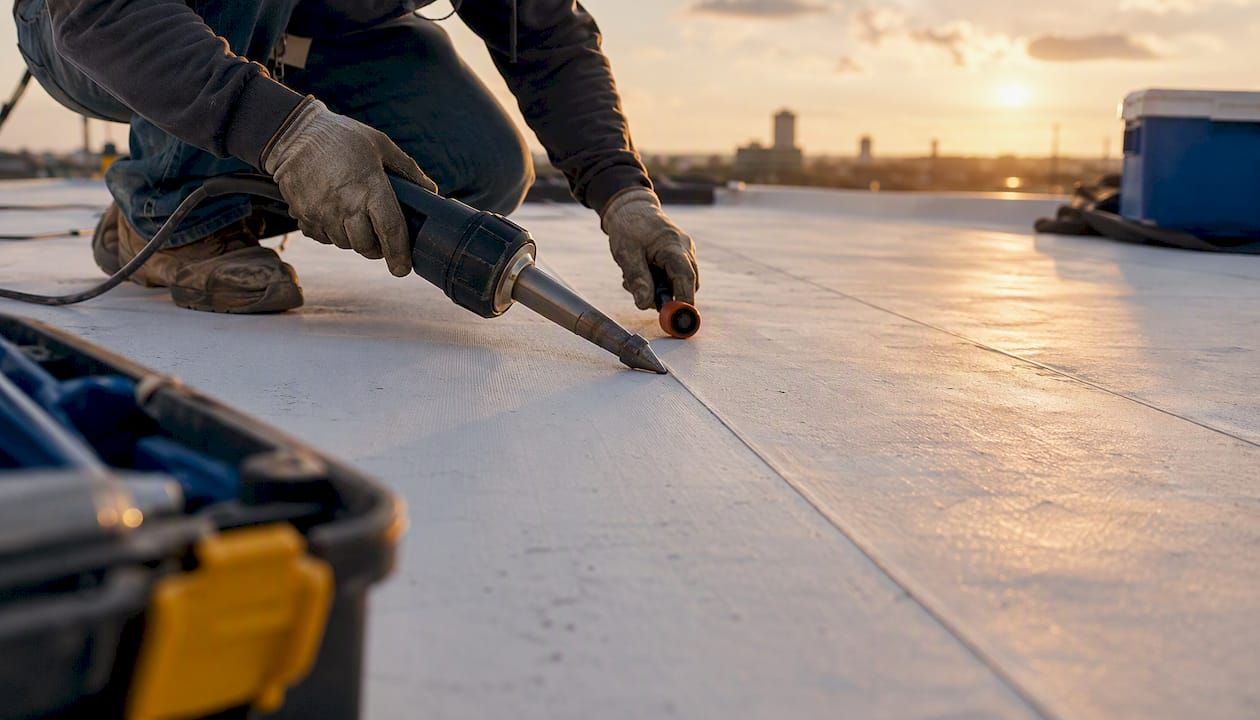
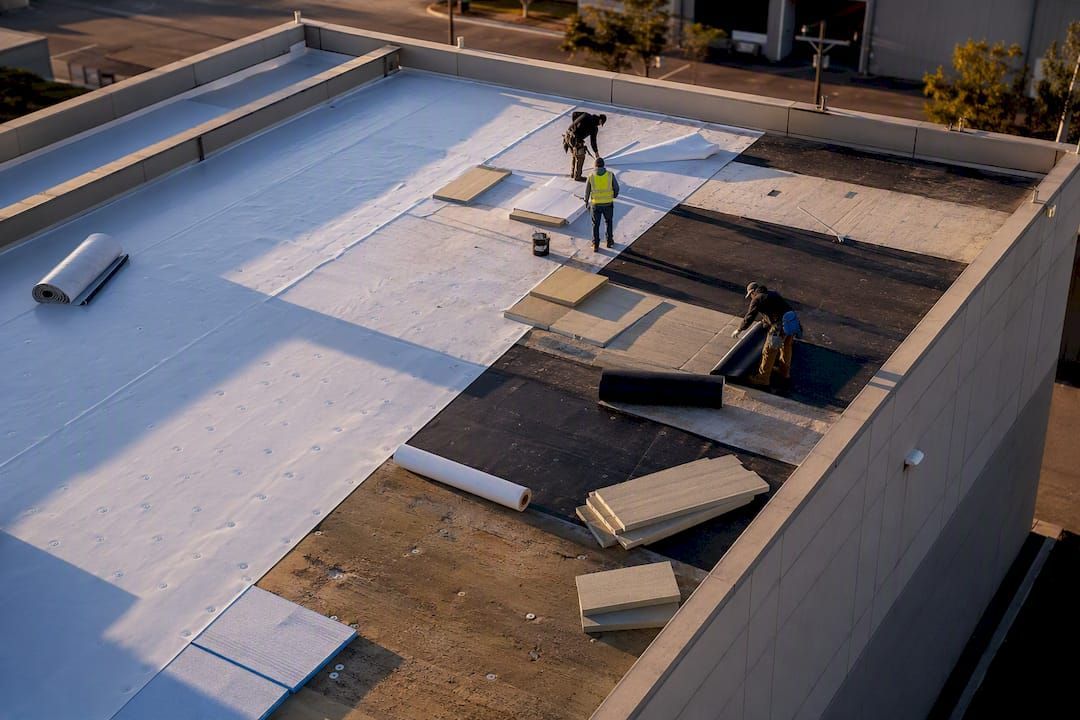
TPO heat welding creates the watertight, load-bearing seam that turns individual single-ply sheets into a continuous, monolithic waterproof membrane. Get the seam right and the system performs. Get it wrong and you have a leak waiting to happen, often invisible until water has already migrated.
What every practitioner needs to know up front:
- Purpose: Heat-welded seams eliminate adhesive dependence, reduce leak paths, and allow the membrane to behave as one unit under wind uplift and thermal movement.
- Primary methods: Hot-air hand welding (Leister Triac-style), automatic welders (Leister Varimat/Varimat V2), and induction welding for plate-attached systems.
- Top three failure risks: Cold welds (insufficient fusion), surface contamination before welding, and peel loading at seam edges.
- Non-negotiable habit: Perform test welds at the start of every day and after any significant break, using the same membrane and substrate you are working on.
Follow manufacturer-specific specs every time. General guidance is a starting point; the product spec supplement is the rule.
Key Takeaways
Heat-welded TPO seams are the structural and waterproofing backbone of any single-ply TPO system, and their quality depends entirely on correct parameters, clean surfaces, and consistent daily testing.
| Point | Details |
|---|---|
| Seam purpose | Heat-welded seams create a monolithic, watertight membrane that shares load across the full sheet width. |
| Test welds are non-negotiable | Versico and other manufacturers require start-of-day and mid-shift test welds on like material and substrate. |
| Load direction matters | Design seams to carry shear loads; peel loading significantly increases rupture risk and reduces service life. |
| Induction welding has thickness limits | Johns Manville approves induction weld plates only for 60 mil and greater TPO membranes. |
| Upstateroofingpros | Provides documented TPO welding, seam inspection, and warranty-compliant installation across Sacramento and Roseville. |
Why TPO can be heat-welded at all
TPO (thermoplastic polyolefin) softens when heated and re-solidifies when cooled, without the irreversible cross-linking that makes thermoset materials like EPDM impossible to fusion-weld. That thermoplastic behavior is what makes heat welding for TPO roofing possible: the polymer surfaces melt, consolidate under roller pressure, and cool into a homogeneous bond. No adhesive, no tape, no separate bonding agent at the seam itself.
A few material variables matter in practice:
- Fillers, stabilizers, and UV/antioxidant packages vary by manufacturer and formulation. They shift the effective temperature window, sometimes by 50°C or more, which is why Versico, Johns Manville, and KÖSTER each publish their own starting parameters rather than a universal table.
- Membrane thickness directly affects how much heat the sheet can absorb before the weld zone becomes plastic. The field commonly uses 45 mil, 60 mil, and 80 mil membranes. Thicker sheets generally require higher temperatures or slower travel speeds to achieve full fusion depth, and they have different starting-point recommendations.
- Aged or weathered membranes may have oxidized surfaces that resist fusion. Clean testing is required before committing to a weld on any membrane that has been exposed for more than a season.
What does the role of TPO heat welding mean for system performance?
A heat-welded seam does three things a lapped-and-taped seam cannot reliably do over a 20-year service life: it creates watertight continuity, it shares mechanical load across the membrane width, and it resists UV degradation at the joint.
Watertight continuity means there is no adhesive layer to creep, dry out, or delaminate. The weld is the membrane. When done correctly, the seam zone is chemically and physically the same material as the parent sheet.
Load sharing matters because TPO roofs move. Thermal cycling, wind uplift, and foot traffic all stress the membrane. A properly formed weld can meet or exceed parent-sheet tensile strength, distributing those forces across the full sheet rather than concentrating them at a lap edge. Seam loading should be oriented in shear, not peel. Peel loading significantly increases rupture risk and reduces service life, which is why flashing details and termination bars are designed to hold the membrane edge in place rather than let it lift.
Reflective TPO membranes also contribute to building energy performance. The U.S. Department of Energy notes that reflective single-ply membranes reduce heat gain, and seam integrity is what keeps that reflective surface continuous and the building envelope watertight.
Pro Tip: If a seam is oriented so that wind or thermal movement would tend to peel the lap edge upward rather than slide it in shear, redesign the detail or add a termination bar before welding. Fixing the geometry costs minutes; repairing a peeled seam costs hours.
Three environmental factors that change seam integrity even when technique is correct:
- Ambient temperature: Cold substrates pull heat away from the weld zone faster, requiring higher machine temperatures or slower speeds.
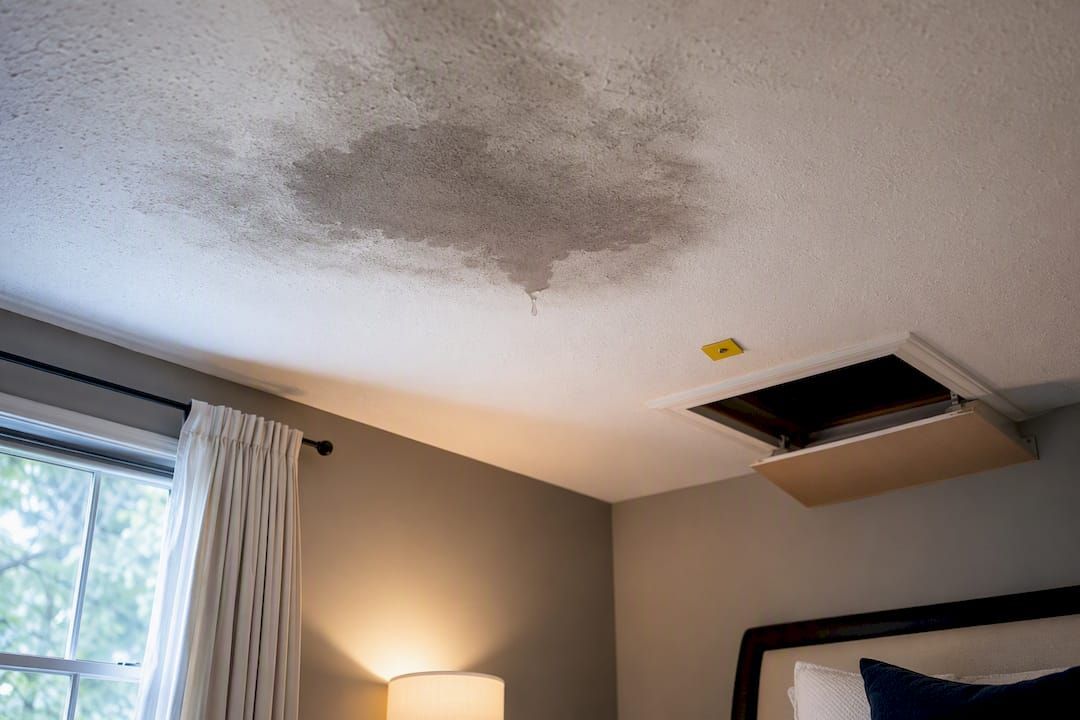
- Surface contamination: Dust, moisture, chalk, or silicone release agents prevent polymer-to-polymer contact. Even a fingerprint can cause a cold weld.
- Wind: Wind cools the nozzle exit air and can blow the hot-air stream off target, producing inconsistent fusion width.
What welding methods are available for TPO?
The right method depends on the work type, the attachment system, and site access. Four methods cover nearly every field situation.
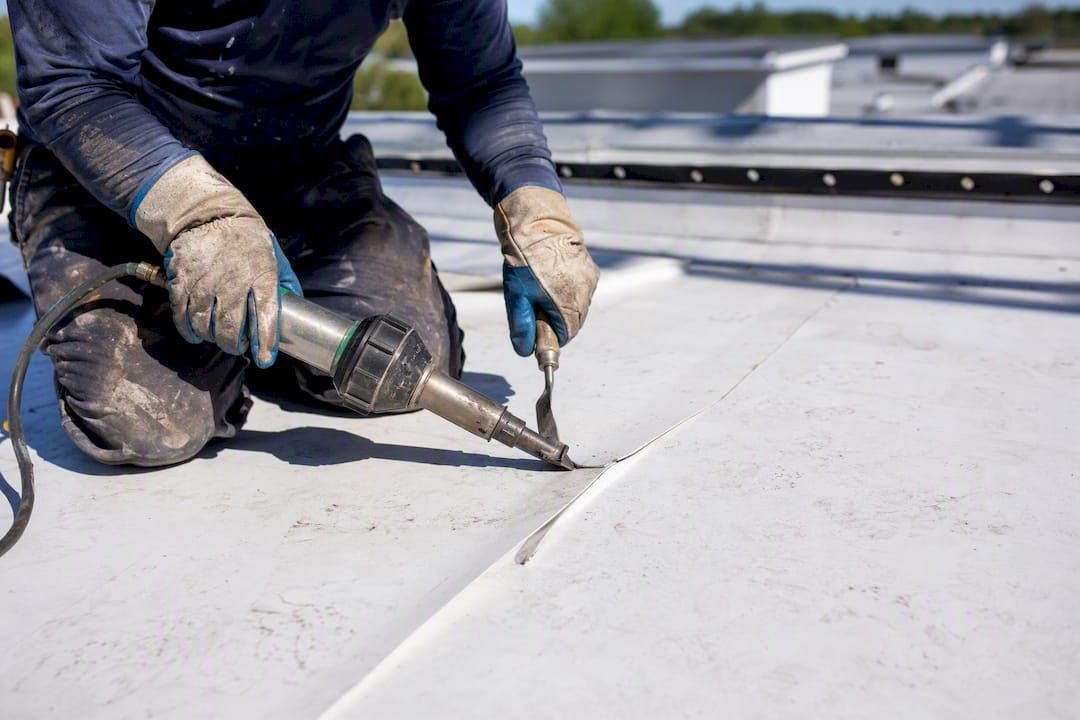
Hot-air hand welding uses a tool like the Leister Triac S or Triac ST, directing a focused stream of hot air between overlapping membrane sheets while a silicone roller consolidates the melt. Hand welding is the standard method for flashings, penetration details, T-joints, and any area where an auto-welder cannot maneuver. It requires a pre-weld tack step to create an air pocket and prevent the sheets from fusing prematurely before the main weld pass.
Automatic welders (the Leister Varimat and Varimat V2 are the most common in the U.S. market) are self-propelled machines that maintain consistent nozzle temperature and travel speed across long field seams. Protan's installation guide lists example settings including the Leister Varimat V2 at 600°C and 3.5 m/min. Auto-welders eliminate the manual pre-weld step because integrated heat shields prevent premature fusion, but they require correct nozzle geometry, machine calibration, and adequate generator capacity.
Induction welding applies electromagnetic energy through the membrane to heat a steel plate beneath it, fusing the membrane to a factory-applied coating on the plate. It is used exclusively for mechanically attached systems where the fastener plates are pre-positioned. Per Johns Manville's TPO Application Guide, induction weld plates are approved only for 60 mil and greater membranes in JM systems. A cooling magnet must be held in place for a minimum of 45 seconds after welding.
Extrusion welding deposits a bead of molten TPO-compatible material into a prepared joint. It is a repair method, not a primary installation method, used for splits, aged seam delamination, or areas where re-fusion of the original material is impractical.
| Method | Best use case | Key limitation |
|---|---|---|
| Hot-air hand welder | Flashings, details, T-joints | Operator-dependent consistency |
| Auto-welder (Varimat) | Long field seams | Cannot access tight details |
| Induction welder | Plate-attached systems | 60 mil+ membrane required (JM) |
| Extrusion gun | Repairs, splits, aged seams | Not a primary installation method |
What equipment and settings do you actually need?
Power and generator requirements
Generator sizing is not optional. The Versico VersiWeld welding guide specifies 6,500 watts for one auto-welder and 3,000 watts for two hand welders operating simultaneously. Running an auto-welder on an undersized generator causes voltage drop, which lowers nozzle temperature mid-seam and produces cold welds without any visible warning sign.
Extension cord gauge matters just as much. Carlisle SynTec's welding guidelines recommend correct extension-cord gauge to prevent resistance-related power loss. A 12-gauge cord rated for the run length is the minimum for most hand welders; longer runs require 10-gauge.
Temperature and speed starting points
Temperature and travel speed interact. Raising temperature without slowing speed produces the same heat input as lowering temperature while slowing down, but the margin for error differs. Starting points from manufacturer guides:
These are starting points from Carlisle SynTec and Protan. Dial in your actual parameters with test welds on the same membrane and substrate before touching the roof.
KÖSTER's installation instructions recommend a welding temperature range of +400°C to +620°C depending on membrane thickness and ambient conditions, with guide values around +600°C at 2–3 m/min for certain membranes.
Substrate and ambient effects
Concrete decks and polyiso insulation boards conduct heat differently. A membrane laid over cold concrete on a shaded morning needs higher machine temperature than the same membrane over polyiso in direct afternoon sun. Wind accelerates nozzle cooling. These are not minor adjustments; a 50°C swing in effective weld-zone temperature is realistic across a single workday.
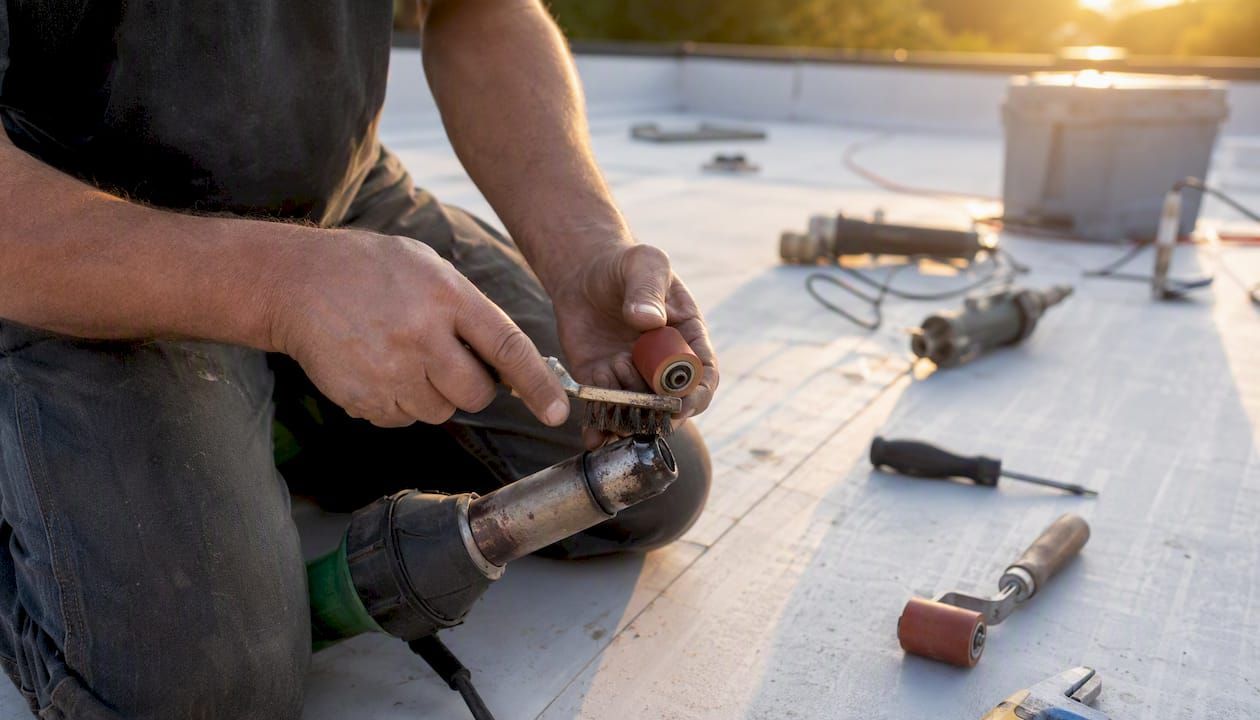
Pro Tip: Clean your nozzle of char buildup at every break and inspect the silicone pressure roller for flat spots or contamination. A charred nozzle restricts airflow and drops effective temperature without changing the dial setting. A worn roller fails to consolidate the melt fully, leaving voids that look fine visually but fail a probe test.
How to perform a TPO heat weld: step-by-step
This procedure covers hand hot-air welding. Auto-welder steps differ where noted.
- Surface preparation. Wipe both membrane surfaces in the overlap zone with a clean, dry cloth. Remove all dust, moisture, chalk lines, and any release agents. Do not use solvent unless the manufacturer's guide specifically permits it for your membrane.
- Secure the membrane. Confirm the membrane is flat, wrinkle-free, and properly lapped per the manufacturer's minimum overlap width. Typical minimum overlap is 3 inches for the weld zone plus the required edge distance.
- Pre-weld tack (hand welding only). Insert the nozzle at the lap edge and run a short tack weld to create an air pocket between the sheets. This prevents premature full fusion and allows the main weld pass to achieve consistent depth. Auto-welders skip this step because the heat shield performs the same function.
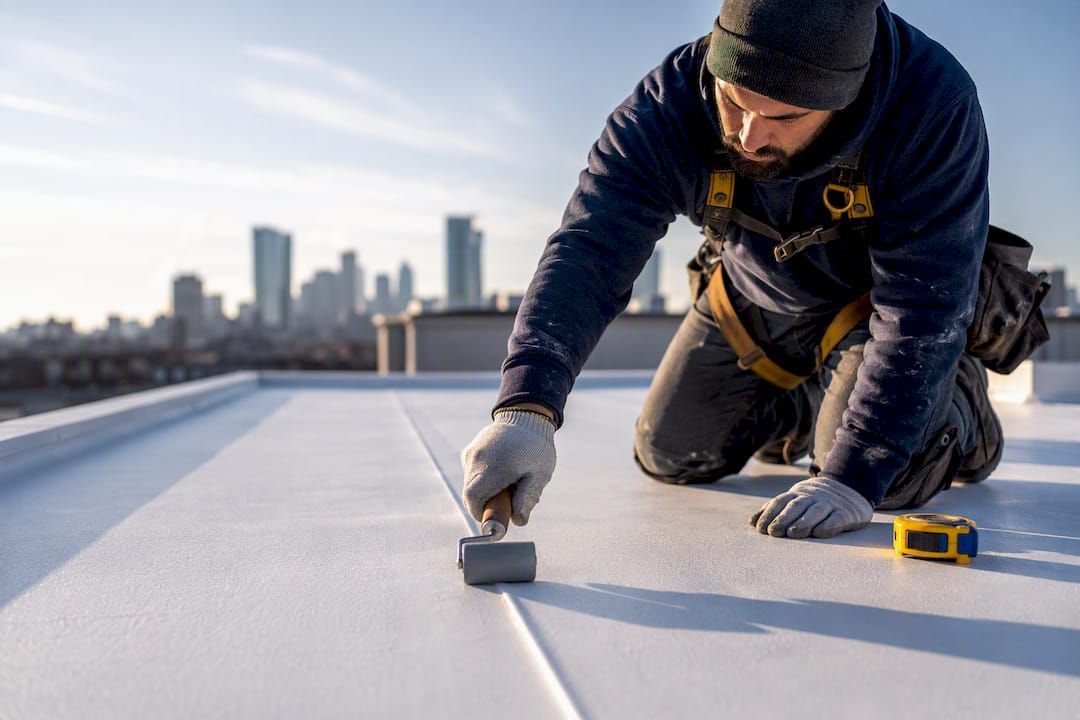
- Main weld pass. Position the nozzle at the correct angle and travel at consistent speed. Apply immediate roller pressure behind the nozzle. BestMaterials' TPO welding guide specifies rolling across the hot seam at a 45° angle with a 2" silicone roller immediately after the nozzle passes. A correctly formed weld produces a small, consistent bead at the seam edge, approximately 1 mm wide for many systems.
- Allow the seam to cool. Do not probe or stress the seam while it is still warm. Premature probing can tear a seam that would have been acceptable once fully cooled.
- Probe test. Use a blunt probe tool and run it along the seam edge with moderate pressure. Any area that opens, lifts, or feels soft is a cold weld or void. Mark failures immediately.
- Repair failed areas. Re-weld or apply a cover strip per manufacturer guidance. Re-test after repair.
- Log results. Record the start-of-day test weld parameters, the membrane lot, ambient temperature, and any corrective actions taken. This documentation supports warranty claims.
Pro Tip: Perform a destructive pull test on your morning test weld before starting production work. Peel the test piece apart and confirm the failure mode is cohesive (material tears) rather than adhesive (sheets separate cleanly at the interface). Adhesive failure means the weld never fully fused.
How do you inspect and test welded seams?
Visual and immediate field checks
A good weld looks consistent. The bead at the seam edge should be uniform in width, with no gaps, bubbles, or char marks. Inconsistent bead width signals speed variation. No bead at all usually means the temperature was too low or travel was too fast.
Probe testing
Probe testing is the standard field QA method. Run a blunt probe tool along the seam edge under firm, consistent pressure. Industry practice and most manufacturer guides recommend probing after the seam has fully cooled, typically more than 24 hours after welding for standard field QA. Probing a warm seam produces false positives and can damage an acceptable weld.
Destructive testing
Destructive pull tests are used for acceptance sampling and when probe tests reveal repeated failures. Cut a sample from the seam, typically 1 inch wide, and pull it apart. A passing weld fails cohesively through the membrane material, not adhesively at the weld interface. Document the sample location, parameters, and result.
- Perform destructive tests on start-of-day test welds before production.
- Escalate to more frequent destructive sampling if probe tests show a pattern of failures.
- Keep a written log of all test results, including failures and corrective actions.
Versico's VersiWeld guide requires test welds each morning and afternoon using like material over the same substrate, which is the industry-standard QA cadence that most reduces cold-weld incidents when followed consistently.
Installer and inspector checklist: best practices and red flags
Daily routine
- Perform and document a test weld at the start of each shift and after any significant break.
- Verify generator output and extension cord gauge before starting.
- Inspect nozzle for char and roller for wear before the first weld of the day.
- Confirm membrane surfaces are clean and dry.
Safety on site
Wear heat-resistant gloves when handling the nozzle or freshly welded seams. Position generators downwind of the work area and away from membrane rolls to prevent exhaust contamination. Use fall protection per OSHA requirements on any low-slope roof with unprotected edges. Keep the hot-air nozzle pointed away from personnel and combustibles when not actively welding.
Red flags that should stop work
Documentation for warranty protection
Most manufacturer warranties require documented evidence of correct installation. Keep records of machine settings, test-weld results, membrane lot numbers, ambient conditions, and any corrective actions. Versico, Johns Manville, and other manufacturers have specific inspection report formats; use them.
Pro Tip: Photograph your morning test weld next to a ruler and your parameter log sheet. That image, timestamped and stored with the project file, is the fastest way to demonstrate due diligence if a warranty claim arises later.
Troubleshooting common seam problems
Common failure modes
- Cold welds: The most frequent failure. Caused by insufficient temperature, excessive travel speed, contaminated surfaces, or power drop from an undersized generator. Cold welds often look acceptable visually but open immediately on probe testing.
- Thermal fatigue and seam delamination: Long-term cycling stress at the seam edge, often accelerated by peel loading. Visible as edge lifting or cracking along the weld line.
- Contamination failures: Silicone, oil, chalk, or moisture in the weld zone prevents polymer fusion. The seam peels apart cleanly with no material transfer.
- Overheating and char: Excessive temperature or insufficient travel speed burns the membrane surface, weakening the material adjacent to the weld.
Repair decision flow
- Probe the suspect area to define the extent of the failure.
- Small, localized cold welds (under 6 inches): clean the area, re-weld with correct parameters, and re-probe after cooling.
- Contamination failures: remove the contaminated material, clean both surfaces thoroughly, apply a cover strip or patch per manufacturer guidance, and weld the patch edges.
- Extensive delamination or repeated failures in a zone: cut out and replace the affected section. Re-test the replacement seams.
- Re-test all repaired areas with probe and, where required, destructive sampling before closing out the repair.
For leak detection and repair on systems where the failure extent is unclear, a professional diagnostic inspection is the right first step before committing to a repair scope.
Can you weld TPO to other materials or aged membranes?
TPO to PVC
TPO and PVC are chemically different. Fusion welding TPO directly to PVC is generally not recommended unless both products and the manufacturer's guidance explicitly permit it. Where a TPO system meets a PVC membrane, use mechanical or adhesive transitions as specified. Never assume compatibility based on appearance alone.
Aged and weathered TPO
Oxidized membrane surfaces resist fusion. Cleaning is required before any weld attempt on aged material, and a test weld on the actual aged surface is mandatory before production welding. Some weathered membranes can be successfully welded after thorough cleaning; others cannot. Follow manufacturer guidance and test first. If test welds fail cohesively after cleaning, the membrane may need replacement rather than repair.
Thickness and induction welding limits
Induction welding has hard thickness requirements. Johns Manville approves induction weld plates only for 60 mil and greater TPO membranes in their systems. Attempting induction welding on 45 mil membrane in a system that does not approve it risks incomplete fusion and voids the warranty. Always confirm the membrane thickness and the manufacturer's induction approval before specifying that attachment method.
| Scenario | Recommended approach |
|---|---|
| TPO to TPO (same manufacturer) | Heat fusion per manufacturer guide |
| TPO to PVC | Mechanical or adhesive transition; no fusion |
| Aged TPO, surface oxidized | Clean, test weld, confirm cohesive failure before production |
| 45 mil TPO, induction system | Verify manufacturer approval; most systems require 60 mil+ |
| 60 mil+ TPO, induction system | Follow JM or manufacturer plate and cooling magnet specs |
Which manufacturer guides and standards should you consult?
No single generic guide overrides the product-specific spec supplement. These are the primary sources:
- Versico VersiWeld TPO Welding Guide: Equipment start settings by membrane thickness (45, 60, 80 mil), generator wattage requirements, and the mandatory start-of-day test-weld protocol.
- Johns Manville TPO Application Guide: Induction welding procedures, plate requirements, cooling magnet hold times, and seam loading guidance.
- KÖSTER TPO Installation Instructions: Temperature ranges (+400°C to +620°C), pre-weld tack procedure, and minimum homogeneous weld width of 2 cm.
- Protan FPO/TPO Installation Guide: Leister model-specific settings, nozzle and roller specs, and automatic welding procedural differences.
- Carlisle SynTec TPO and PVC Welding Guidelines: Cold weld prevention, auto-welder starting tables, and maintenance best practices.
For industry-level standards, NRCA (National Roofing Contractors Association) publishes installation guidelines that reference ASTM test methods for seam strength and peel resistance. ASTM D6392 covers geomembrane seam strength and is referenced in some TPO acceptance protocols. When writing a specification, name the applicable ASTM test method and the minimum acceptance value, not just a generic "pass/fail" requirement.
Always contact the manufacturer's technical service team before deviating from the published spec. That conversation, documented in writing, is your best protection if a warranty question arises.
When should you hire a licensed TPO installer instead of doing it yourself?
A knowledgeable DIYer can handle minor repairs, such as a small cold weld or a localized cover-strip patch, provided they follow manufacturer instructions, use the correct equipment, and perform test welds to verify results. The threshold for professional help is lower than most people expect.
Hire a licensed installer for:
- Any work covered by a manufacturer warranty. Warranty compliance requires documented installer credentials and inspection records that a DIYer cannot provide.
- Long field seams on new or replacement membrane. Consistent auto-welder operation across hundreds of linear feet requires calibrated equipment and trained operators.
- Induction-welded attachment systems. The plate layout, membrane positioning, and cooling protocol have no margin for improvisation.
- Complex flashing details at penetrations, walls, and drains. These are the highest-risk areas on any TPO roof and the most common source of leaks when done incorrectly.
- Repeated weld failures. If probe tests keep failing after parameter adjustments, the root cause may be equipment, membrane compatibility, or substrate conditions that require professional diagnosis.
Hiring a licensed contractor also produces the documented QA evidence, including test-weld logs and inspection reports, that manufacturers require for warranty claims. That paper trail has real dollar value if a leak occurs five years from now.
Upstate Roofing handles TPO welding the right way
TPO seam quality comes down to trained hands, calibrated equipment, and documented process. Upstateroofingpros brings all three to every TPO roofing project across the Sacramento and Roseville region.
Every Upstateroofingpros TPO installation follows start-of-day test-weld protocols, parameter logging, and seam inspection documentation that satisfies manufacturer warranty requirements. Whether you need a new commercial TPO system, a seam repair on an existing membrane, or a professional roof inspection to assess weld integrity before a warranty claim, the team is equipped to handle it. For seam failures already causing leaks, roof repair services are available across the Sacramento metro area. Contact Upstateroofingpros to schedule an assessment and get a documented scope of work before the next rain season.
Sources
Recommended
Recent Posts