Roof Insulation's Role in Temperature Control and Savings
Roof Insulation's Role in Temperature Control and Savings
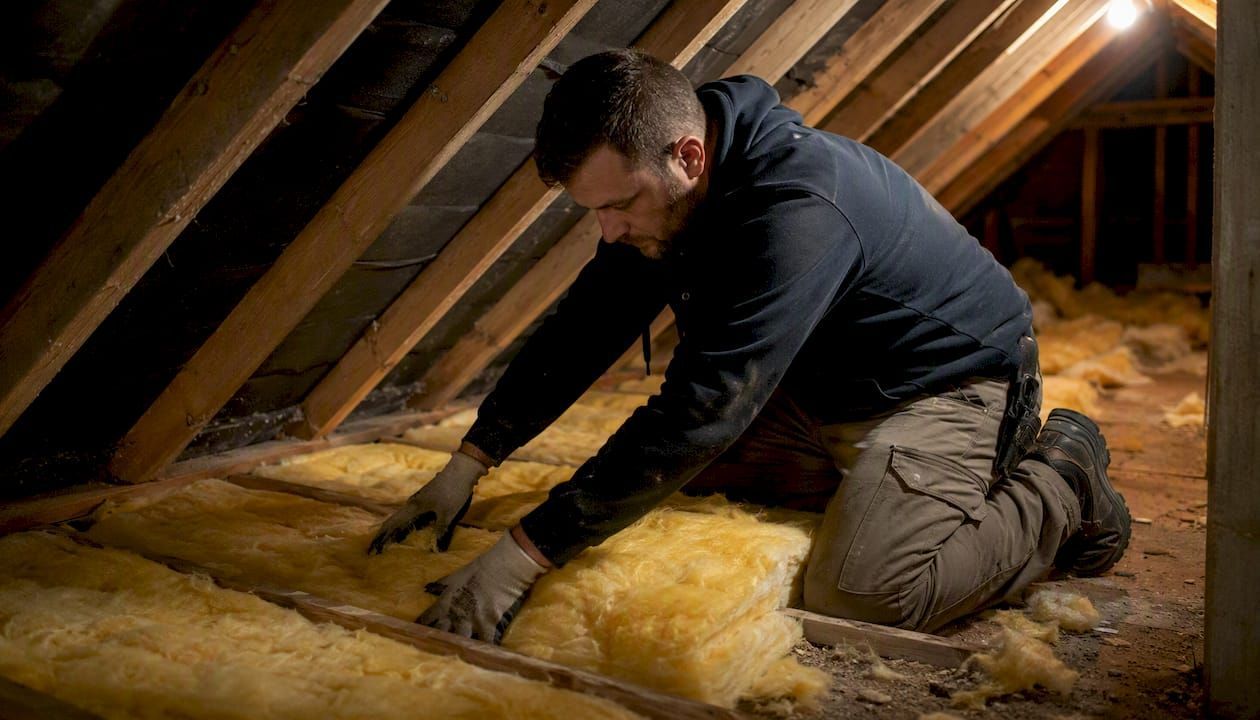
Roof insulation slows the transfer of heat between your attic and the outdoors, which stabilizes indoor temperatures and reduces how hard your HVAC system has to work. The payoff shows up on your utility bill: the U.S. Department of Energy finds that properly insulating and air sealing a home can cut total annual energy costs by up to 10%, with heating and cooling savings reaching up to 20%.
Quick math: If your household spends $2,400 a year on energy, a well-executed insulation and air-sealing upgrade could realistically save you $240 to $480 annually. That's the range this article works from throughout.
That's the headline number. What follows covers how insulation actually blocks heat, which materials perform best in which situations, how much R-value you need for your climate, the installation details that separate a good job from a wasted one, warning signs your current insulation has failed, and a real-world payback example so you can decide whether an upgrade is worth it this year or next.
Key Takeaways
| Point | Details |
|---|---|
| Get insulation depth measured | Check attic insulation depth in multiple spots before assuming you need a full upgrade. |
| Air-seal before you insulate | Seal attic leaks first since air leakage often costs more than conduction alone. |
| Match material to climate and roof type | Choose between batts, cellulose, spray foam, or rigid board based on climate, access, and thermal bridging concerns. |
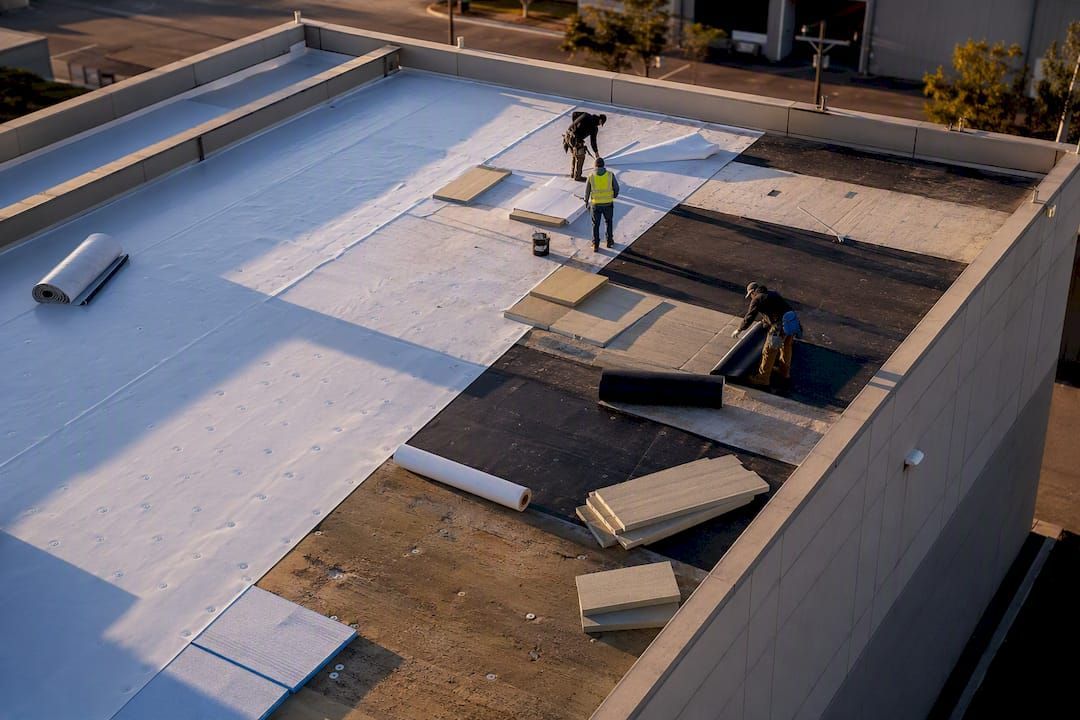
| Time upgrades with roof replacement | Roof replacement is the easiest window to add continuous or above-deck insulation. |
| Get a professional assessment | Upstate Roofing's roof inspection checks insulation, air leaks, ventilation, and deck condition together before recommending an upgrade. |
What is the role of roof insulation in a home or building?
Insulation's job is simple to state and harder to execute well: it adds resistance to heat flow, measured as R-value, so less heat escapes in winter and less heat enters in summer. That resistance is what the Department of Energy defines as the core function of insulation — slowing three distinct types of heat movement that happen simultaneously in every roof assembly.
Conduction is heat moving through solid materials in direct contact, like heat traveling through a rafter or through insulation that's been compressed by storage boxes. Convection is heat carried by moving air, which is why a drafty attic with plenty of fluffy insulation can still perform poorly. Radiation is heat transferred as electromagnetic waves, the reason a dark asphalt shingle roof bakes an attic even on a mild day. Radiant barriers, thin reflective sheets installed under the roof deck, specifically target that third mechanism.
R-value quantifies resistance to conductive heat flow. Higher numbers mean better insulating performance, but the relationship isn't linear. Going from R-0 to R-19 delivers dramatic savings. Going from R-38 to R-49 delivers real but smaller gains, since you're addressing a shrinking share of total heat loss. That's diminishing returns in practice, not a reason to skip insulation, just a reason to be realistic about where the biggest wins are.
A few terms worth knowing before you talk to a contractor:
- R-value : the numeric measure of resistance to heat flow; higher is better, and it's typically stated per inch of material thickness.
- Thermal bridging : heat escaping through framing members (rafters, trusses) that have little or no insulation around them, effectively short-circuiting your insulation's performance.
- Radiant barrier : a reflective material that reduces radiant heat gain, most useful in hot, sunny climates with vented attics.
Pro Tip: Insulation only performs to its rated R-value in a sealed envelope. Air leaking through gaps, can-light housings, and attic hatches carries heat straight past your insulation, which is why air sealing before insulating is the standard whole-house approach recommended by Building America.
What benefits does roof insulation actually deliver?
The primary payoff is lower energy use, but that's only one of five benefits worth counting. Comfort, moisture control, noise reduction, and roof longevity all ride along with a properly insulated roof.
- Energy and cost savings : Less heat lost in winter and less heat gained in summer means your furnace and air conditioner run less, directly lowering your utility bill.
- Improved comfort : Insulation evens out temperature swings between rooms and reduces that clammy, drafty feeling near exterior walls and ceilings.
- Moisture and condensation control : A well-insulated, properly ventilated roof assembly keeps warm, moist interior air from condensing on cold roof sheathing, which prevents the rot and mold that damp insulation invites.
- Noise reduction : Dense insulation materials dampen sound transmission from rain, wind, and outdoor traffic, a benefit that has little to do with energy but a lot to do with quality of life.
- Extended roof life : Reducing moisture buildup and thermal cycling stress on roof assemblies protects decking and shingles from premature wear.
Those energy savings scale with how under-insulated your roof currently is. A home with bare attic joists sees dramatic improvement from adding insulation; a home already near recommended levels sees smaller gains from adding more. The Energy Star insulation fact sheet puts whole-house savings from insulating attics, floors, and rim joists at up to 20% on heating and cooling, and roughly 10 to 15% on total energy use depending on where you're starting from. For commercial buildings, the payoff can be even larger per unit of insulation installed, since the Insulation Institute has found thermal insulation in commercial envelopes tends to yield higher normalized emission savings than typical residential retrofits.
Which roof insulation material is right for your building?
There's no single best material. The right choice depends on your climate, roof geometry, attic access, and budget, and most successful projects combine more than one type.
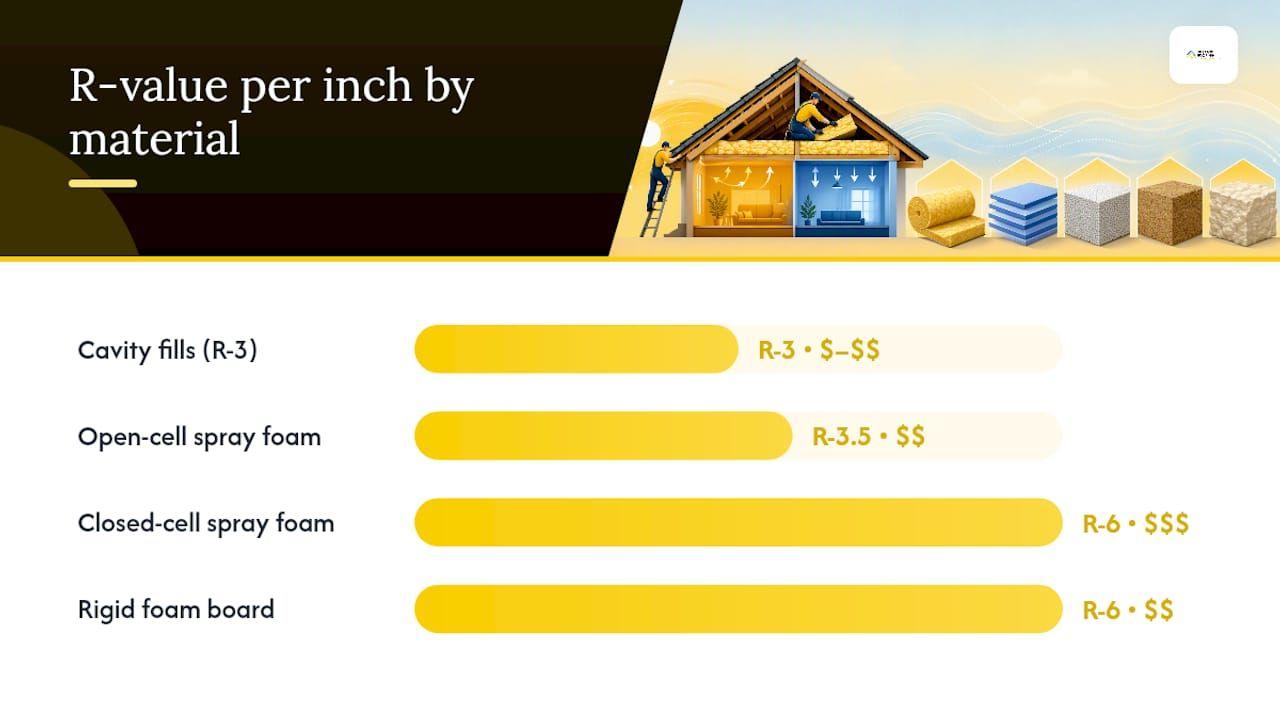
Fiberglass batts are the most familiar option, cheap and widely available, but they lose performance fast if compressed or installed with gaps. Blown cellulose fills irregular attic spaces well and offers decent air-flow resistance, though it settles over time and needs to stay dry. Mineral wool resists fire and moisture better than fiberglass and holds its shape, at a higher cost per square foot. Open-cell spray foam expands to seal gaps and air leaks in one step, useful for irregular framing, but it costs more than batts and cellulose. Closed-cell spray foam delivers the highest R-value per inch and adds structural rigidity, at the highest material cost of the group. Rigid foam board , installed above or below the roof deck, reduces thermal bridging better than any cavity-fill option, which matters most on complex roof geometries. Radiant barriers don't add R-value in the traditional sense but reduce radiant heat gain, making them a strong add-on in hot, sunny regions with vented attics.
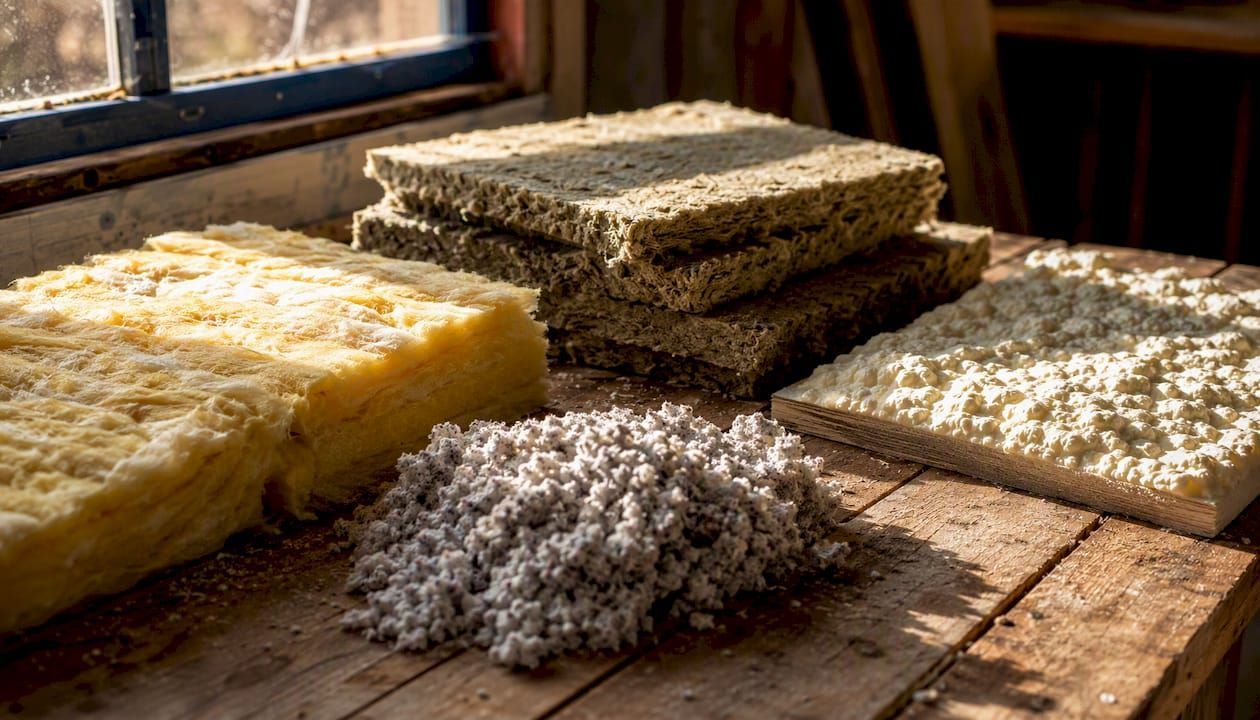
| Material | Typical R-value per inch | Cost notes |
|---|---|---|
| Fiberglass batts | R-3 | Lowest material cost; DIY-friendly |
| Blown cellulose | R-3 | Moderate cost; needs professional blowing equipment |
| Mineral wool | R-3 | Higher cost than fiberglass; better fire/moisture resistance |
| Open-cell spray foam | R-3.5 | Higher installed cost; air-seals as it insulates |
| Closed-cell spray foam | R-6 | Highest per-inch cost; adds rigidity |
| Rigid foam board | R-6 | Moderate to high cost; best at reducing thermal bridging |
Pro Tip: In cooling-dominated climates, pair standard cavity insulation with a radiant barrier under the roof deck. It targets the heat gain mechanism that cavity insulation alone doesn't fully address. On complex roof geometries, research from Building Science Corporation on high-R roof assemblies shows that continuous exterior or above-deck rigid foam consistently reduces thermal bridging better than cavity fill alone, especially where framing members interrupt the insulation layer.
How much roof insulation do you actually need?
The right R-value depends on your climate zone and, just as important, what's already up there. If your attic has little or no insulation, adding it delivers the biggest jump in performance you'll see from any single upgrade, and that's where to start before worrying about incremental improvements elsewhere.
Diminishing returns are real here. Doubling insulation from R-11 to R-22 in a cold climate can meaningfully cut heat loss. Doubling again from R-38 to R-76 barely moves the needle, since the marginal heat loss being addressed is already small. That's why most climate-based guidance caps recommendations rather than pushing toward ever-higher numbers.
Rough attic R-value targets by climate band:
- Warm climates (Southern U.S.) : R-30 to R-49 is typically adequate for most attics.
- Mixed climates : R-38 to R-49 balances heating and cooling needs.
- Cold climates (Northern U.S.) : R-49 to R-60 is common guidance for well-insulated attics.
- Conditioned (unvented) attics : often use continuous foam at the roofline instead of loose-fill depth, changing the calculation entirely.
Adding insulation without addressing sealing and ventilation is a half-measure. Extra R-value in a leaky, poorly ventilated attic still lets convective heat loss and moisture problems undercut the investment, which is a big part of why Building America's guidance frames air sealing and insulation as a paired job, not two separate ones.
What installation details actually determine performance?
Good material choice means nothing if the installation is sloppy. Air sealing, correct depth without compression, proper ventilation, and moisture management are what separate insulation that performs at its rated R-value from insulation that quietly underperforms for twenty years.
A contractor doing this correctly will check off several things:
- Seal attic air leaks (top plates, wiring penetrations, plumbing stacks, attic hatch) before adding insulation.
- Install baffles at the soffits so insulation doesn't block intake ventilation.
- Maintain proper clearance around heat-producing fixtures like chimneys and non-IC-rated recessed lights.
- Insulate around the attic access hatch itself, a spot almost always overlooked.
- Avoid compressing batts to fit tight spaces, since compression reduces effective R-value significantly.
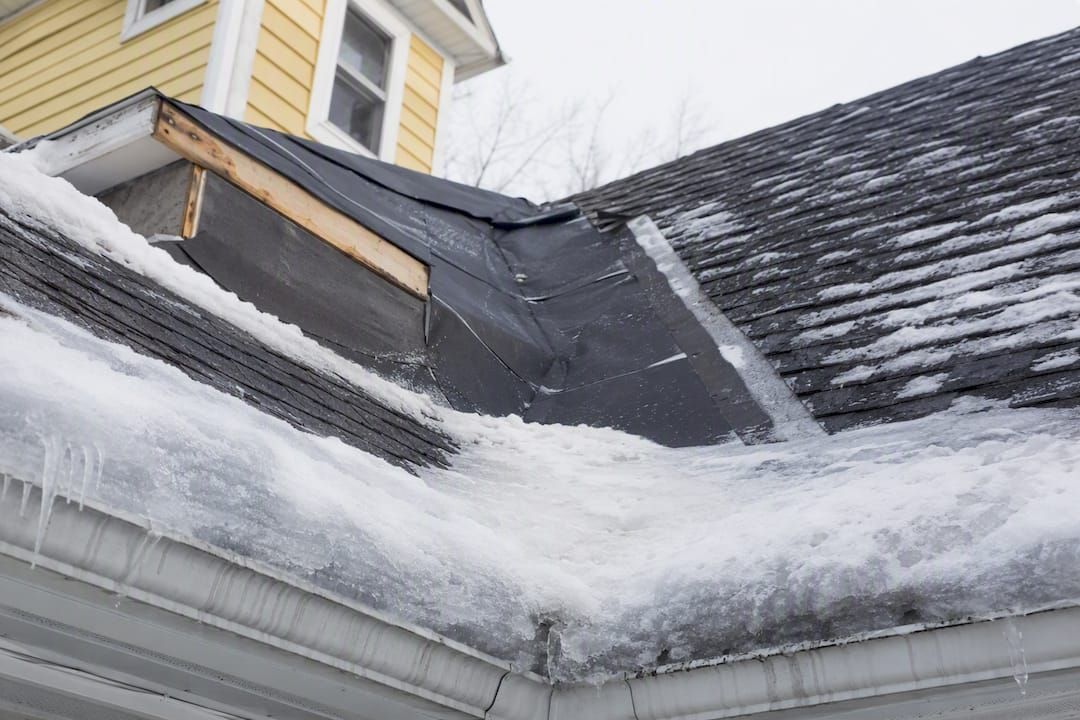
Watch for this: A misapplied vapor barrier on the wrong side of the insulation, batts crushed to fit a shallow joist bay, or blocked soffit vents in a cold climate can all trap moisture against the roof deck. In cold regions specifically, blocked ventilation combined with heat escaping through a poorly insulated attic is a classic setup for ice dams, where melting snow refreezes at the eaves and backs water up under shingles.
Pro Tip: Sequence matters. Air-seal first, insulate second, then verify ventilation is still working as designed. Doing it in any other order means paying to insulate over leaks you'll have to undo later.
How can you tell if your insulation is underperforming?
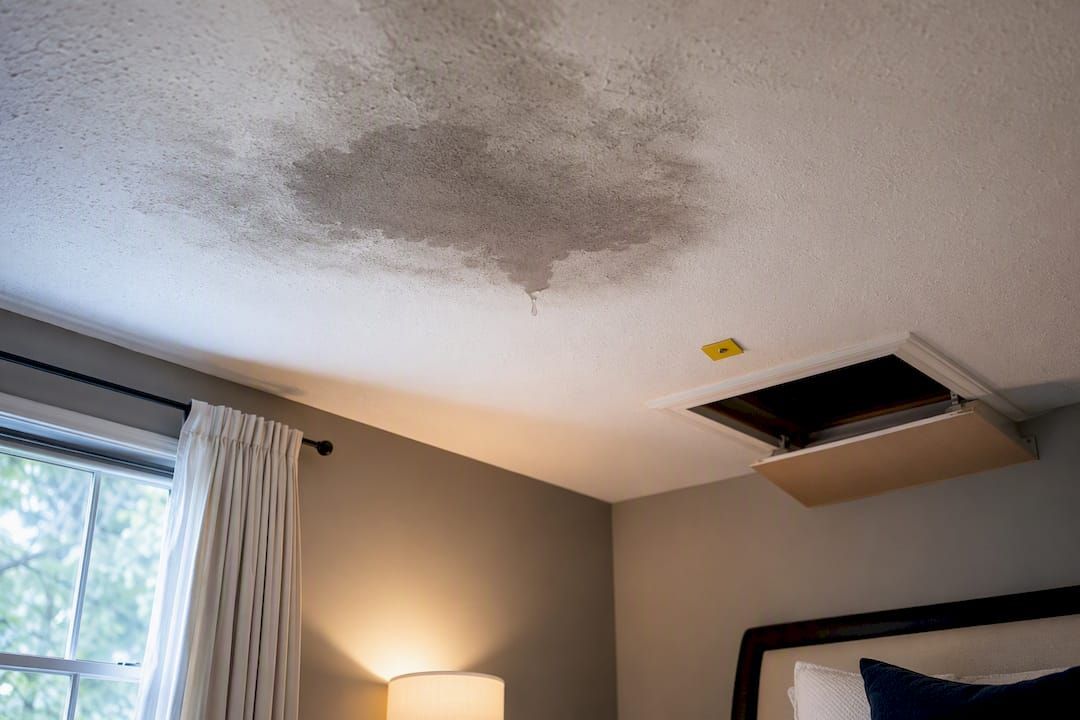
Several signals point to insulation that isn't doing its job, and most of them are visible without opening up the roof. High or rising energy bills relative to past years, uneven temperatures between rooms or floors, ice dams forming along the eaves in winter, visibly thin or settled insulation in the attic, and condensation or musty smells near the roofline are the five to watch for.
A basic DIY check takes twenty minutes:
- Measure insulation depth in a few spots with a tape measure or ruler; less than 8 to 10 inches of loose fill in a cold climate is a red flag.
- Look for daylight coming through the roof deck from inside the attic, a sign of gaps or damage.
- Feel for drafts around the attic hatch, recessed lights, and any fixture penetrations.
- Inspect for mold, dark staining, or condensation on the underside of the roof deck.
- Compare your last twelve months of energy bills against the prior year, adjusting for any change in usage or weather.
Pro Tip: Measure insulation depth near the attic hatch and again near the eaves, since depth often varies across the attic floor. Photograph what you find, ideally with a tape measure in frame, before calling a contractor. It gives them a real starting point instead of a guess.
What does a roof insulation upgrade cost, and how fast does it pay back?
Insulation upgrades tend to pay for themselves faster than most home improvements, particularly when you're starting from an attic with little or no existing insulation. Many projects recover their cost in roughly four to seven years, and Oklahoma State Extension case studies on residential insulation upgrades cite paybacks as short as four to five years in situations starting from minimal insulation.
Here's a simple worked example using the DOE's savings range. Say your household currently spends $2,400 a year on energy and your attic has almost no insulation. Applying the DOE's cited up to 20% savings on heating and cooling from insulation and air sealing, your projected annual savings would fall somewhere in this range depending on how much of your bill is heating and cooling versus other loads:
| Input or output | Value |
|---|---|
| Baseline annual energy spend | $2,400 |
| Projected savings (up to 20% on heating/cooling) | $240 to $480 per year |
| Estimated project cost (attic insulation + air sealing) | $1,500 |
| Simple payback period | Roughly 4 years |
Where you spend first matters more than how much you spend. Air sealing costs less than insulation and often unlocks a larger share of the total savings, since leaks let conditioned air escape regardless of how much R-value sits above it.
- Air seal first. It's cheaper per dollar of savings and makes every subsequent insulation dollar work harder.
- Add attic insulation second , focusing on areas measured thin or absent during your DIY check.
- Reassess ventilation once insulation depth changes, since blocked soffits undo the benefit of everything else.
What happens during a professional roof insulation assessment?
A thorough professional inspection looks at insulation levels, air leakage paths, attic ventilation, the condition of the roof decking, and any signs of existing moisture damage, not just how many inches of insulation sit on the attic floor.
- Measure existing insulation depth and estimate current R-value across multiple points in the attic.
- Check for air leakage at penetrations, top plates, and the attic hatch, sometimes using infrared imaging or a blower-door test where available.
- Inspect any ductwork routed through the attic for leaks or poor sealing, a common source of hidden energy loss.
- Look for condensation staining, rot, or mold on the roof deck and framing.
- Document findings with photos and a written scope before recommending a course of action.
Pro Tip: Ask your contractor for photo documentation of the attic before and after work, a written scope of exactly what's being added and where, and details on warranty coverage for both materials and labor. Confirm the contractor is licensed and insured, and ask how they handle sequencing between air sealing and insulation. A roof inspection is also the natural time to flag deck or flashing issues that would otherwise go unnoticed until they cause a leak.
Why isn't insulation alone always enough?
Insulation performs best as part of a system, not a standalone fix. Air sealing, duct sealing, proper ventilation, and moisture management all interact with your insulation's effectiveness, and skipping any one of them leaves savings on the table.
- Air sealing : Gaps and penetrations let conditioned air escape regardless of how much insulation sits above them; sealing first is what Building America's whole-house approach is built around.
- Duct sealing : Ductwork routed through an unconditioned attic loses conditioned air through joints and seams, sometimes canceling out a meaningful share of insulation's benefit.
- Ventilation improvements : Balanced intake and exhaust airflow prevents moisture buildup and heat accumulation that insulation alone can't fix.
- Window and door upgrades : These address heat loss paths insulation never touches, and pairing them with roof work rounds out a genuinely tight envelope. Window coverings like insulated shutters can meaningfully reduce heat loss through glazing, an area Shutter World's guide on shutters and thermal performance covers in more depth.
Pro Tip: Follow this order for the best return on your money: air-seal first, insulate second, then tackle ventilation and duct sealing. Reversing that order means insulating over problems you'll eventually have to reopen the attic to fix.
A publisher's perspective on getting roof insulation right
Most articles on this topic treat insulation like a product you buy off a shelf, R-value as a number you shop for. That framing misses what actually determines whether an upgrade pays off. In our experience assessing roofs across a wide range of ages and conditions, the projects that disappoint homeowners are almost never the ones where the wrong material got chosen. They're the ones where good material got installed over unsealed air leaks, blocked ventilation, or a roof deck already showing early moisture damage nobody caught first.
A whole-house approach isn't a marketing phrase. It's the difference between insulation that delivers its rated R-value and insulation that looks fine on paper while your energy bill barely moves. That's why we lean on inspection before installation, not because it's an upsell, but because skipping it means guessing at problems that show up later as ice dams, mold, or a roof that fails years before it should.
Call a professional before a DIY insulation add-on if you're also planning a roof replacement, if you have a finished attic with limited access, or if you've spotted any staining, softness in the decking, or musty smell during your own inspection. Those are situations where insulating over an existing problem does more harm than good.
Pro Tip: If a roof replacement is already on your calendar, that's the ideal time to upgrade insulation, since exterior and continuous insulation approaches are far easier to execute properly when the roofing is already off.
Ready to find out where your roof stands?
Upstate Roofing gives you something a generic insulation contractor can't: a team that inspects the roof deck, flashing, and ventilation at the same time as the insulation, so you're not paying twice when a hidden leak or a rotted section turns up mid-project. Our licensed crews handle everything from a straightforward attic insulation upgrade to a full roof replacement timed to make continuous insulation easier to install.

If you're not sure where your roof stands, start with a roof inspection that checks insulation levels, air leaks, and deck condition in one visit. Found a leak or moisture damage along the way? Our leak detection and repair service addresses it before it undermines a new insulation job. And if your roof is already due for replacement, ask us about pairing it with an insulation upgrade so you only disrupt your attic once. Reach out to Upstate Roofing to schedule an inspection and get a straightforward quote for your specific attic and roof.
Where to go for deeper technical guidance
For readers who want to dig into the standards and research behind these recommendations rather than take a contractor's word for it, a handful of sources are worth bookmarking.
- Building America's whole-house insulation guide covers air sealing sequencing and moisture control for complex retrofits.
- Continuousinsulation.org's residential roof guidance is useful if you're weighing a conditioned attic against a traditional vented design.
- The Insulation Institute's commercial environmental considerations page is the better starting point for property managers evaluating emissions impact at scale.
- Oklahoma State Extension's insulation fact sheet offers real payback case studies rather than theoretical estimates.
Climate-specific R-value tables and local contractor input still matter more than any general guide, since attic conditions, energy prices, and existing insulation vary enough from house to house that a national average can only get you so far.
Sources
- Insulation and air sealing (HUD user summary referencing DOE guidance)
- Insulation fact sheet (Energy Star / DOE resource)
- Insulation guide (Building America / DOE)
- The importance of residential and commercial building insulation (Oklahoma State Extension)
- Environmental considerations for commercial insulation (Insulation Institute)
Recommended
Recent Posts