
Discover what roof overlay is and how it can save you money and time. Learn about its benefits, risks, and comparisons to roof replacement.
Learn how TPO installation works to enhance your roof’s durability. Discover the step-by-step process for a successful roofing project.

Discover the critical role of building envelope roofing. Understand how it impacts energy efficiency, indoor air quality, and the durability of your home.

Discover how to increase home value roofing upgrades can boost resale prices and appeal to buyers in 2026. Invest wisely today!
Discover the critical role of building envelope roofing. Understand how it impacts energy efficiency, indoor air quality, and the durability of your home.
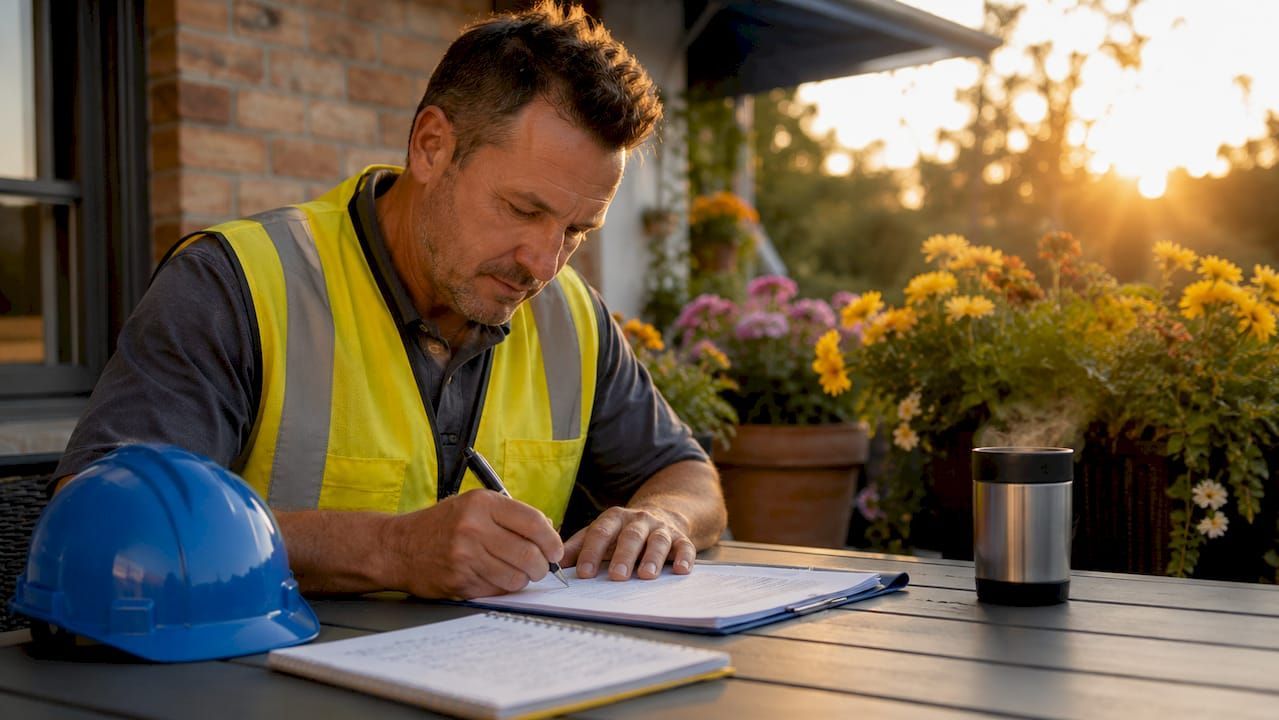
Discover the role of roofing contractor license for protection against costly mistakes. Learn how it ensures safety and legality in roofing work.

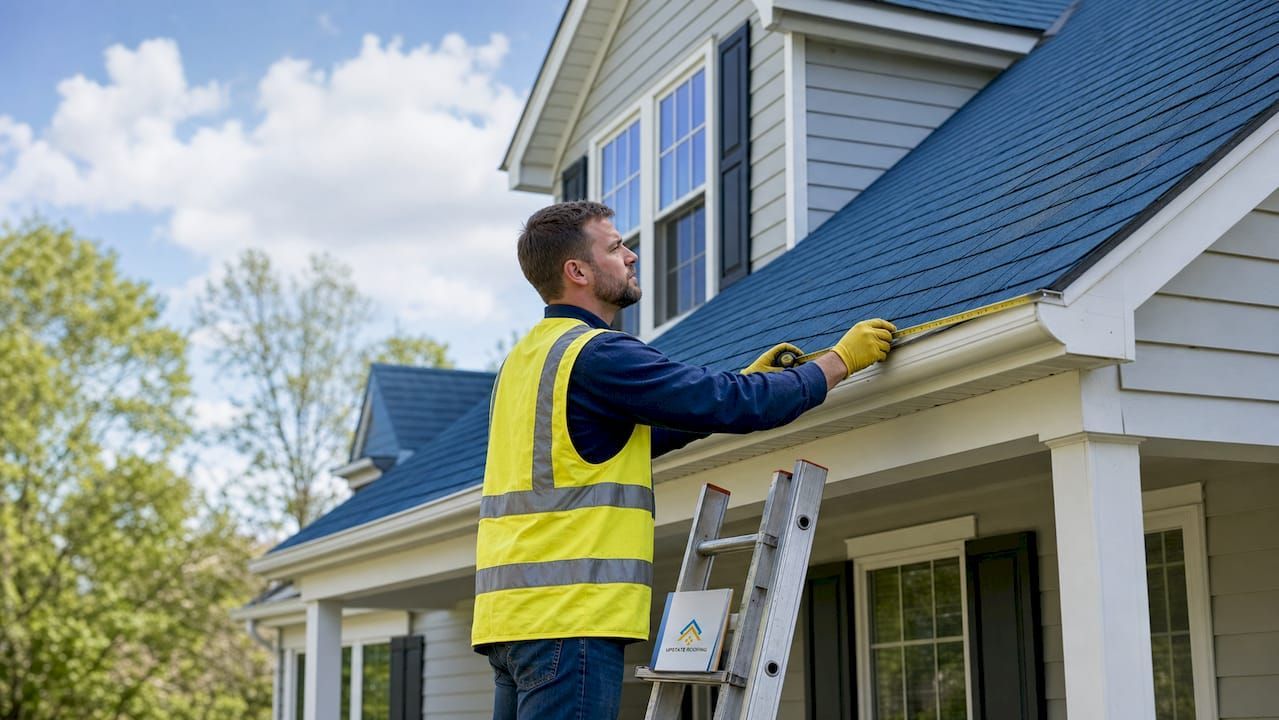
Understand what does a roofing bid include. Get detailed insights into materials, costs, and timelines to protect your budget.

Explore the types of roofing insulation for commercial buildings. Discover how the right insulation can reduce energy costs and improve compliance.

Discover how to hire a licensed roofing contractor with confidence. Follow our expert steps to ensure quality work and avoid costly mistakes.
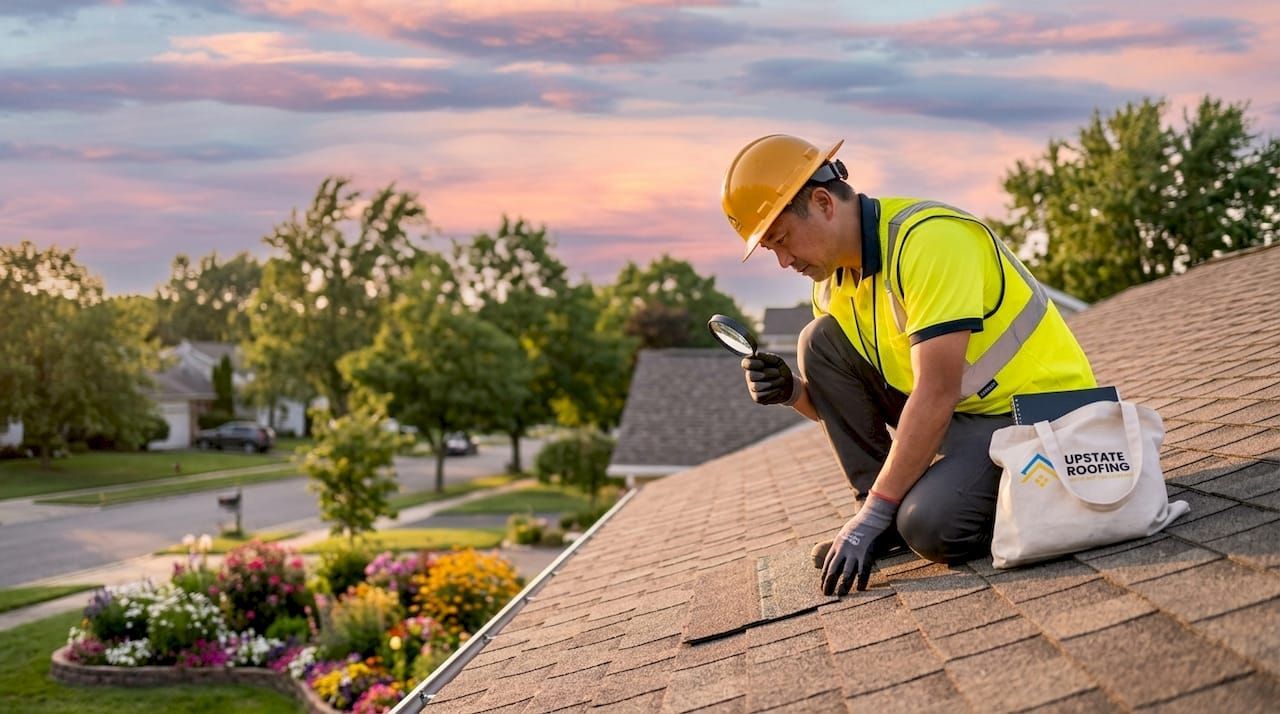
Discover why roof maintenance reduces capital costs and saves you money. Prevent costly repairs with proactive inspections and repairs.