How TPO Installation Works: A Property Owner's Guide

July 12, 2026

Share this article

How TPO Installation Works: A Property Owner's Guide

TPO roofing installation is the process of layering a thermoplastic polyolefin membrane onto a flat or low-slope roof using specialized attachment methods and heat-welded seams to create a durable, waterproof system. Understanding how TPO installation works helps you make smarter decisions about materials, contractors, and long-term costs. The process follows a precise sequence: deck preparation, insulation placement, membrane attachment, seam welding, and flashing application. Each step directly affects how long your roof performs. Upstateroofingpros installs TPO systems to ASTM D6878 standards and FM Global wind uplift requirements, ensuring every project meets the quality benchmarks that protect your investment.

How does the TPO roof installation process work, step by step?

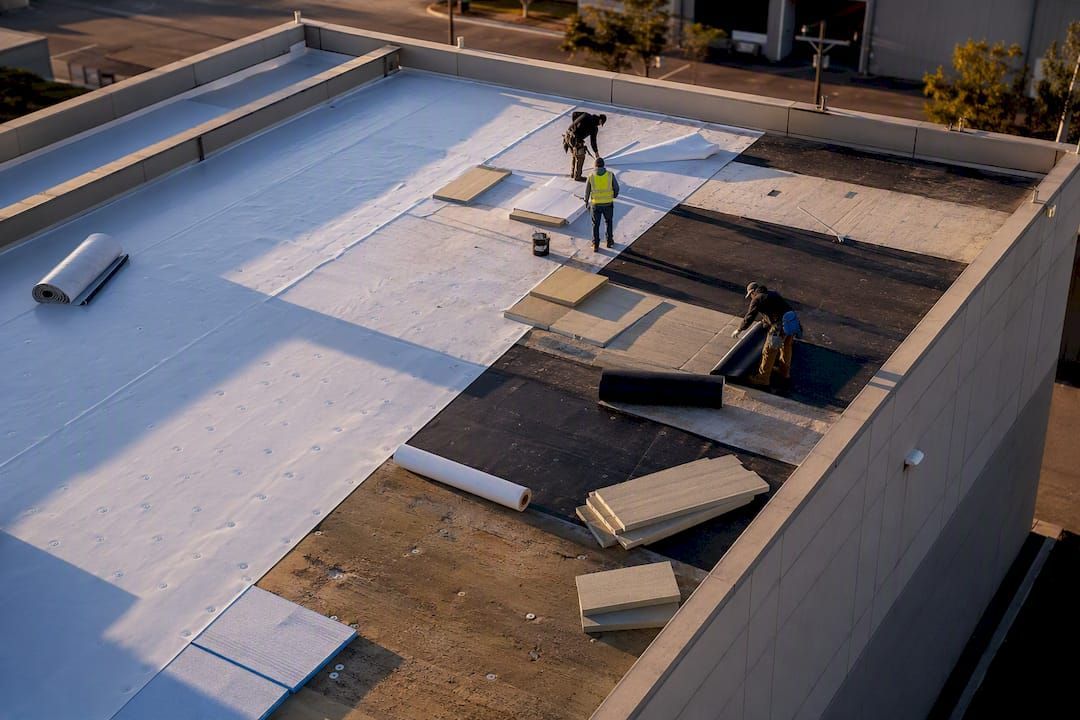
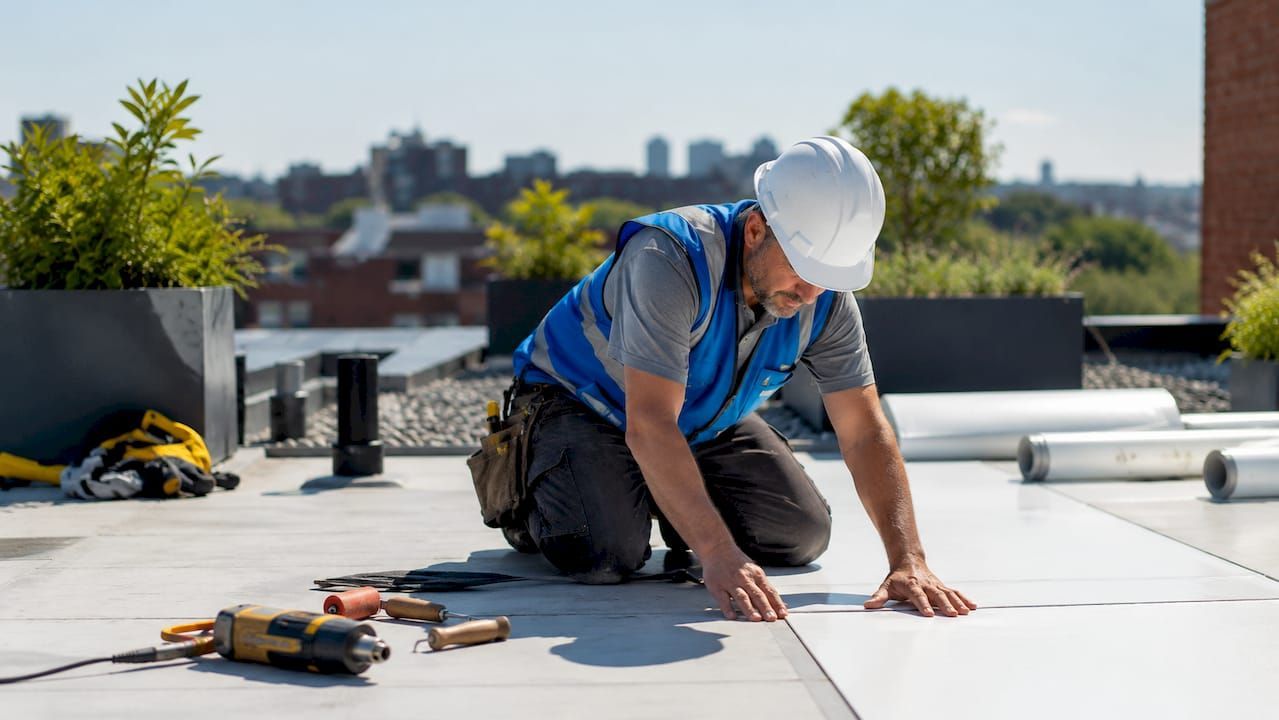
The TPO roof installation process follows seven distinct steps, and skipping or rushing any one of them creates problems that show up years later as leaks or premature failure.

  1. Inspect and prepare the roof deck. The deck must be structurally sound, dry, and free of debris before anything else happens. Soft spots, rot, or moisture in the substrate will compromise every layer above it. A thorough deck evaluation catches these problems before they become expensive.

  2. Install insulation boards. Polyisocyanurate (polyiso) boards are the most common choice for flat roofs. They get fastened or adhered directly to the deck in a staggered pattern to eliminate thermal bridging at the joints.

  3. Roll out and align the TPO membrane. Installers unroll the membrane across the insulation and allow it to relax for at least 30 minutes before fastening. Immediate fastening after unrolling causes wrinkles that are nearly impossible to remove and weaken the system over time. Seam overlaps are typically 3–6 inches depending on the manufacturer's specification.

  4. Attach the membrane using the chosen method. The three options are mechanical fastening, fully adhered, and ballasted. Each has different cost, performance, and noise profiles covered in detail in the next section.

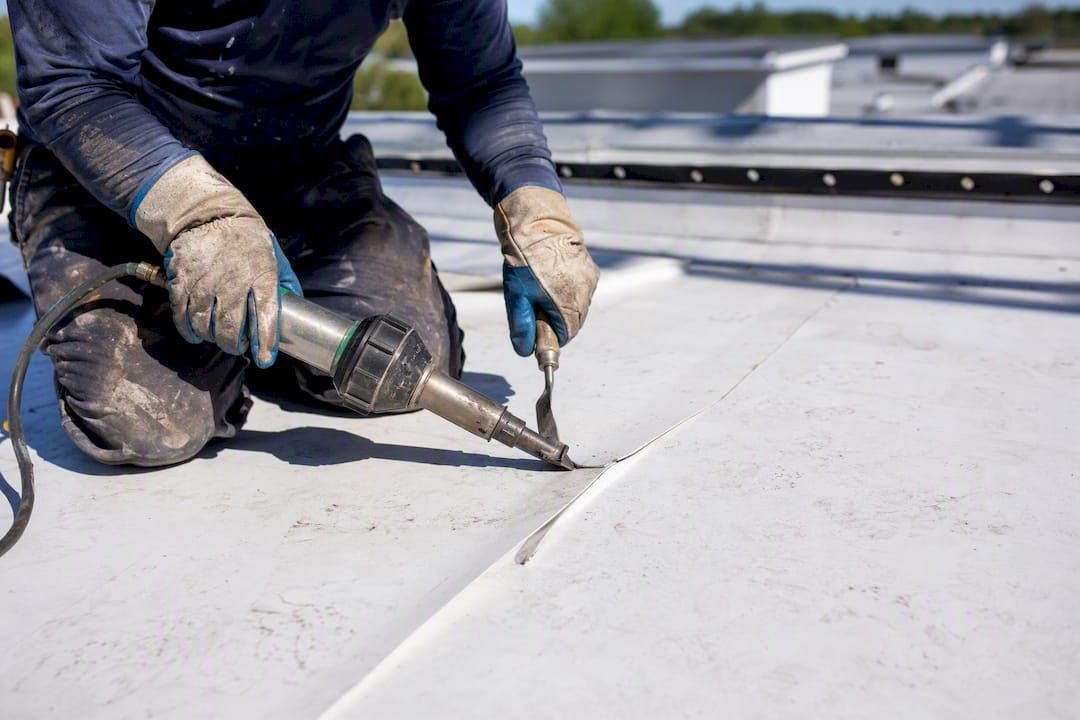
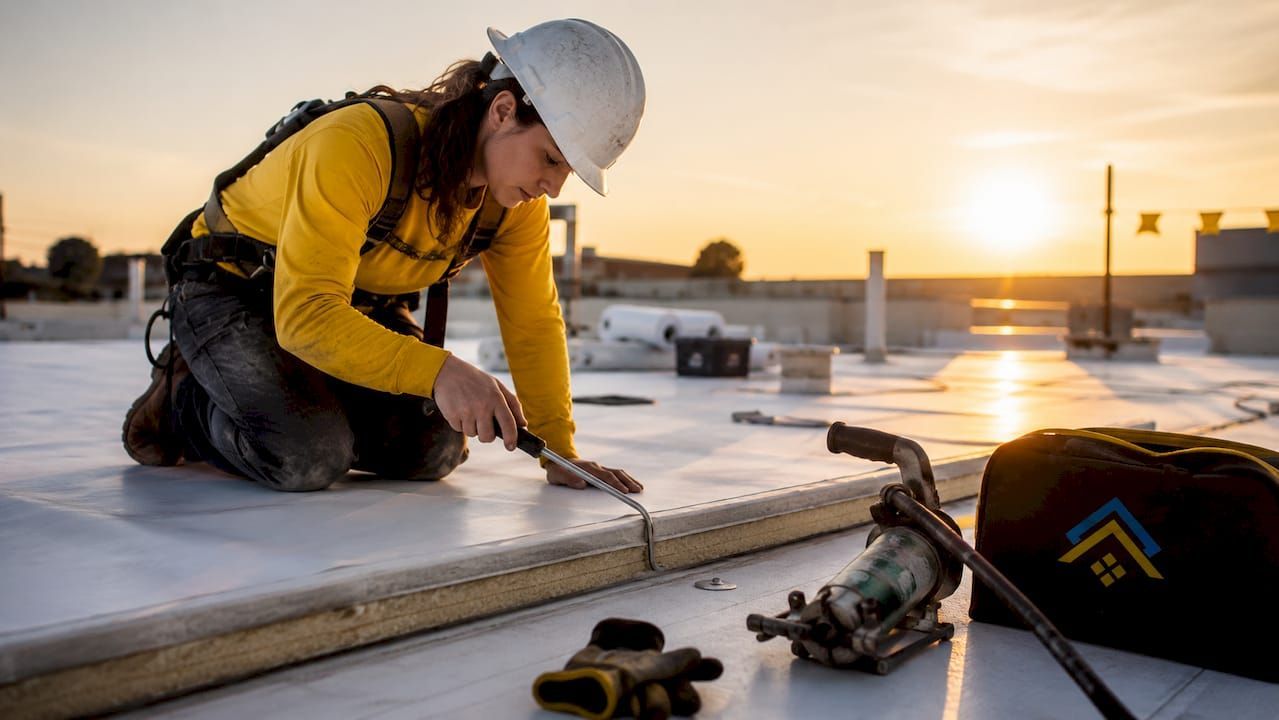
  5. Heat-weld all seams. Automatic hot-air welding machines fuse overlapping membrane edges at 700°F–900°F, creating a molecular bond stronger than the membrane sheet itself. Hand welders handle corners and detail areas where the machine cannot reach.

  6. Apply flashing and edge details. Every roof penetration, drain, pipe, curb, and perimeter edge gets covered with TPO flashing material, heat-welded to the field membrane for a continuous watertight seal.

  7. Conduct a final inspection. Installers probe every seam inch by inch, check all flashing welds, and confirm the roof surface is clean and properly drained.

Pro Tip: Ask your contractor to walk you through the seam probe test before they leave the job site. A quality installer will do this without hesitation. One who resists is a red flag.

What are the three TPO attachment methods, and which one fits your building?

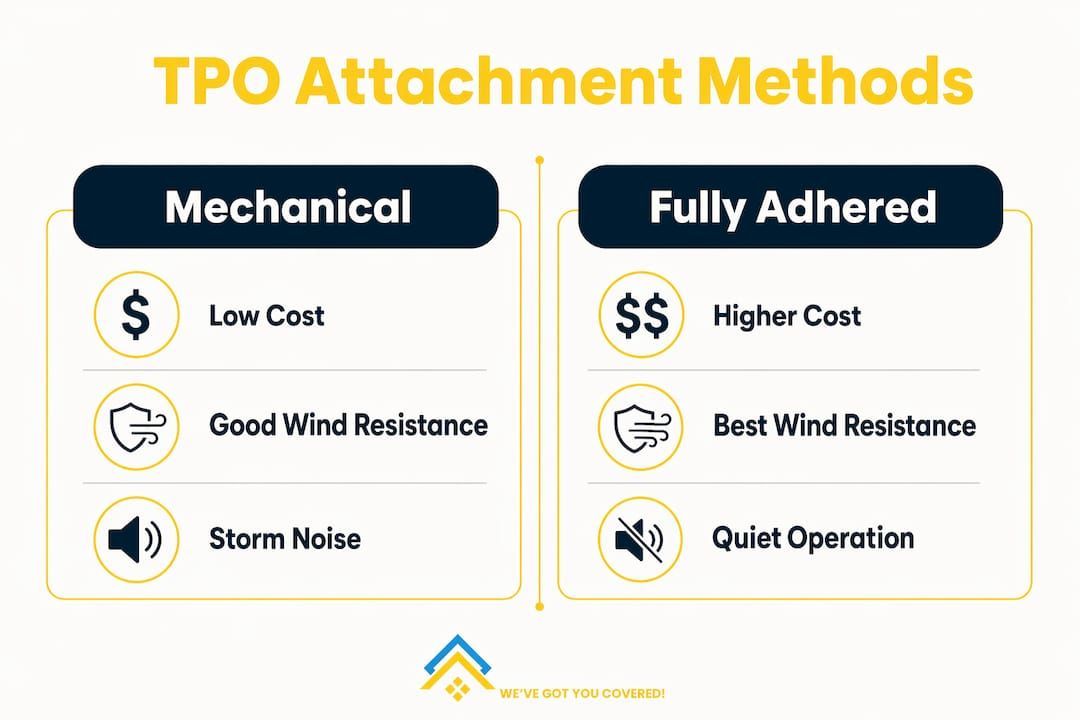
Mechanically fastened systems are the most common choice for commercial roofs because they cost 15–25% less than fully adhered systems. Installers drive fasteners and stress plates through the membrane and insulation into the deck at set intervals, then heat-weld the seam over the fastener row to cover and seal it. This method handles high wind uplift well and installs faster than the alternatives.

Fully adhered systems bond the membrane directly to the insulation using contact adhesive applied to both surfaces. The result is a smooth, tight appearance with better puncture resistance and no membrane movement. The trade-off is cost: adhesive application takes more labor, and the substrate must be perfectly clean and dry. Adhesive application requires ambient temperatures between 40°F and 100°F, which limits installation windows in cold or humid climates.

Ballasted systems lay the membrane loosely over the insulation and hold it down with river rock or pavers. They are the fastest to install and require no fasteners or adhesive. The limitation is weight. The roof deck must support the added load, typically 10–12 pounds per square foot of ballast, which rules out many older or lighter structures.

Attachment method Relative cost Wind resistance Noise during storms Best use case
Mechanically fastened Lower High Membrane flutter possible Warehouses, open commercial
Fully adhered Higher Very high Quiet Occupied buildings, offices
Ballasted Lowest Moderate Quiet Heavy-load capable decks

Fully adhered TPO eliminates the membrane movement noise that mechanically fastened systems can produce during windstorms. Property managers of occupied buildings consistently report this as a deciding factor when choosing between the two methods.

What factors most affect TPO roof cost and long-term performance?

TPO membrane thickness is the single biggest variable in material cost. Standard 45-mil membrane sits at the lower end of the price range. Upgrading to 60-mil or 80-mil adds material cost but delivers measurably better puncture resistance and a longer service life. Professional TPO installation runs $5.50–$9.00 per square foot, with a $3.50 per square foot spread driven largely by membrane spec and attachment method.

The recover-versus-tear-off decision has an equally large impact on budget. A recover installation, where new TPO goes directly over the existing roof, saves $1.50–$3.00 per square foot. That savings disappears fast if the existing insulation holds moisture. Recover installations only work when the existing substrate is confirmed dry and the deck can support the added layer. Building codes in most jurisdictions cap roof assemblies at two total layers.

Several other factors directly affect how long the finished roof performs:

  • Fastener density and placement. Incorrect fastener spacing or torque causes membrane tenting and billowing, which leads to wind uplift failure during storms.
  • Substrate cleanliness. Dust, oil, or standing water on the insulation surface prevents adhesive from bonding properly in fully adhered systems.
  • Seam quality. Poorly welded seams are the leading cause of early system failure and cannot be detected by visual inspection alone.
  • Flashing detail work. Rushed or skipped flashing at drains and penetrations creates the most common leak points on any TPO roof.
  • Installation timing. Cold temperatures below 40°F slow adhesive cure and reduce weld quality. Scheduling installation during stable, moderate weather extends the life of both adhesive bonds and heat welds.

Pro Tip: Always request a moisture scan of the existing roof before agreeing to a recover installation. Infrared scanning costs a fraction of what trapped moisture damage will cost you two years later.

How does seam welding and testing protect your TPO roof?

Heat-welded seams are the defining quality feature of a TPO roof. A properly calibrated automatic welding machine maintains consistent temperature, pressure, and travel speed to create a bond that exceeds the strength of the membrane sheet itself. That means a well-welded seam will not be the weak point in the system.

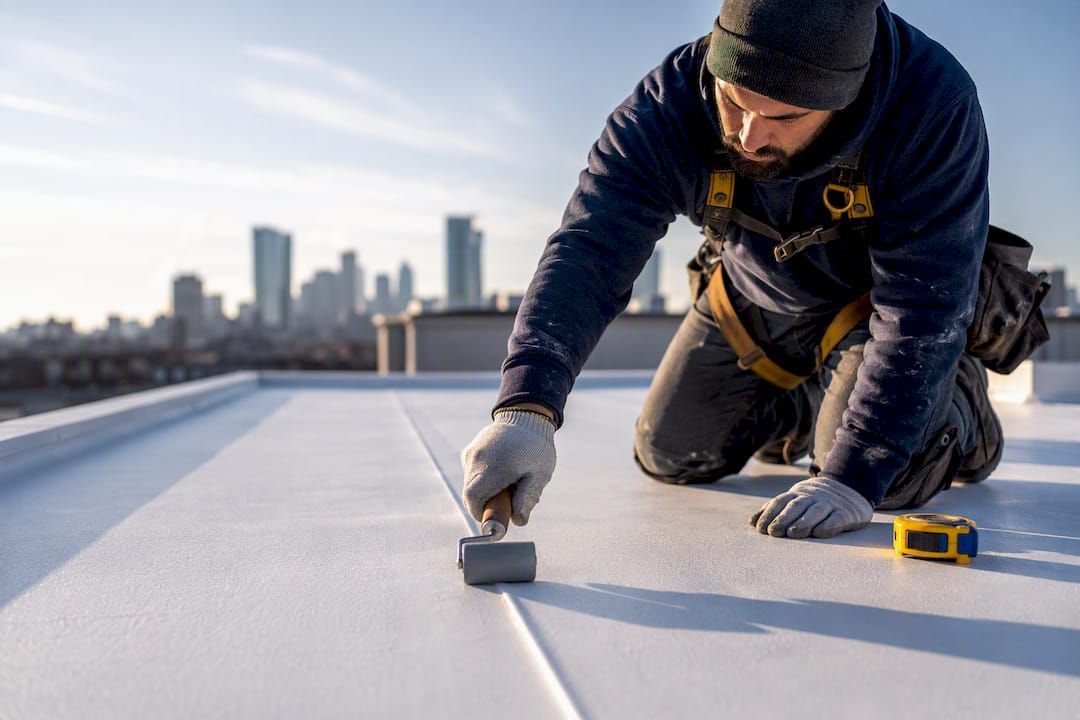
The welding process works by directing a stream of hot air between two overlapping membrane edges at 700°F–900°F, softening the thermoplastic material until the layers fuse at the molecular level. A hand roller consolidates the seam immediately after welding. Hand welders perform the same process at corners, curbs, and any area the automatic machine cannot access. Operator skill matters significantly at these detail areas because temperature control is manual.

Seam testing with a probe tool must cover every inch of every weld. Visual inspection cannot detect cold welds, which are areas where the membrane surfaces touched but did not fuse. Cold welds look identical to good welds from above but fail under water pressure. The probe tool catches them by detecting the separation between layers.

Common seam welding mistakes and their consequences:

  • Welding temperature too low. Creates cold welds that look intact but separate under stress.
  • Travel speed too fast. Reduces dwell time and produces incomplete fusion along the seam length.
  • Welding on wet or dirty membrane. Contamination prevents molecular bonding regardless of temperature.
  • Skipping probe testing. Leaves defects in place that become leaks within the first year.

Contractors who skip seam testing are gambling with your roof's longevity. Poorly welded seams cause most early failures, and the damage they cause is entirely preventable.

What makes flashing and edge details so critical in TPO systems?

Flashing is where most TPO roofs fail. Drains, pipes, curbs, and HVAC equipment all penetrate the membrane plane, and each one requires a fully welded TPO flashing detail to maintain the waterproof barrier. Proper flashing work separates skilled installers from average ones.

TPO flashing uses the same membrane material as the field roof, cut into strips or pre-formed boots for standard pipe sizes. Installers heat-weld the flashing to the field membrane and up the vertical surface of the penetration or curb. The weld must be continuous with no gaps, and the flashing must extend high enough above the roof surface to prevent water intrusion during heavy rain.

Key flashing failure points to watch for:

  • Unwelded or partially welded flashing edges that lift under wind pressure and allow water entry.
  • Flashing that terminates too low on a curb or wall, leaving the top edge exposed to water pooling.
  • Missing termination bar or sealant at the top of wall flashings, which allows water to wick behind the membrane.
  • Drain flashings installed without a clamping ring , which prevents the membrane from sealing tightly around the drain body.

Flashing quality also directly affects warranty eligibility. Most TPO manufacturer warranties require fully welded flashings at all penetrations. A single improperly installed drain flashing can void coverage on the entire roof system.

Key Takeaways

A properly installed TPO roof depends on substrate preparation, correct attachment method selection, fully welded seams tested with a probe tool, and watertight flashing at every penetration.

Point Details
Membrane relaxation matters Allow TPO to rest 30 minutes after unrolling to prevent wrinkles that weaken the system.
Attachment method drives cost and noise Mechanically fastened costs 15–25% less; fully adhered eliminates storm noise in occupied buildings.
Seam testing is non-negotiable Probe every weld inch by inch since cold welds are invisible but cause most early roof failures.
Recover saves money only when dry A recover installation saves $1.50–$3.00 per square foot but fails if existing insulation holds moisture.
Flashing quality controls warranty Improperly welded flashings at drains and penetrations void most TPO manufacturer warranties.

What most property owners miss about TPO installation quality

The conversations I have most often with property owners after a TPO roof fails follow the same pattern. The installation looked fine. The price was competitive. Nobody tested the seams.

Seam probe testing is the single quality control step that separates a roof that lasts 20 years from one that leaks in year three. Every inch of every weld needs to be tested, not just a spot check at the end of the day. I have seen roofs where the automatic welder ran perfectly on the field seams but the hand-welded corner details were cold. Those corners were the first to fail.

Substrate moisture testing before a fully adhered installation is equally critical and equally skipped. Concrete decks hold moisture longer than most people expect. Bonding TPO over a damp concrete deck with contact adhesive produces delamination within a few seasons. A simple moisture meter reading takes five minutes and prevents a complete re-installation.

The cost pressure on roofing projects is real, and I understand it. But the places where contractors cut corners, fastener spacing, flashing detail time, and seam testing, are exactly the places where the savings show up as failures. The TPO installation overview that Upstateroofingpros follows treats each of these steps as non-negotiable, not optional line items.

Climate matters more than most guides acknowledge. In Sacramento and the surrounding areas, summer heat accelerates adhesive cure times and can cause issues if adhesive flashes off before the membrane is pressed down. Knowing your local conditions and adjusting installation timing accordingly is the kind of practical knowledge that only comes from doing this work repeatedly in the same region.

— Cesar

Upstateroofingpros: quality TPO installation you can verify

Upstateroofingpros brings licensed expertise and a commitment to installation standards that go beyond the minimum. Every TPO project includes substrate inspection, seam probe testing on all welds, and fully welded flashing at every penetration. You get documentation of the work, not just a finished roof you have to take on faith.

Whether you need a full roof replacement with a new TPO system, a professional roof repair on an existing membrane, or a post-installation inspection to verify your current roof's condition, Upstateroofingpros serves homeowners and property managers across Sacramento, Roseville, and nearby areas. Contact the team to schedule an assessment and get a clear picture of what your flat roof actually needs.

FAQ

What is TPO roofing made of?

TPO stands for thermoplastic polyolefin, a single-ply membrane made from a blend of polypropylene and ethylene-propylene rubber. It is manufactured in rolls and installed as a continuous waterproof layer over flat or low-slope roofs.

How long does TPO roof installation take?

A standard commercial TPO installation on a 10,000 square foot roof typically takes 3–5 days, depending on deck condition, attachment method, and the number of penetrations requiring flashing.

What thickness of TPO membrane should I choose?

45-mil membrane is the entry-level option for light-traffic roofs. 60-mil and 80-mil membranes offer better puncture resistance and longer service life, making them the better choice for roofs with foot traffic or equipment access.

Can TPO be installed over an existing roof?

Yes, but only when the existing insulation is confirmed dry and the deck can support the added weight. Recover installations save $1.50–$3.00 per square foot but risk moisture entrapment if the old roof holds water.

How do I know if my TPO seams were welded correctly?

A probe tool test on every seam inch is the only reliable method. Visual inspection cannot detect cold welds. Ask your contractor to demonstrate seam probe testing before the job is complete.

Recommended

Recent Posts

July 14, 2026
Discover what roof overlay is and how it can save you money and time. Learn about its benefits, risks, and comparisons to roof replacement.
July 10, 2026
Discover the critical role of building envelope roofing. Understand how it impacts energy efficiency, indoor air quality, and the durability of your home.
July 10, 2026
Discover how to increase home value roofing upgrades can boost resale prices and appeal to buyers in 2026. Invest wisely today!
Worker in a yellow safety vest painting a house exterior under blue siding
July 7, 2026
Discover the critical role of building envelope roofing. Understand how it impacts energy efficiency, indoor air quality, and the durability of your home.
Construction worker in a yellow vest writes on plans at an outdoor table with a blue hard hat nearby.
July 5, 2026
Discover the role of roofing contractor license for protection against costly mistakes. Learn how it ensures safety and legality in roofing work.
Woman writing on papers at an outdoor table beside a mug and black folder in a sunny garden
July 3, 2026
Understand what does a roofing bid include. Get detailed insights into materials, costs, and timelines to protect your budget.
Woman reading a book at a café table with stacked books and a backpack nearby.
June 30, 2026
Explore the types of roofing insulation for commercial buildings. Discover how the right insulation can reduce energy costs and improve compliance.
Woman working outdoors at a wooden table, reading papers with colorful pens and a coffee mug nearby
June 28, 2026
Discover how to hire a licensed roofing contractor with confidence. Follow our expert steps to ensure quality work and avoid costly mistakes.
Roofing worker in a yellow safety vest repairing shingles at sunset.
June 26, 2026
Discover why roof maintenance reduces capital costs and saves you money. Prevent costly repairs with proactive inspections and repairs.
Worker in a hard hat and safety vest applying white coating to a flat rooftop with a roller
June 23, 2026
Discover why commercial roofs need coatings in 2026. Extend roof life, reduce cooling costs, and save on replacements. Learn more!
Show More