TPO Roofing Installation Overview: Your 2026 Guide
TPO Roofing Installation Overview: Your 2026 Guide

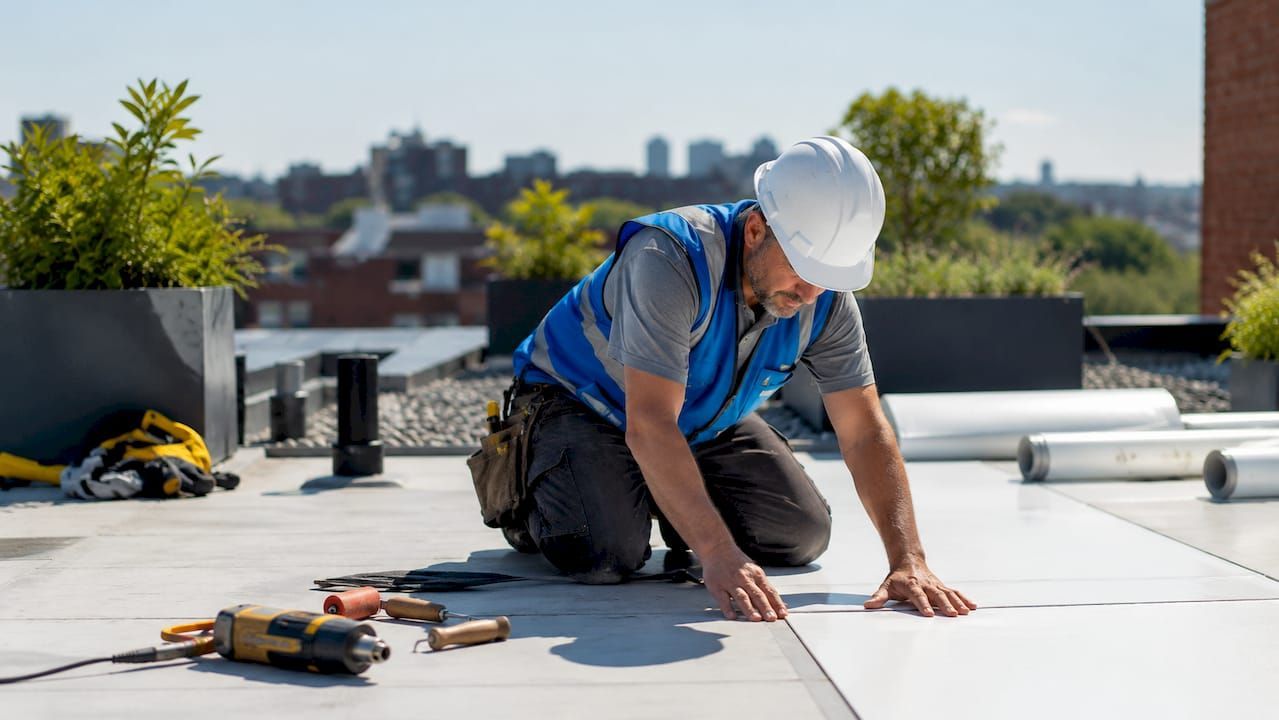
TPO roofing installation is the process of applying a heat-weldable thermoplastic polyolefin membrane to flat or low-slope roofs, creating a reflective, waterproof, and energy-efficient surface for residential and commercial buildings. This single-ply membrane system has become one of the most widely specified roofing solutions across the country because it combines real energy savings with a lifespan that can reach 30 years when installed correctly. This guide covers the full TPO roofing installation process, from material selection through final inspection, so you can make informed decisions or supervise the work with confidence. The TPO roofing basics are straightforward once you understand what each phase accomplishes.
What tools and materials are needed for a TPO roofing installation overview?
Getting the materials right before a single roll of membrane touches your roof is the difference between a 30-year system and a 10-year headache. TPO membranes come in three standard thicknesses: 45 mil, 60 mil, and 80 mil. The 45 mil option works for budget-conscious projects with minimal foot traffic. The 60 mil is the industry workhorse for most commercial and residential flat roofs. The 80 mil is specified for high-traffic rooftop areas or projects where maximum puncture resistance is required.
Below the membrane, polyisocyanurate (polyiso) insulation boards form the thermal layer that drives energy performance. Polyiso delivers one of the highest R-values per inch of any rigid board insulation, which matters when your goal is reducing cooling costs. TPO's reflective white surface reflects up to 80% of solar energy, and pairing that with quality insulation amplifies the savings considerably.
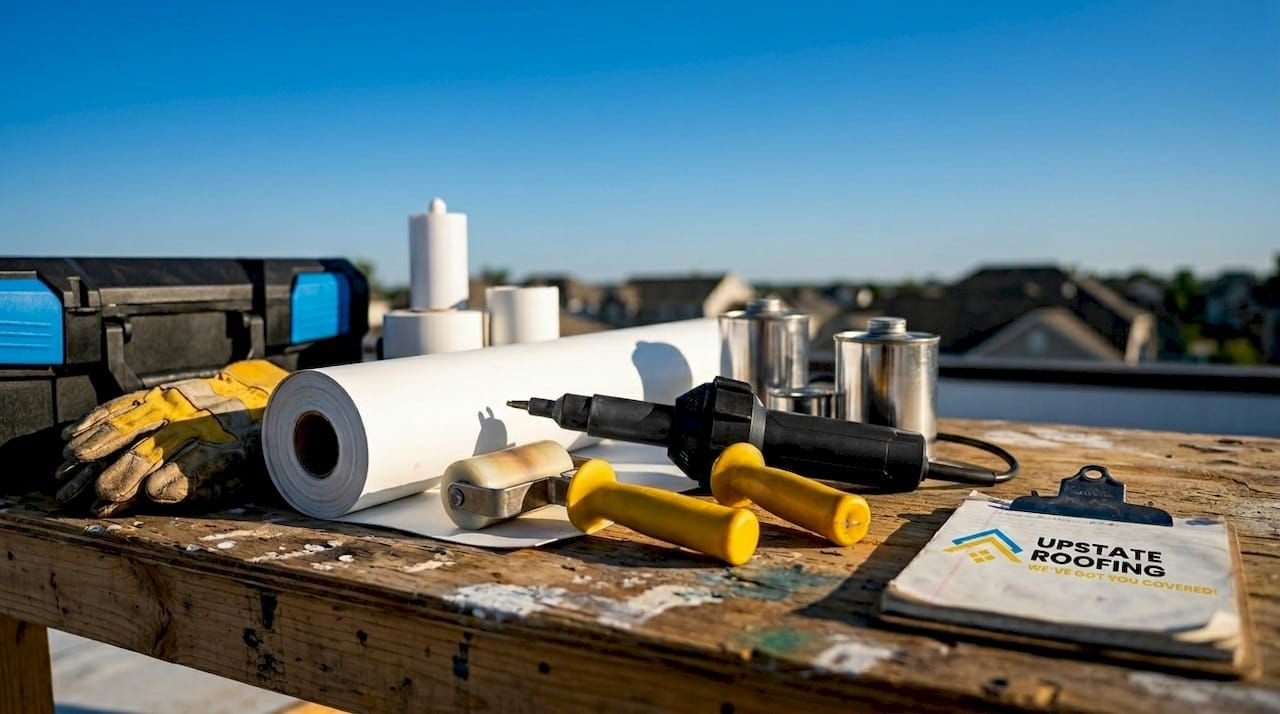
Essential tools for TPO installation:
- Automatic hot-air welder (Leister Varimat or equivalent) for long field seams
- Hand-held hot-air welder for detail work around penetrations and corners
- Seam probe roller to test weld integrity
- Seam probe tool (T-probe) for final inspection
- Utility knives with hook blades for clean cuts
- Cordless drills and screw guns for mechanical fasteners
- Chalk lines and tape measures for layout
- Membrane roller for adhesive applications
Materials checklist:
| Material | Purpose | Notes |
|---|---|---|
| TPO membrane (45/60/80 mil) | Primary waterproofing layer | 60 mil standard for most projects |
| Polyiso insulation boards | Thermal performance and substrate | Stagger joints to prevent bridging |
| Mechanical fasteners and plates | Secure insulation and membrane | Spacing per manufacturer spec |
| Bonding adhesive | Fully adhered attachment | Solvent or water-based options |
| TPO flashing membrane | Seal penetrations and edges | Pre-formed corners available |
| Drip edge and termination bar | Perimeter edge control | Aluminum or galvanized steel |
| Lap sealant | Seal cut edges and terminations | Applied after welding |
Pro Tip: Always order 10 to 15 percent more membrane than your calculated square footage. Cuts, overlaps, and waste at penetrations add up fast, and running short mid-project means a seam in a location you did not plan for.
What is the step-by-step process for installing a TPO roof?
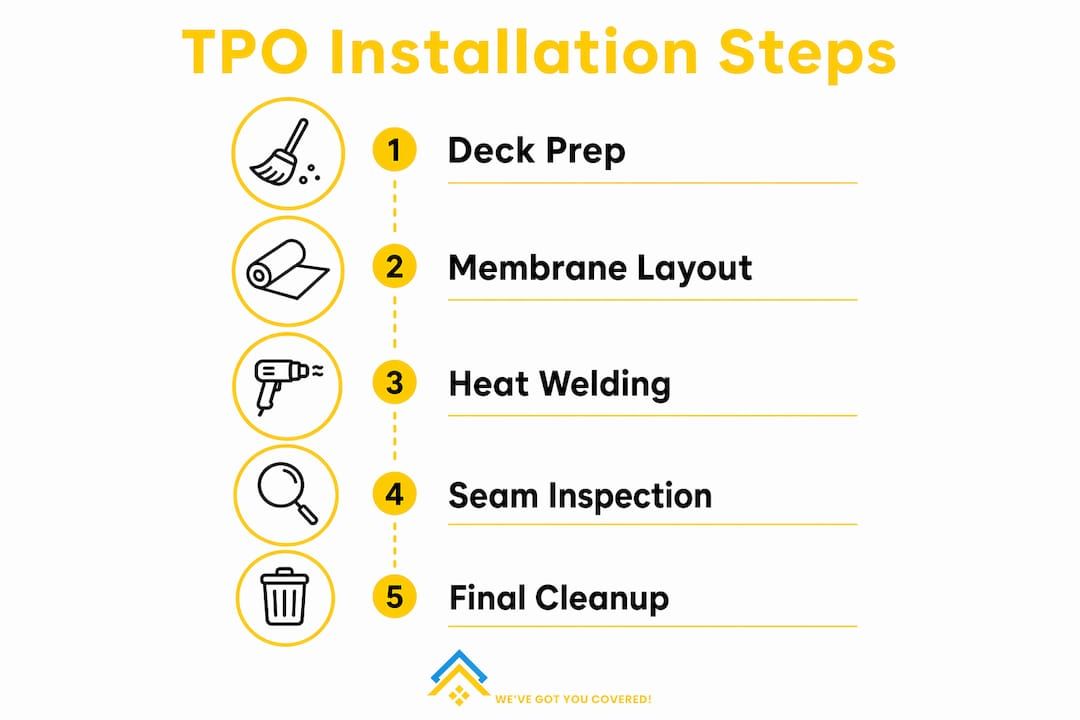
A proper TPO roofing installation guide follows seven defined phases. Skipping or rushing any one of them creates the conditions for early failure. Here is how each phase works in practice.
-
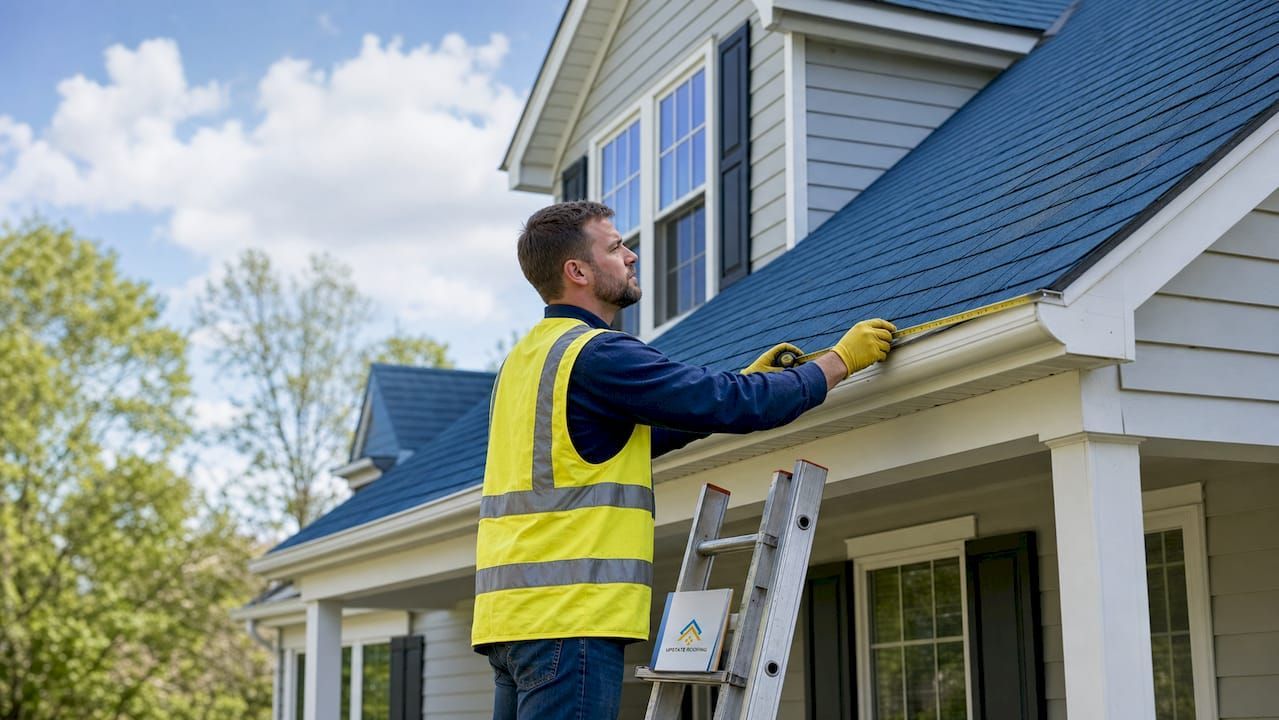
Inspect and prepare the roof deck. The deck must be clean, dry, and structurally sound before anything else goes on top. Remove all debris, check for soft spots or rot in wood decks, and repair any damaged sections. A wet or compromised substrate traps moisture under the membrane and causes the insulation to degrade from below.
-
Install insulation boards in a staggered pattern. Staggered insulation boards prevent thermal bridging, which is the heat loss that occurs when gaps align between layers. Install the first layer with joints running one direction, then offset the second layer by half a board width. This single step has a measurable impact on your building's energy performance and prevents premature aging of the membrane above.
-
Roll out the TPO membrane and let it relax. Membrane relaxation for 30 minutes after unrolling is non-negotiable. TPO is manufactured under tension, and unrolling it directly onto a hot roof without allowing it to settle causes the material to contract unevenly. The result is wrinkles, fish mouths at seam edges, and stress points that become leak sites within a few seasons.
-
Secure the membrane using your chosen attachment method. Mechanical fastening uses plates and screws driven through the membrane and insulation into the deck at specified intervals. Full adhesion uses bonding adhesive applied to both the insulation surface and the membrane underside, then pressed together once the adhesive reaches the correct tack. Each method has specific manufacturer requirements for fastener spacing and adhesive coverage rates. Follow them exactly.
-
Heat-weld all seams. This is the most technically demanding phase of the entire process. TPO seams are heat-welded to create a bond stronger than the membrane itself, which is what gives the system its wind uplift resistance. An automatic welder sets a consistent temperature and travel speed across long field seams. A hand welder handles corners, T-joints, and penetration details. The standard overlap for a welded seam is 6 inches, with a minimum 1.5-inch weld width.
-
Install flashing and edge details. Flashing is where most TPO roofs fail when the work is done carelessly. Every pipe penetration, HVAC curb, parapet wall, and roof edge needs a properly formed and welded flashing detail. Pre-formed inside and outside corners reduce the chance of human error at the most vulnerable points. Termination bars lock the membrane edge to vertical surfaces, and lap sealant covers any exposed cut edges.
-
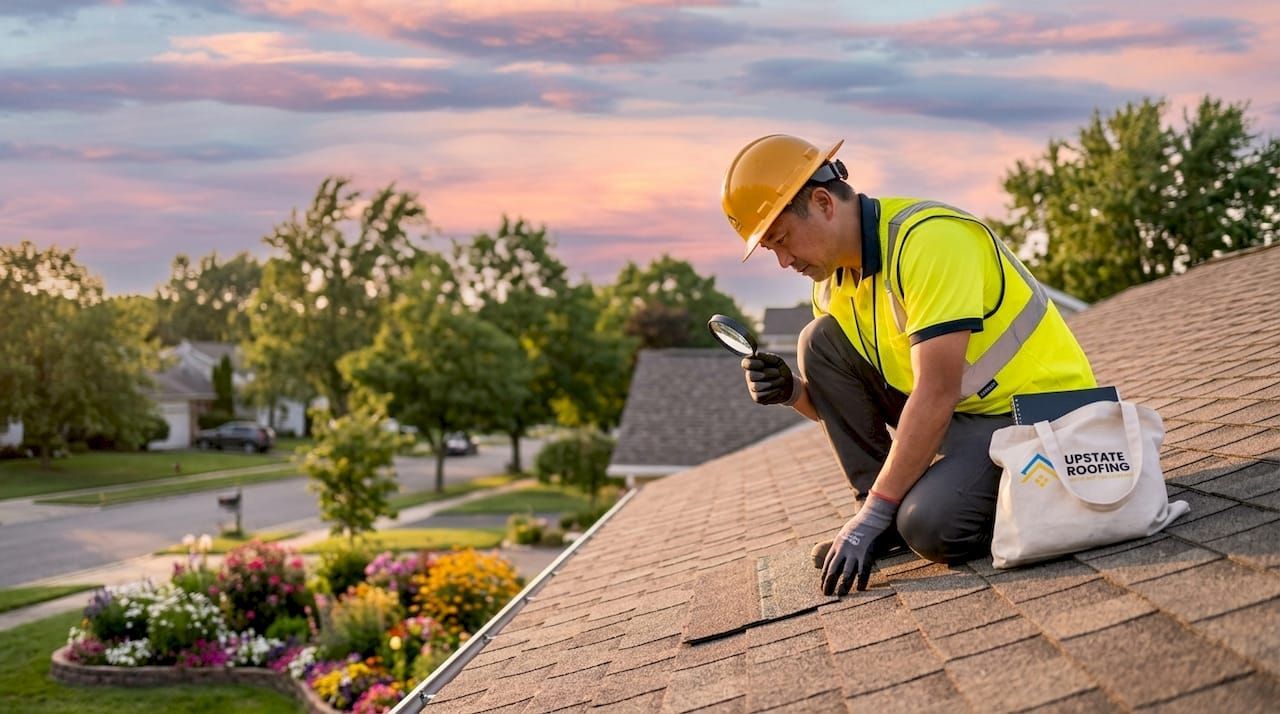
Conduct a thorough final inspection. Using a seam probe tool to check every inch of every weld is the last line of defense before the roof faces weather. Any separation or cold weld found during probing must be re-welded immediately. Walk the entire roof surface and check flashing details visually for gaps, lifted edges, or incomplete adhesion.
Pro Tip: Test your welder temperature and speed on a scrap piece of membrane before starting field seams. Ambient temperature, humidity, and membrane temperature all affect the correct settings. A quick test weld and probe check takes five minutes and prevents hours of rework.
| Installation phase | Key quality check |
|---|---|
| Deck preparation | No soft spots, moisture, or debris |
| Insulation installation | Joints staggered, boards fully fastened |
| Membrane relaxation | 30-minute minimum before fastening |
| Seam welding | 1.5-inch minimum weld width, probe tested |
| Flashing details | All penetrations sealed, termination bars set |
| Final inspection | Full seam probe, visual check of all edges |
What common mistakes cause TPO roof failures?
Most TPO roof failures trace back to a short list of installation errors, not material defects. Knowing what they are helps you ask the right questions when supervising a crew or evaluating a contractor's work.
- Skipping substrate prep. Installing over a damp or damaged deck is the fastest path to a failed roof. Moisture trapped under polyiso insulation causes the boards to degrade, the deck to rot, and the membrane to lose adhesion from below.
- Rushing membrane relaxation. Skipping the relaxation step creates fish mouths at seam edges. These are small gaps where the membrane curls upward instead of lying flat, and they become water entry points under wind-driven rain.
- Inconsistent seam welding. Moving the welder too fast leaves cold welds with no real bond. Moving too slow burns through the membrane. Both failures look fine visually but fail immediately under probe testing or the first wind event.
- Poor flashing execution. Ignoring drainage and flashing details is the primary cause of premature TPO failures. Standing water that pools against an improperly sealed parapet wall or around a poorly flashed pipe penetration damages the substrate faster than UV exposure or weather cycling ever could.
- Misaligned insulation joints. Thermal bridging from improperly staggered boards reduces energy efficiency and accelerates membrane aging by creating localized hot spots on the roof surface.
- Skipping the final probe inspection. A visual check alone misses cold welds. The probe tool catches separations that the eye cannot see, and finding them before the roof is handed over costs nothing compared to tracking down a leak after the fact.
"A TPO roof is only as good as its weakest seam. The membrane can be perfect, but one missed cold weld at a T-joint will find water before the first rainy season ends."
Pro Tip: Ask your contractor to walk you through the probe inspection before they pack up. Any professional crew will do this without hesitation. If they resist, that tells you something important.
How to choose the right TPO installation method for your property
Choosing the correct fastening method depends on roof size, wind load requirements, and budget. Each attachment system has a distinct performance profile.
| Method | Best for | Wind resistance | Cost level |
|---|---|---|---|
| Mechanically fastened | Large commercial roofs, budget projects | Good | Lower |
| Fully adhered | High-wind zones, premium installs | Excellent | Higher |
| Ballasted | Large flat roofs with structural capacity | Moderate | Lowest |
| Induction welding (RhinoBond) | Re-roofing over existing insulation | Very good | Moderate |
Mechanical fastening is the most common method in commercial construction. Plates and screws penetrate through the membrane and insulation into the structural deck at intervals specified by the manufacturer. It is faster to install and costs less in labor, but the fastener plates create slight stress points in the membrane over time.
Full adhesion bonds the membrane directly to the insulation surface using solvent or water-based bonding adhesive. This method delivers superior wind uplift resistance and a cleaner finished appearance because there are no visible fastener plates. It is the preferred choice in coastal areas or any region with high design wind speeds.
Ballasted systems use the membrane weight of gravel or concrete pavers to hold the roof in place. These are rarely used in residential applications because of the added structural load, but they remain cost-effective for large, low-slope commercial roofs with adequate structural capacity.
Induction welding , most commonly associated with the RhinoBond system, uses electromagnetic induction to bond the membrane to special coated fastener plates without penetrating the membrane surface. This method is particularly useful for re-roofing projects where preserving the existing insulation layer is a priority.
The advantages of TPO roofing are most fully realized when the attachment method matches the specific demands of the building. A property manager in a high-wind corridor choosing mechanical fastening to save money upfront may face warranty complications and higher maintenance costs within five years.
Key takeaways
A well-installed TPO roof requires precise execution at every phase, from staggered insulation boards through heat-welded seams and thorough probe inspection, to deliver its full 20 to 30-year service life.
| Point | Details |
|---|---|
| Membrane thickness matters | Choose 45, 60, or 80 mil based on traffic, budget, and project requirements. |
| Relaxation prevents defects | Allow 30 minutes for membrane to relax after unrolling to avoid fish mouths and stress points. |
| Seam welding is the critical step | Heat-welded seams bond stronger than the membrane itself and determine wind uplift performance. |
| Flashing drives long-term performance | Poorly detailed penetrations and edges cause more failures than membrane defects. |
| Attachment method affects warranty | Match mechanical, adhered, or induction welding to your wind load, budget, and building type. |
Why installation quality matters more than the membrane brand
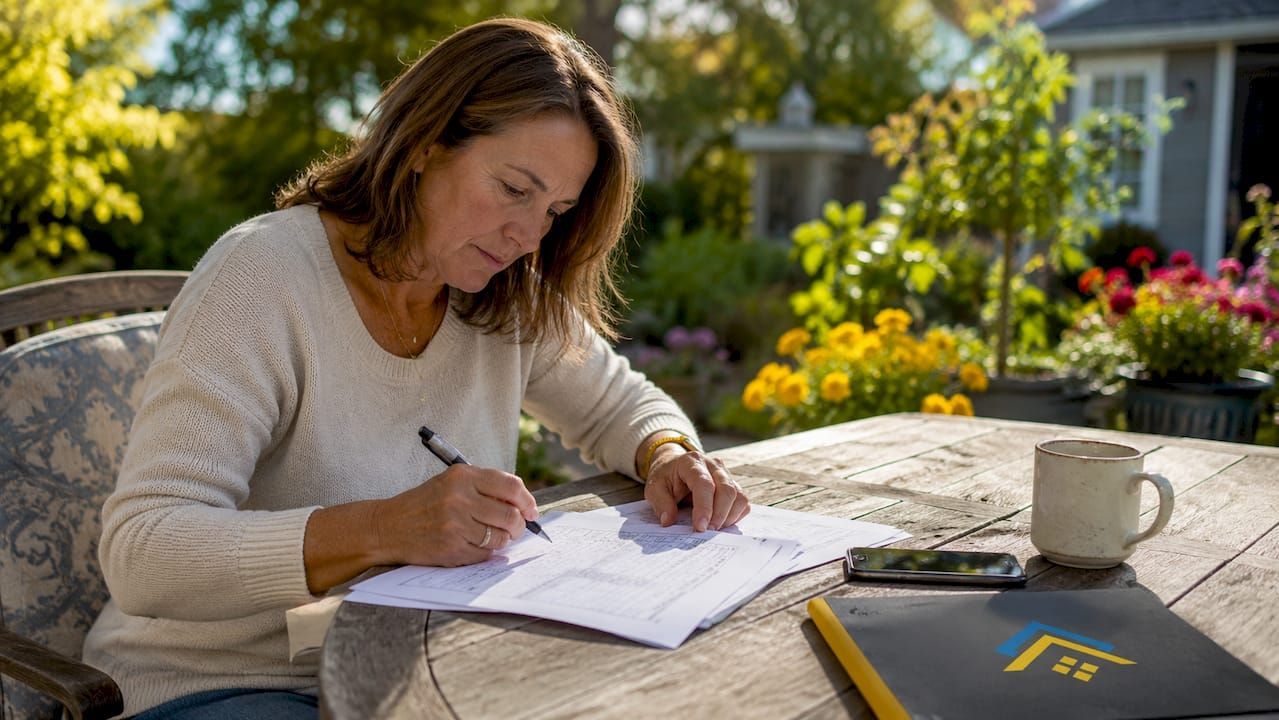
I have seen property managers spend weeks comparing TPO membrane brands, obsessing over warranty language and price per square foot, and then hand the job to a crew that rushes the seam welding because they are trying to finish before a weather window closes. The membrane brand rarely determines whether a roof lasts 15 years or 30. The installation quality does.
The detail that gets underestimated most consistently is flashing. Contractors who are skilled at field seams sometimes treat penetration flashing as an afterthought, and that is where water finds its way in. A pipe boot that is not fully welded at the base, or a parapet cap flashing that is terminated with sealant alone instead of a welded termination bar, will fail within a few years regardless of how good the field membrane looks.
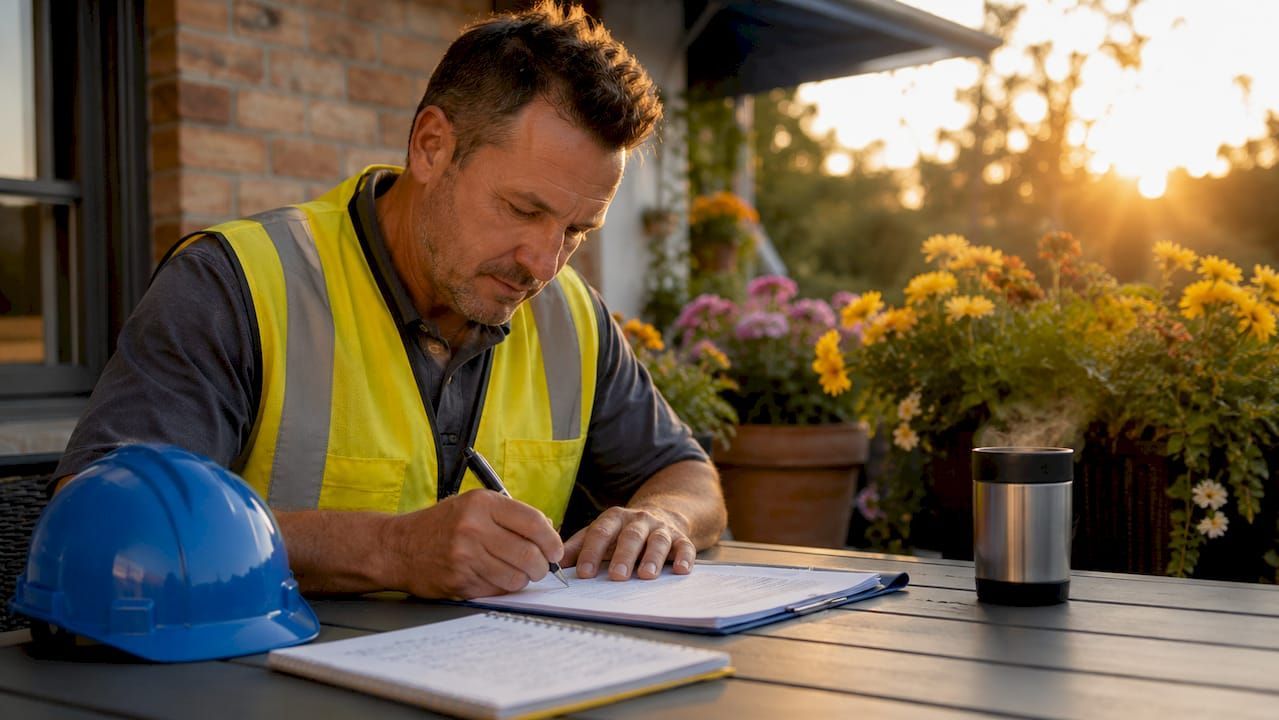
My honest advice: when you are evaluating a roofing contractor, ask specifically how they handle T-joint details and what their probe inspection process looks like. Those two questions separate crews who understand TPO as a system from crews who treat it as a sheet they roll out and weld. A roof maintenance plan after installation is equally important. Annual inspections catch minor issues before they become substrate damage, and they are the single most cost-effective thing you can do to protect a TPO investment.
A well-installed TPO roof lasts between 20 and 30 years. Poor installation or skipped inspections cut that number in half. The membrane is not the variable. The people installing it are.
— Cesar
Get expert TPO roofing installation from Upstateroofingpros
Upstateroofingpros brings fully licensed professionals and premium materials to every TPO roofing project in Sacramento, Roseville, and the surrounding areas. The team handles the complete process from initial roof inspection through insulation layout, membrane installation, seam welding, and final quality checks. Whether you are replacing an aging flat roof on a commercial building or upgrading a residential low-slope system for better energy performance, Upstateroofingpros delivers work built to last. Explore professional roof repair and replacement services, or contact the team directly for a free consultation and project quote. You can also review roof replacement options if your current system is beyond repair.
FAQ
What is the average cost of TPO roofing installation?
TPO installation costs range from $5.50 to $10.30 per square foot, with commercial projects averaging around $11,200 nationally. Final cost depends on roof size, membrane thickness, attachment method, and local labor rates.
How long does a TPO roof installation take?
Most TPO roofing projects take a few days to a week depending on roof size and complexity. Larger commercial roofs or projects requiring significant deck repair will extend the timeline.
How long does a TPO roof last?
A properly installed TPO roof lasts between 20 and 30 years. Annual inspections and prompt repair of any flashing or seam issues are the key factors in reaching the upper end of that range.
What is the difference between mechanically fastened and fully adhered TPO?
Mechanically fastened TPO uses plates and screws to secure the membrane and costs less to install. Fully adhered TPO bonds the membrane with adhesive across the entire surface, delivering better wind uplift resistance and a cleaner appearance at a higher labor cost.
Can TPO roofing be installed on residential properties?
TPO is installed on any flat or low-slope roof, including residential homes with low-pitch designs. The 60 mil membrane thickness and fully adhered attachment method are the most common specifications for residential TPO applications.
Recommended
Recent Posts