The essential commercial roof inspection checklist
The essential commercial roof inspection checklist
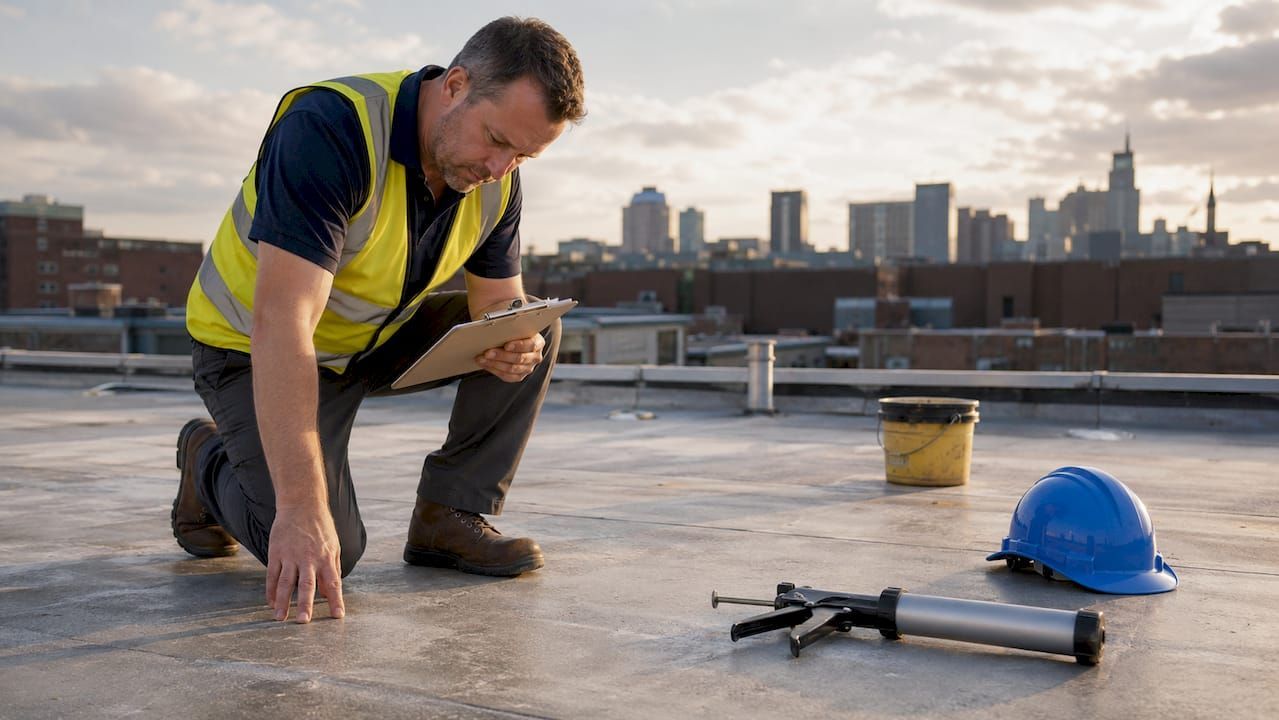
A neglected commercial roof is one of the most expensive mistakes a facility manager or property owner can make. 81% of insured commercial roof failures occur on roofs without documented inspections in the prior 24 months, with average claims running between $22,000 and $68,000 before business interruption costs are even calculated. Insurers are paying attention, and many now require bi-annual, photo-documented inspections as a condition of coverage. This guide gives you a proven, zone-based checklist that covers the where, what, how, and how often, drawing directly from industry standards and insurance requirements so you can protect your asset and stay compliant.
Key Takeaways
| Point | Details |
|---|---|
| Twice-yearly checks | Spring and fall inspections, plus post-event assessments, keep roofs compliant and safe. |
| Complete zone coverage | Systematically inspect membranes, flashings, drainage, fasteners, edges, and below-roof interiors for defects. |
| Leverage expert tools | Use professionals and advanced tech for hidden moisture and warranty-grade inspections. |
| Document every inspection | Photo logs and detailed reports are crucial for insurance, compliance, and asset longevity. |
| Avoid costly claims | Proactive, documented inspections drastically reduce failure rates and out-of-pocket expenses. |
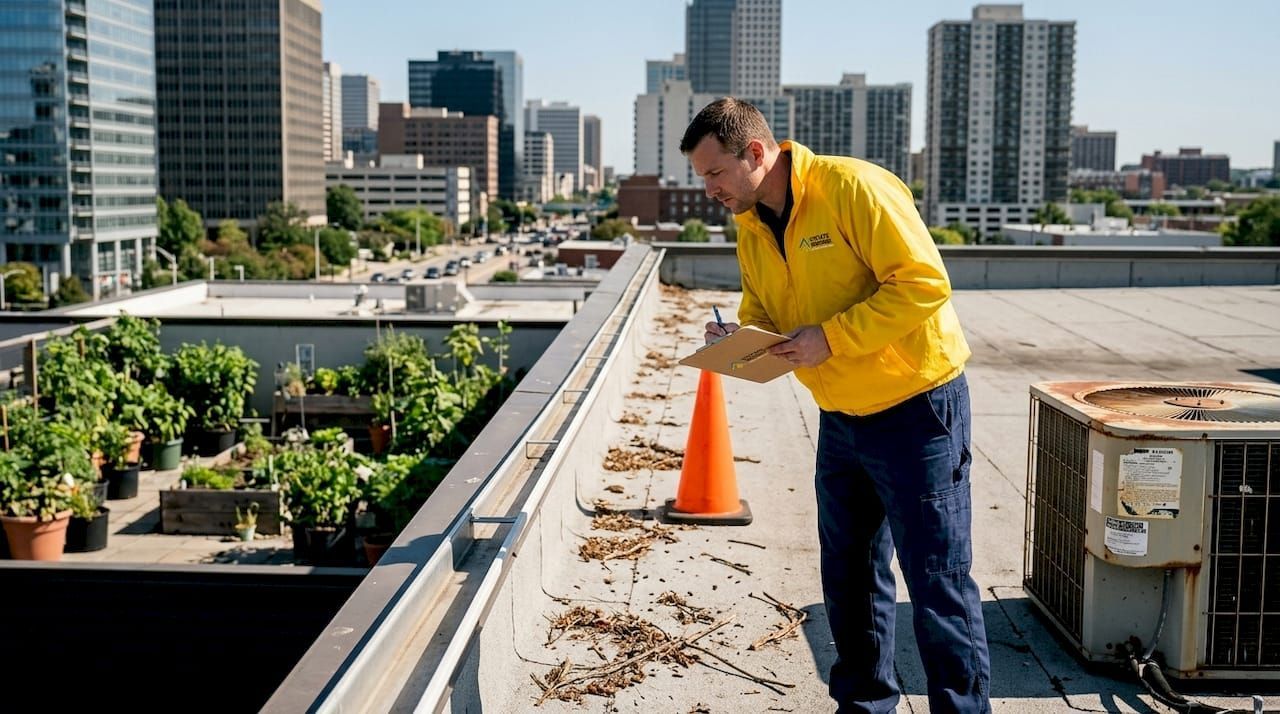
When and how often to inspect your commercial roof
Having established why inspections matter, the next step is knowing when and how often to perform them for the best results. Timing is not arbitrary. It is tied directly to weather cycles, warranty requirements, and the way roofing materials age under stress.
Semi-annual inspections in spring and fall, plus additional checks after major weather events or construction activity nearby, form the standard for any well-managed commercial property. Spring inspections catch damage from ice, freeze-thaw cycling, and accumulated winter debris. Fall inspections prepare drainage and membrane systems before freezing temperatures return. Together, these two windows cover the most vulnerable transition periods for any roofing system.
NRCA guidelines also recommend special inspections following major storms, hail events, high wind episodes, or any adjacent rooftop construction that could deposit debris or cause vibration damage. If your building recently had HVAC equipment installed or a rooftop antenna repositioned, add an unscheduled inspection to your calendar.
Here is a simple framework for setting your inspection schedule:
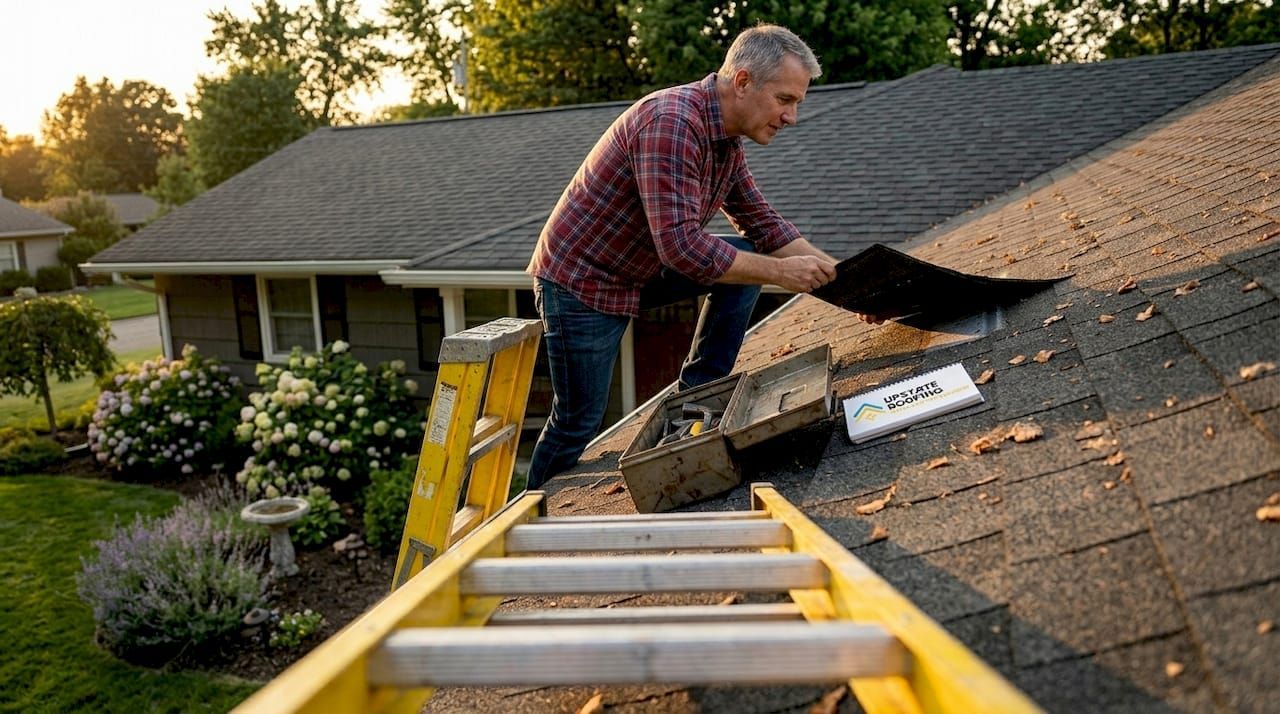
- Spring inspection (April or May): Assess winter damage, check for standing water after snowmelt, clear drains and scuppers, photograph all findings.
- Fall inspection (September or October): Clear summer debris, inspect membrane condition before cold sets in, check all flashings and penetrations, confirm drainage paths are open.
- Post-event inspection (within 48 hours): Triggered by any storm with winds exceeding 50 mph, hail, heavy snow load, or nearby rooftop construction.
- Annual professional inspection: Pair your self-conducted or manager-conducted checks with at least one formal professional inspection per year for warranty and insurance compliance.
Designating responsibility is just as important as setting the schedule. Assign a named individual, whether it is the property manager, facilities director, or a contracted roofing professional, to own each inspection. Document who performed it, when, and with what equipment.
"A schedule that lives in someone's head is not a schedule. Put inspection dates in your maintenance calendar, assign names, and treat it like a fire drill. Consistency is what insurers and warranty providers are looking for."
Pro Tip: Pair your inspection schedule with a formal roof maintenance plan so that minor issues identified during inspections are automatically routed into a repair workflow before they become major claims.
The complete commercial roof inspection checklist: Zones and elements
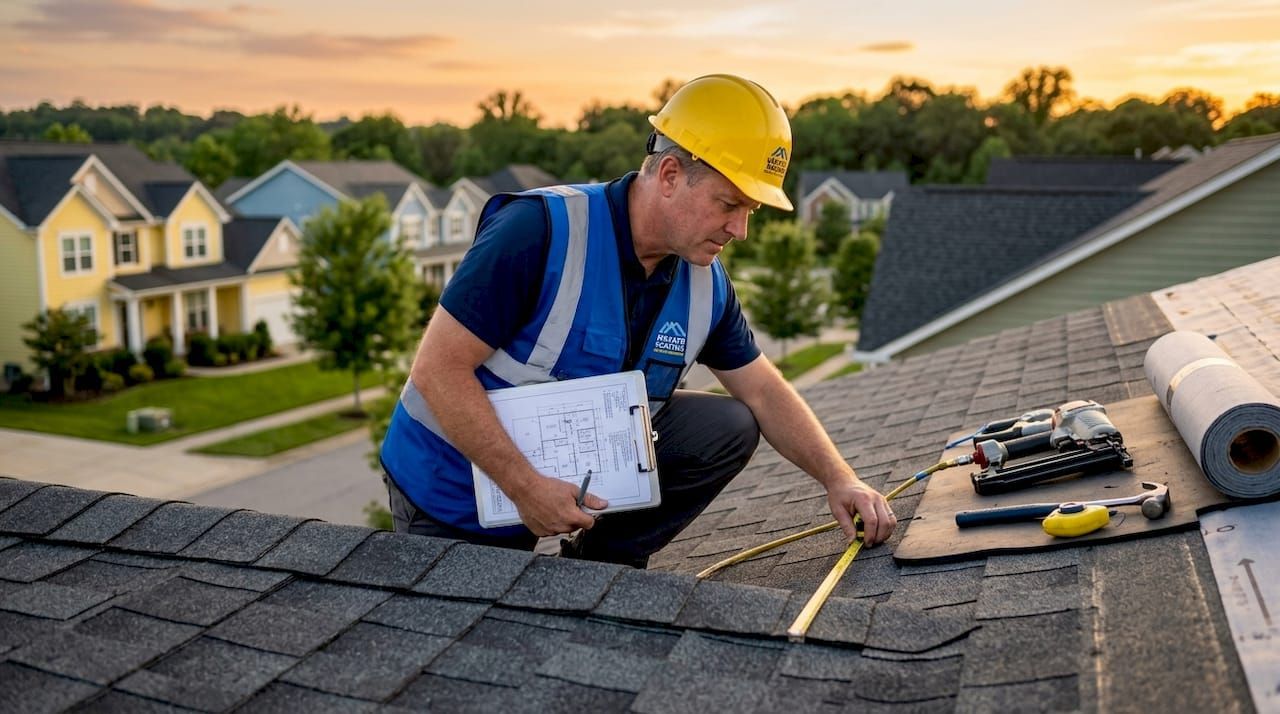
Once you have set your schedule, a zone-based approach ensures thorough coverage at every visit. Random walkthroughs miss things. A grid pattern or defined zone sequence does not.
Core inspection zones cover six critical areas, each requiring specific defect checks:
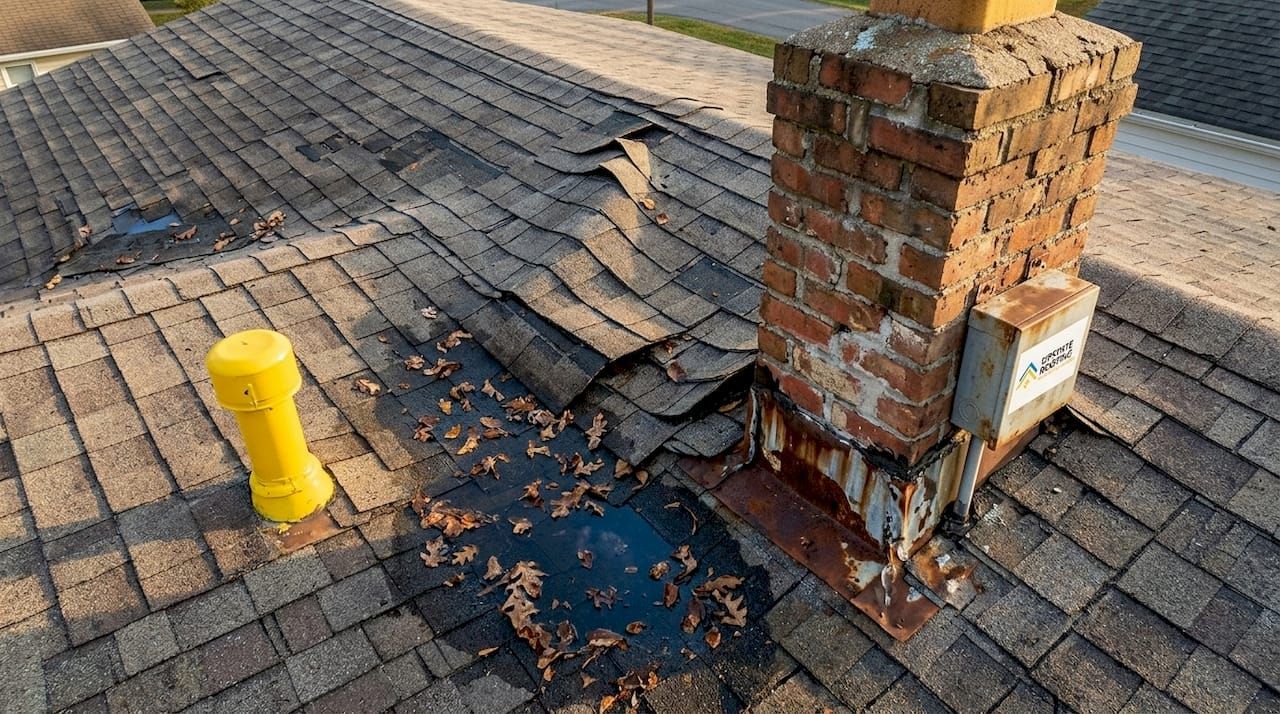
- Roof membrane and surface: Look for tears, splits, blisters, bubbling, shrinkage, surface erosion, and ponding water that remains 48 hours after rainfall. On TPO and EPDM systems, pay particular attention to seam integrity.
- Flashings and penetrations: Inspect all pipe boots, HVAC curb flashings, vent collars, and wall-to-roof transitions. Flashing failures are among the most common entry points for water.
- Drainage systems: Check all interior drains, scuppers, and gutters for blockage, corrosion, and proper pitch. Ponding water accelerates membrane degradation and adds structural load.
- Fasteners and attachments: On mechanically attached systems, look for visible fastener back-out, corrosion, or membrane displacement around attachment points.
- Edges and perimeter: Examine gravel stops, metal copings, and edge metal for looseness, corrosion, or separation. Wind damage often starts at the perimeter.
- Interior spaces below the roof: Look up at ceilings for water stains, mold growth, efflorescence (white mineral deposits), and soft spots in any exposed deck material.
- Structural deck (if accessible): On older buildings or after heavy load events, check the deck for corrosion, deflection, or rot depending on deck type.
The table below outlines each zone, the specific defects to target, and the severity indicators to watch for:
| Zone | What to look for | High severity indicators |
|---|---|---|
| Membrane/surface | Blisters, tears, ponding, shrinkage | Ponding over 48 hrs, large tears |
| Flashings/penetrations | Gaps, cracks, missing sealant | Lifted flashings, open seams |
| Drainage | Blockage, corrosion, poor pitch | Standing debris, slow drain |
| Fasteners | Back-out, corrosion, displacement | Rows of raised fasteners |
| Edges/perimeter | Loose coping, corrosion, separation | Wind-lifted edge metal |
| Interior/below roof | Stains, mold, soft ceilings | Active drips, dark mold colonies |
| Structural deck | Corrosion, deflection, rot | Soft or springy walking surface |
Recording each finding in a standardized inspection log is not optional. Every defect should be photographed from two angles: one close-up to show the condition, one wide angle to show the location on the roof. Number each finding sequentially and note GPS coordinates if your facility management software supports it.

Pro Tip: When reviewing defect checks on commercial roofs , separate cosmetic issues from functional ones. A surface chalk haze on TPO is cosmetic. An open flashing seam is functional and needs a work order within days, not weeks.
Advanced inspection tools and professional standards
To spot hidden issues and meet the highest standards, understanding the tools available and knowing when expert help is essential will save you from expensive surprises later.
Visual inspections catch surface-level problems well. But roofing materials can trap moisture for months before that moisture becomes visible from above or below. That is where advanced diagnostic tools earn their value.
Non-destructive moisture scanning using ASTM D7954 electrical impedance scanners can detect moisture saturation in insulation layers at concentrations above 0.5% without cutting into the roof. This matters because wet insulation loses its R-value (thermal resistance) and accelerates deck corrosion, but it may show no visible surface sign for a long time.
Infrared thermography is another powerful tool. During nighttime scans after a sunny day, wet insulation retains heat longer than dry insulation, creating a detectable thermal contrast. Infrared surveys can map moisture patterns across an entire roof plane in a single pass. They are particularly useful for large low-slope commercial roofs where manual probing would take days.
Core sampling provides a definitive answer when scanning results are ambiguous. A small circular plug is removed from the roof system, and the layers are physically examined and weighed wet versus dry to calculate moisture content. Each core sample is then patched.
The table below shows where owner-manager checks end and professional inspection begins:
| Inspection type | Who performs it | Tools required | Best used when |
|---|---|---|---|
| Visual debris and surface check | Owner or manager | Camera, binoculars | Monthly or after storms |
| Drainage and penetration check | Owner or manager | Camera, flashlight | Semi-annual inspections |
| Moisture scanning | Certified professional | Impedance scanner | Suspected wet insulation |
| Infrared thermography | Certified professional | Thermal camera | Large roof areas, post-storm |
| Core sampling | Certified professional | Core cutter, lab scale | Confirming wet areas |
| Full written inspection report | Certified professional | All above + report software | Insurance, warranty, sale |
Pro Tip: Schedule your professional roof inspection in late afternoon when the roof surface has had time to heat up. Infrared scans performed after sunset on a recently sun-warmed roof produce the clearest moisture contrast results.
Distinguishing between maintenance tasks and repair needs is a key skill for facility managers. Clearing a blocked drain is maintenance. Resealing a pulled flashing is a minor repair. Replacing a section of membrane with active moisture infiltration is a major repair requiring documented scope and professional execution.
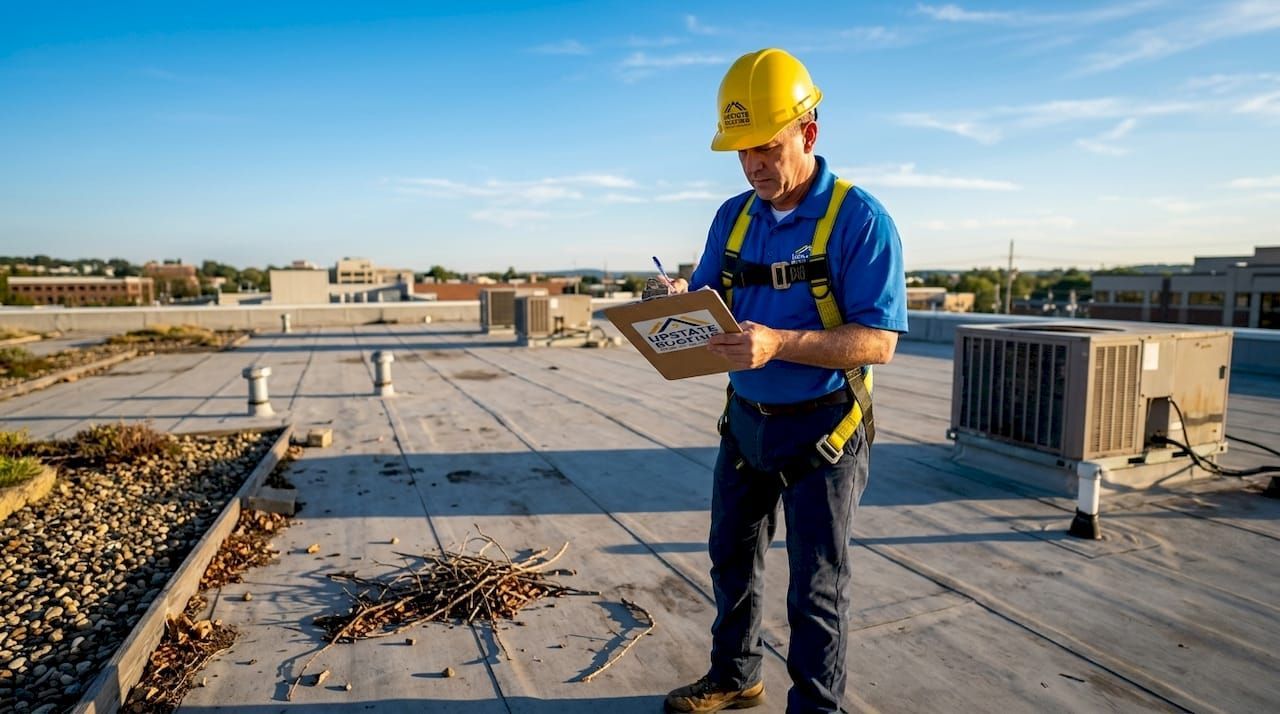
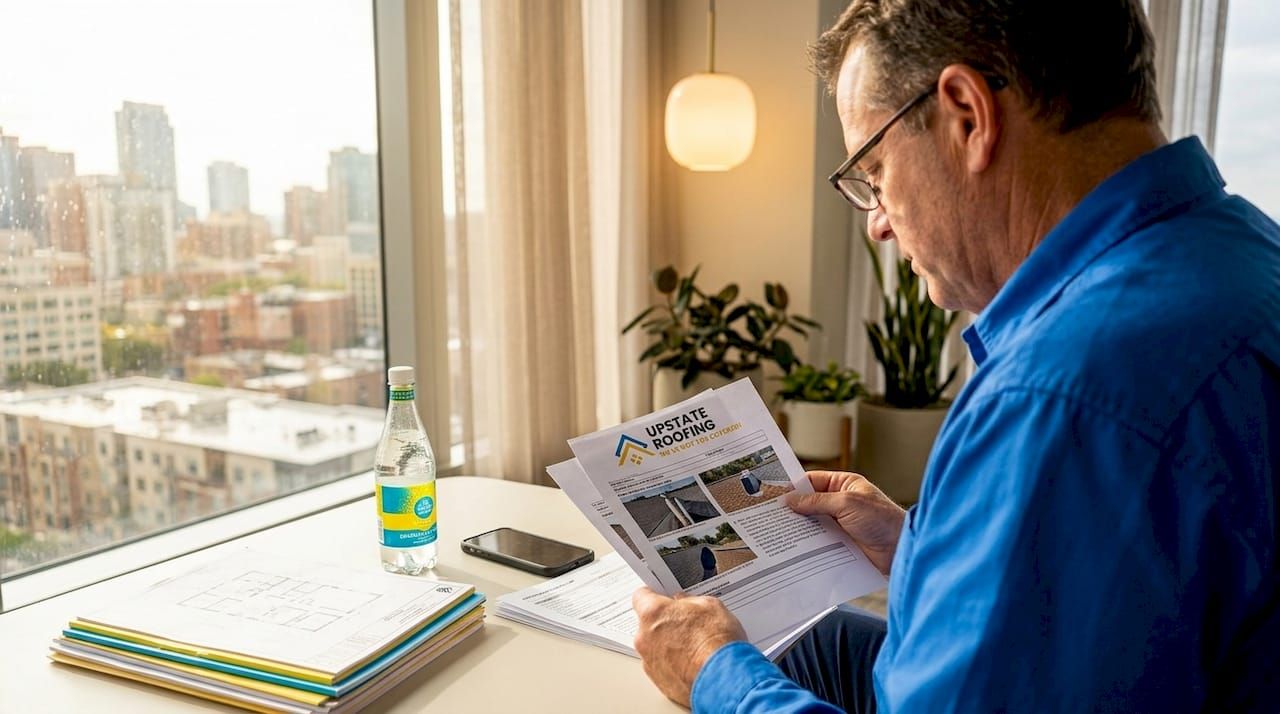
Documentation, insurance compliance, and inspection reporting
Even a perfect inspection means little without records. Here is how to document findings properly and why it matters for your bottom line.
The documentation standards required by most insurers and roofing warranty providers are more specific than many property owners realize. A note in a maintenance log is not the same as a compliant inspection report. Here is what a usable, compliance-grade inspection record must include:
- Date, inspector name, and credentials: Establish who performed the inspection and whether they are qualified for the scope.
- Photographic evidence with location references: Every defect photographed, labeled with location, and timestamped.
- Defect severity ratings: Classify each finding as immediate (requires action within 30 days), near-term (within 90 days), or monitor (watch at next inspection).
- Estimated remaining roof life: Based on membrane age, condition score, and installation records, provide a realistic service life estimate for budgeting and insurance purposes.
- Digital storage and access: Store all reports in a centralized, cloud-accessible system so that you can produce them on demand during an insurance audit or warranty claim.
"Insurers are not looking for a perfect roof. They are looking for a managed roof. A well-documented history of consistent inspections and responsive repairs tells an underwriter that this property owner takes their asset seriously."
The financial stakes of poor documentation are significant. 81% of insured commercial roof failures involve roofs with no documented inspections in the prior 24 months. Insurers are increasingly denying or reducing claims when proper documentation cannot be produced, even when the underlying damage is clearly covered under the policy. Your inspection records are not just a facilities management tool. They are a legal and financial asset.
A key note on warranty compliance: Most commercial roofing warranties, including those from major membrane manufacturers, include a clause requiring regular professional inspections. Missing even one documented inspection cycle can give a manufacturer grounds to void a warranty that otherwise has years of coverage remaining.
Invest in roof warranty documentation practices from day one of a new roof installation. Create a file that includes the inspection schedule, all completed reports, all repair records, and all maintenance invoices. Treat it the same way you would treat a major equipment service history file.
Why most checklists fail: The overlooked keys to roof longevity
With the technical list complete, let us examine what genuinely separates effective inspection programs from the ones that give facility managers false confidence.
After working through dozens of commercial inspection cycles, one thing becomes clear: most checklists fail not because they miss a zone or skip a question. They fail because of three overlooked issues that no standard checklist template addresses.
First, inspector credential gaps. A checklist handed to a maintenance tech who has never walked a commercial low-slope roof will produce a completed document that reflects very little of the actual roof condition. Credential and experience level determine what gets noticed and what gets missed. Hidden flashing failures, substrate deflection, and early membrane fatigue are simply invisible to an untrained eye, no matter how detailed the checklist.
Second, water entry from non-obvious locations. Water that enters through a parapet wall cap, travels laterally through insulation, and exits 30 feet away through a ceiling tile is almost impossible to trace without systematic zone mapping and moisture scanning. Standard checklists typically focus on vertical penetrations and visible surface damage, missing the horizontal migration paths entirely. This is why moisture scanning by a certified professional is not an upgrade. It is a necessity on any roof more than seven years old.
Third, record fragmentation. The inspection report from three years ago is in a folder on a retired manager's desktop. The repair invoice from last fall is in accounting. The warranty certificate is with the general contractor from the original build. When an insurance event happens, nobody can find the full picture quickly enough. Fragmented records cost buildings real money in contested claims. Centralized digital storage solves this completely, and it takes less time to set up than most managers expect.
The most effective inspection programs we have seen share three traits: they are performed by qualified people at consistent intervals, they use scanning technology to find hidden moisture, and they maintain a single accessible record system. The ROI of roof inspection expertise applied consistently is measurable in avoided claims, extended roof life, and stronger negotiating positions during insurance renewals.
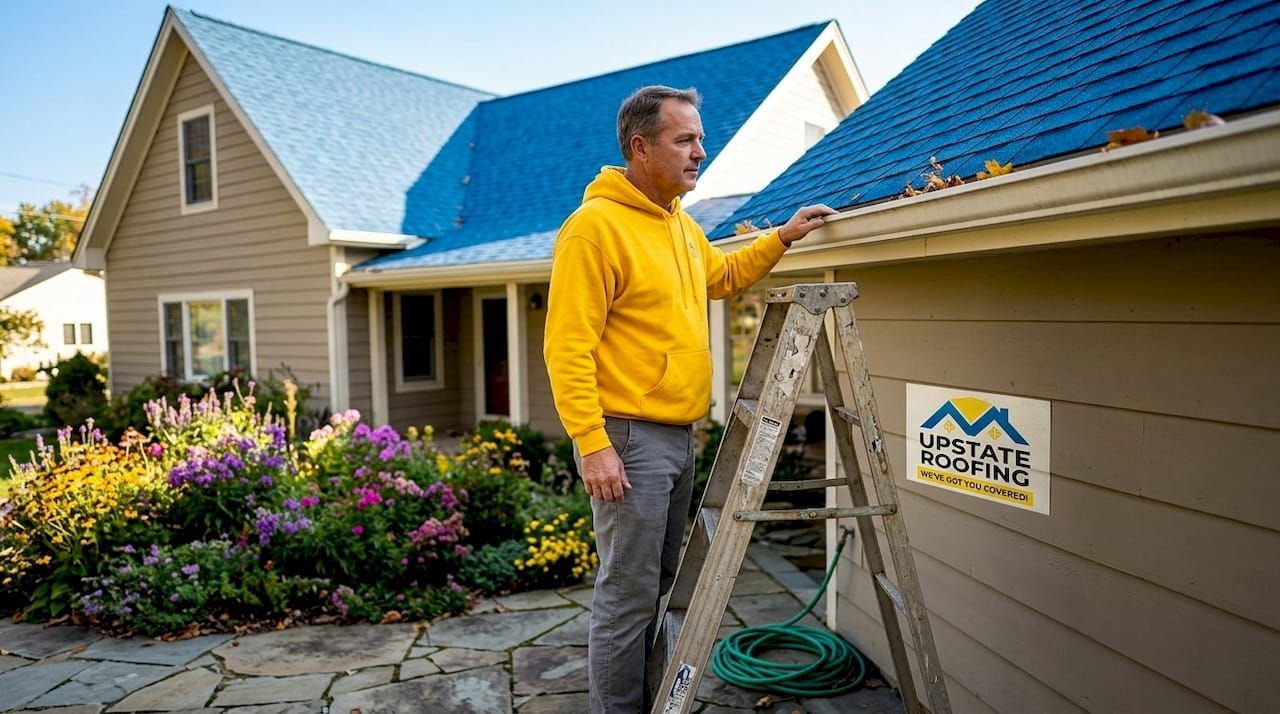
Get peace of mind with a proven roof inspection partner
Ready to put your commercial roof checklist into practice? Translating a detailed inspection protocol into consistent, documented action requires the right partner, not just a good template.
At Upstate Roofing, our fully licensed team brings advanced tools and deep commercial experience to every inspection we perform. We provide photo-documented, compliance-grade reports that meet insurer and warranty requirements, and we flag defects with clear severity ratings so you always know what needs attention now versus later. Whether you need a single professional assessment or ongoing roof maintenance plans tailored to your property, we deliver the documentation and expertise that protect your asset year after year. Book a roof inspection today and get a clear picture of your roof's condition with a written report you can actually use.
Frequently asked questions
What specific areas should be checked during a commercial roof inspection?
You should inspect the membrane, flashings, penetrations, drainage, fasteners, edges, interior spaces below the roof, and the structural deck if accessible. Each zone has specific defects to look for, ranging from ponding and blisters on the membrane to stains and mold in interior ceiling spaces.
How often do insurance companies require commercial roof inspections?
Most insurers now require at least semi-annual photo-documented inspections as a condition of coverage, and some require formal professional reports at each cycle. Gaps in documentation are a leading reason insurers reduce or deny commercial roof claims.
Can building owners perform their own roof inspections?
Owners and managers can conduct visual checks and clear debris, but any inspection that produces a report for insurance or warranty purposes requires certified professionals. Advanced moisture scanning, infrared thermography, and core sampling are beyond the scope of self-performed checks.
What are common signs of hidden roof issues?
Watch for water stains, mold, and efflorescence inside the building, and look for surface blisters and ponding on the membrane, which often indicate moisture trapped in the insulation below. These signs frequently appear far from the actual water entry point.
How should inspection findings be documented?
Take multiple dated and location-referenced photos, rate each defect by severity and urgency, include an estimated remaining roof life, and store all records in a centralized digital system that can be retrieved immediately during an insurance audit or warranty review.
Recommended
Recent Posts