Commercial roof coating: a step-by-step guide for property managers
Commercial roof coating: a step-by-step guide for property managers
A leaking commercial roof doesn't just damage inventory or disrupt tenants. It triggers emergency repair calls, insurance headaches, and accelerated structural deterioration that compounds every season you delay. Roof coating is one of the most cost-effective tools available to property managers and building owners, offering a way to extend roof life by 10 to 20 years while cutting cooling costs by 10 to 30% with reflective formulas. This guide walks you through every stage of the process, from initial assessment and coating selection through application, quality control, and long-term maintenance, so you can protect your asset with confidence.
Key Takeaways
| Point | Details |
|---|---|
| Preparation is critical | Thorough roof evaluation and moisture testing are essential before applying any coating. |
| Right coating, right roof | Select silicone for flat or ponding roofs and acrylic for drained or sloped surfaces. |
| Stepwise application matters | Following best practices and proper techniques results in longer-lasting, higher-performing coatings. |
| Common failures are preventable | Addressing surface prep, climate conditions, and coating thickness prevents most issues. |
| Professional support adds value | Expert roofing services can help maximize lifespan and ROI of commercial roof coatings. |
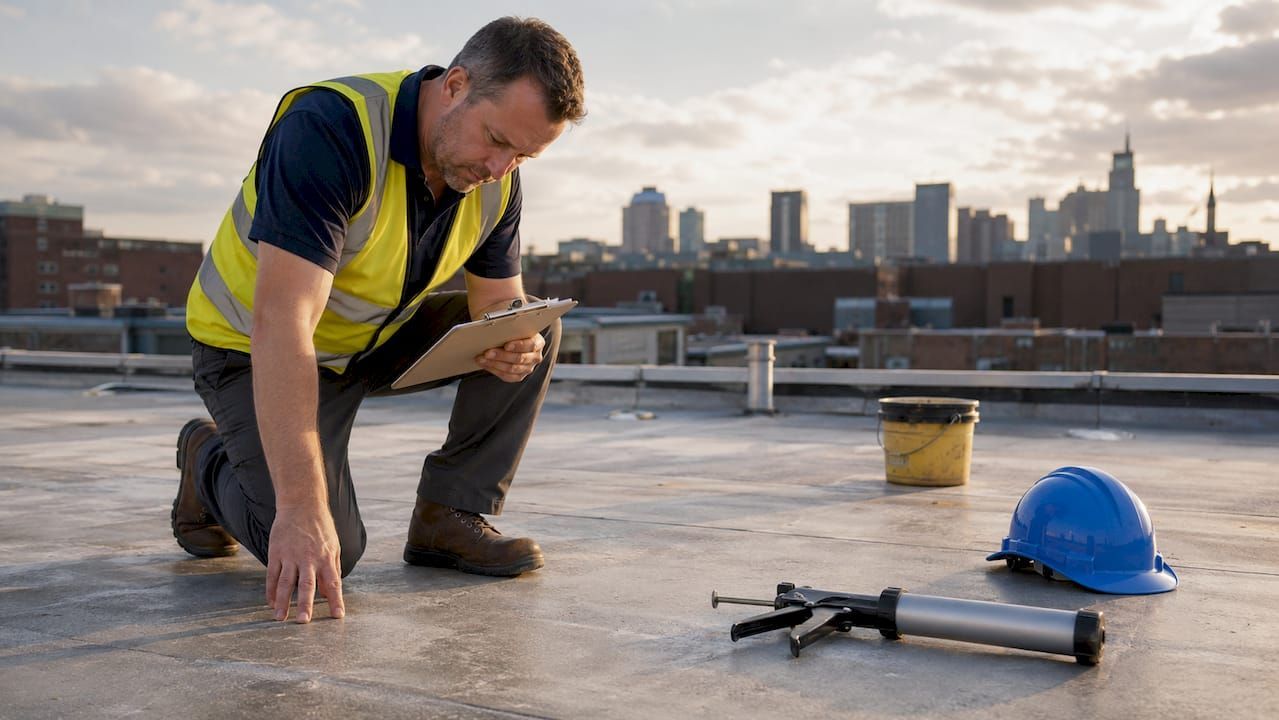
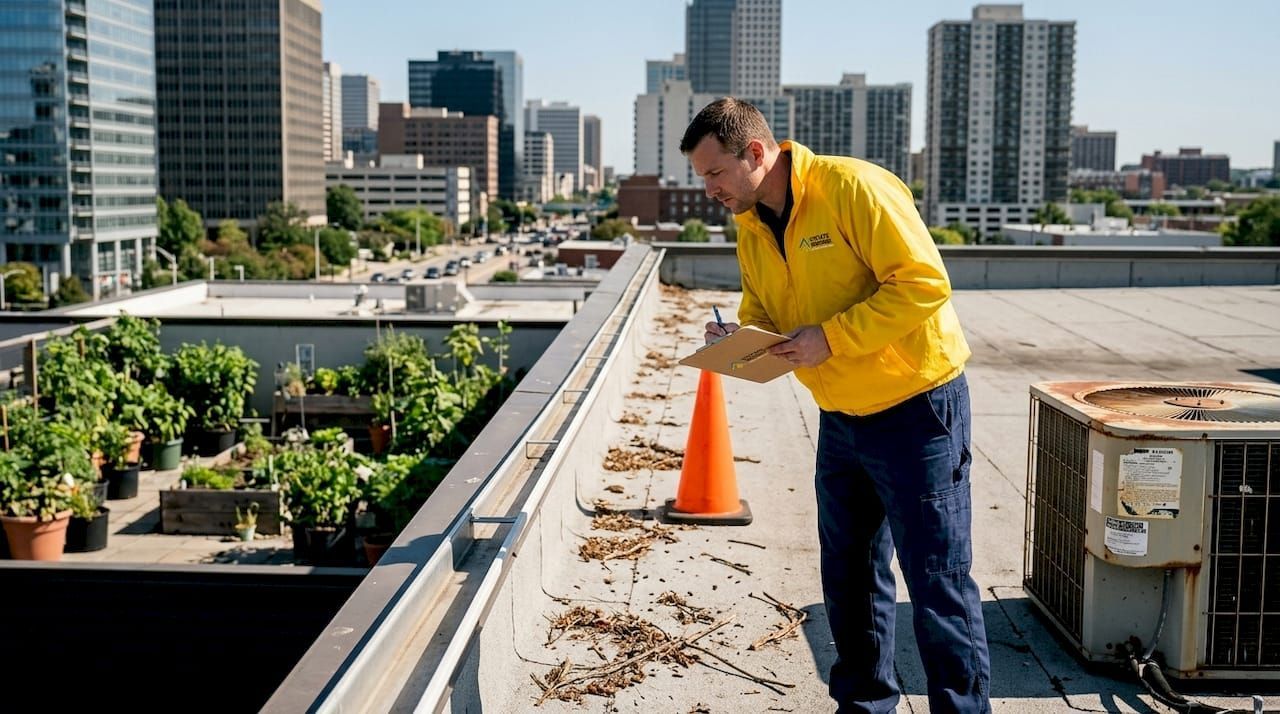
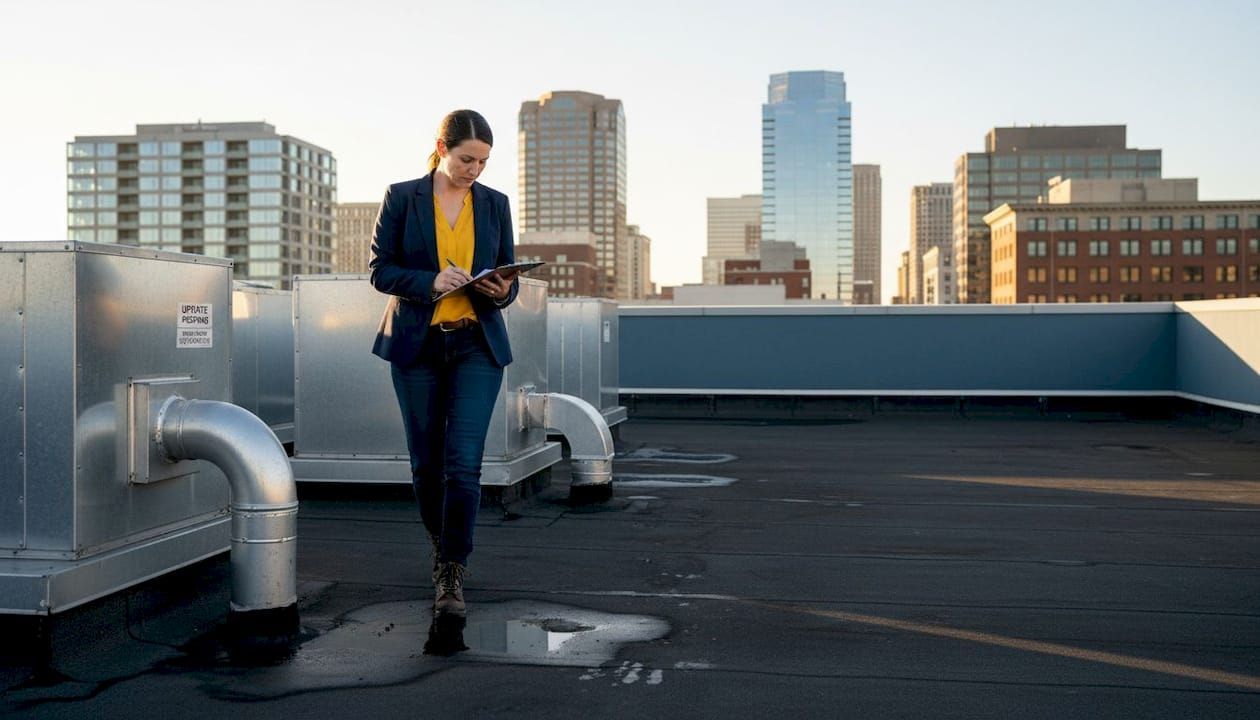
Assessing your commercial roof: prerequisites before application
To ensure you get lasting results, preparation is everything. Let's start with what you must check before any application.
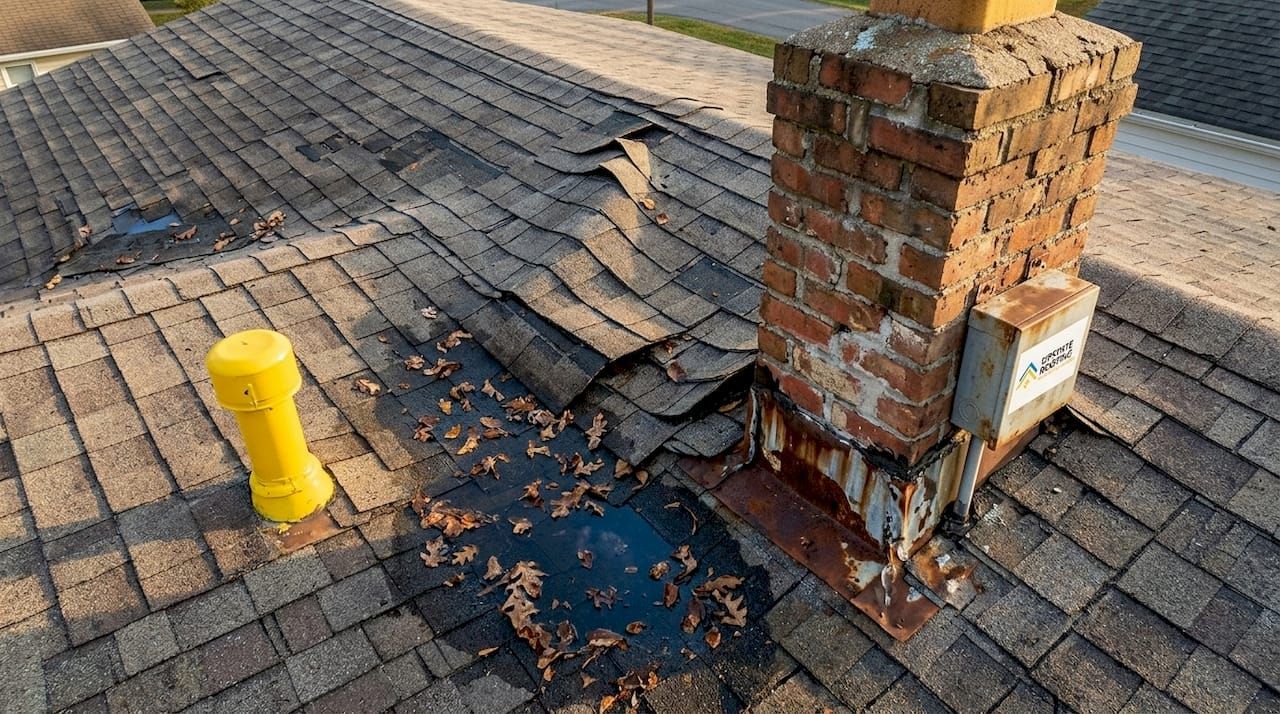
Skipping a thorough roof evaluation is the single fastest way to waste your coating budget. A coating applied over hidden moisture, compromised decking, or an incompatible substrate will fail within months, not years. Your first step is always a systematic inspection that covers three core areas: moisture content, structural integrity, and substrate compatibility.
Moisture and damage thresholds
The NRCA guidelines for roof coating applicators cover substrate evaluation, preparation, and material selection across single-ply, built-up roofing (BUR), spray polyurethane foam (SPF), and metal systems. These guidelines exist because substrate type directly controls which coating will bond correctly and which will delaminate.
When evaluating moisture, the threshold that matters most is 25%. According to roof coating standards for commercial buildings , you should not proceed with coating if more than 25% of the roof area is wet, more than 25% of the membrane is damaged, the substrate is incompatible with available coatings, or structural issues like deck deflection are present. In those cases, replacement is the smarter financial decision, not coating.
Key criteria to evaluate before proceeding:
- Wet insulation coverage: infrared scans or nuclear moisture meters confirm wet areas
- Membrane condition: look for blistering, splitting, open seams, and punctures
- Deck deflection: any visible flex under foot traffic signals structural compromise
- Surface contamination: grease, algae, oxidation, and loose aggregate must be removed before coating
- Drainage patterns: standing water zones need correction before application
"A coating is only as good as the surface beneath it. Coating over a compromised substrate is like painting over rust. It looks fine for a season, then fails faster than if you had done nothing."
Pro Tip: Schedule a professional moisture survey using infrared thermography after a sunny day followed by a clear night. Temperature differentials reveal wet insulation that visual inspection misses entirely.
Your maintenance planning should include documented inspection records so you know exactly when conditions cross the threshold from "coat it" to "replace it." Routine roof inspections at least twice a year give you the data history to make that call with confidence rather than guesswork.
Choosing the right roof coating: types, costs, and performance
Once you know your roof is a good candidate, it's time to select the most effective coating for your needs.
Not all coatings perform the same way on all roofs. Choosing based on price alone is a common mistake that leads to premature failure. The three primary coating types each have distinct strengths, and matching them to your building's conditions is what determines long-term ROI.
Coating type comparison
| Coating type | Best application | Ponding resistance | Avg. cost per sq. ft. | Expected lifespan |
|---|---|---|---|---|
| Acrylic | Sloped/drained roofs | Poor | $0.15 to $0.75 | 10 to 15 years |
| Silicone | Flat roofs, high UV zones | Excellent | $0.50 to $1.25 | 20+ years |
| Polyurethane | High-traffic, impact-prone | Good | $0.75 to $1.50 | 15 to 20 years |
According to roof coating type performance data , silicone excels in ponding water and UV resistance and can last over 20 years, acrylic is cost-effective with high reflectivity but performs poorly in standing water, and polyurethane offers strong durability and impact resistance at a higher price point.
Matching coating to building type
Flat roofs with poor drainage are silicone's territory. Silicone does not absorb water, does not degrade under prolonged UV exposure, and maintains its flexibility across wide temperature swings. For a warehouse or big-box retail building with a large, low-slope membrane roof, silicone is almost always the right call.
Acrylic coatings shine on sloped roofs with adequate drainage, particularly metal buildings and BUR systems where reflectivity is the primary goal. They are water-based, easy to apply, and environmentally friendly, but they will fail quickly if water pools on the surface for extended periods.
Polyurethane coatings are the right choice when foot traffic is a regular factor, such as rooftop mechanical equipment access, restaurant HVAC service areas, or any roof where workers walk frequently. Their impact resistance and tensile strength handle physical wear that would crack or peel other coatings.
Additional performance considerations:
- ASTM ratings : Look for coatings meeting ASTM D6083 (acrylic), ASTM C1184 (silicone), or ASTM C836 (polyurethane) standards
- Reflectivity (SRI) : Higher Solar Reflectance Index values mean lower surface temperatures and better energy savings
- VOC content : Low-VOC formulas are required in many jurisdictions and easier to apply safely
Pro Tip: Request a sample data sheet from your coating supplier and compare the minimum dry film thickness (DFT) required for warranty coverage. Some products require 20 mils, others 30. Applying below spec voids the warranty regardless of how well the rest of the job goes.
Investing in commercial roofing that includes the right coating for your climate and roof type pays back through reduced HVAC loads. Pair that with energy efficiency upgrades and you have a building envelope that works for you year-round.
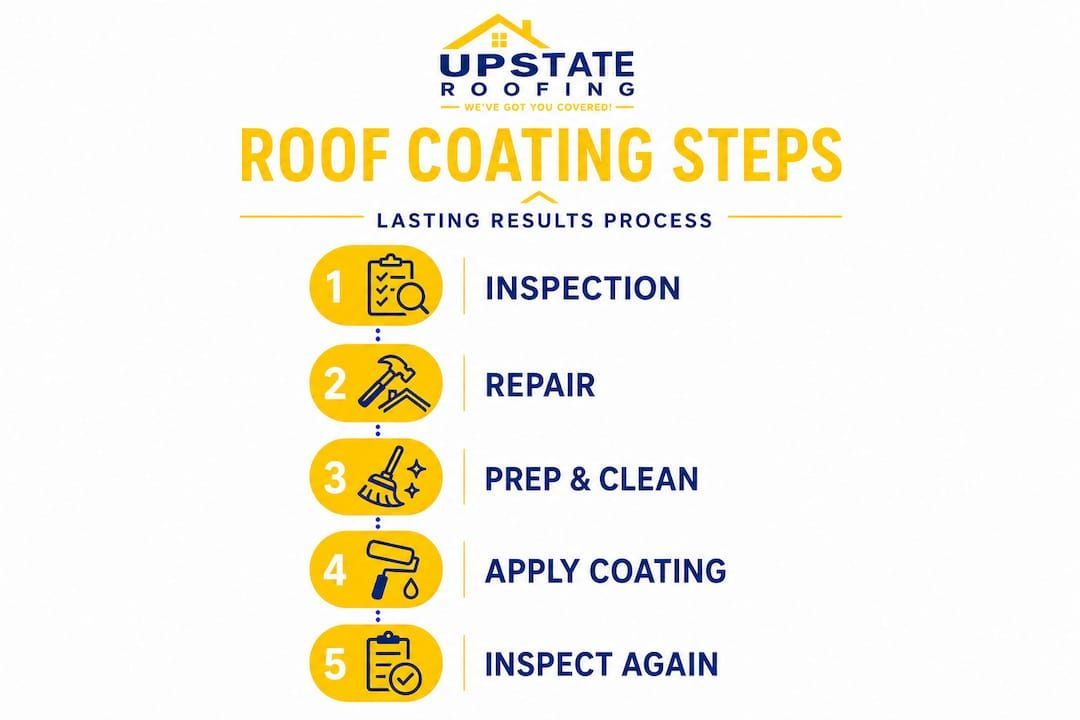
Step-by-step application process: best practices for lasting results
Armed with your chosen coating, you're ready for application. Here's how to do it right.
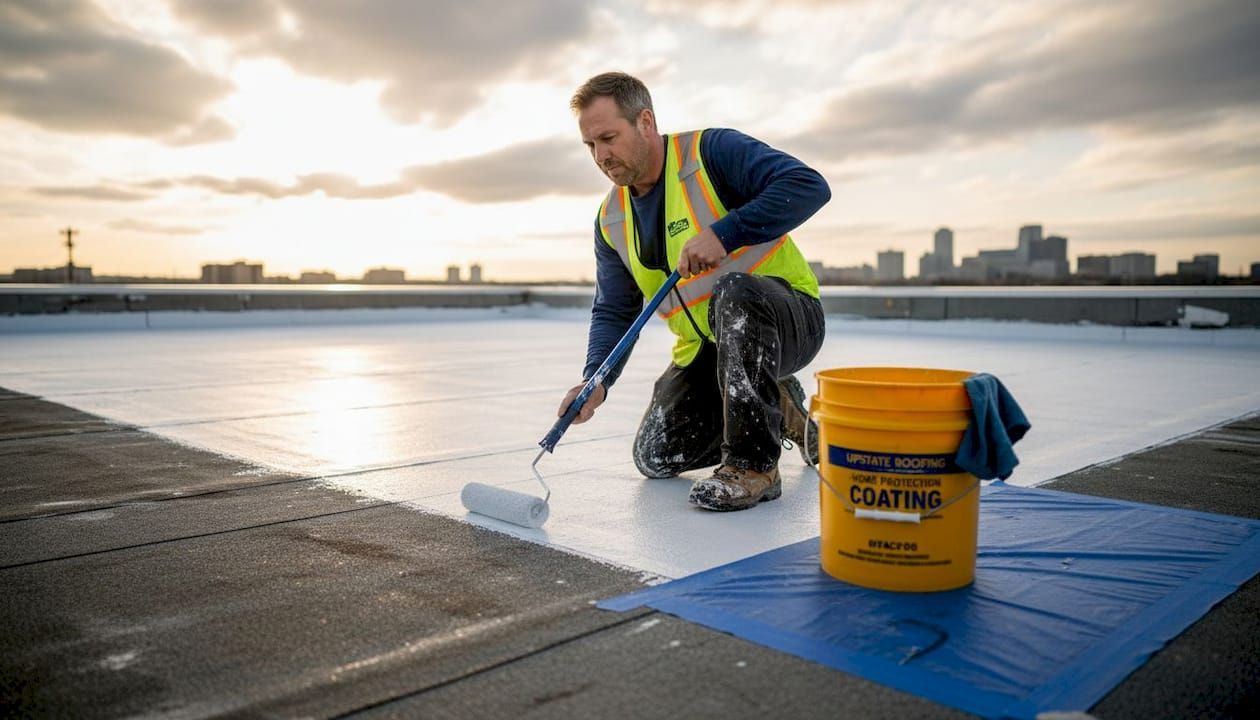
Commercial roof coatings are applied using three primary methods : spray, roll, and brush. Each has specific use cases, and most professional jobs use a combination depending on the roof's geometry and surface conditions.
Application sequence
- Clear and clean the surface : Remove all debris, dirt, algae, and loose material. Pressure wash at 2,500 to 3,500 PSI. Allow the surface to dry completely, typically 24 to 48 hours depending on humidity.
- Repair all defects : Seal open seams with reinforcing fabric and compatible sealant. Replace damaged membrane sections. Patch cracks and penetrations before any coating goes down.
- Apply primer if required : Metal roofs and some single-ply membranes need a bonding primer. Check your coating manufacturer's specifications. Allow primer to cure fully before the next step.
- Apply base coat : Use spray application for large, open areas (airless sprayer at 2,000 to 3,000 PSI, 0.027 to 0.035 tip). Use a 3/4-inch nap roller for edges, penetrations, and confined spaces. Apply at the manufacturer's specified coverage rate, typically 1.0 to 1.5 gallons per 100 square feet per coat.
- Embed reinforcing fabric at seams and penetrations : While the base coat is still wet, press polyester fabric into seams, drains, and pipe boots. This step is non-negotiable for long-term waterproofing.
- Apply finish coat(s) : Apply one or two additional coats to reach the required DFT. Allow each coat to dry to touch (typically 2 to 4 hours) before the next application.
- Final inspection : Check DFT with a wet film thickness gauge during application and a dry film thickness gauge after curing. Verify coverage at all seams, edges, and penetrations.
Application method reference
| Method | Best for | Equipment needed | Coverage rate |
|---|---|---|---|
| Airless spray | Large open areas | Sprayer, 0.027 to 0.035 tip | 100 to 150 sq. ft./min |
| Roller | Edges, penetrations | 3/4-inch nap roller, extension pole | 50 to 75 sq. ft./min |
| Brush | Detail work, seams | 4 to 6-inch brush | 20 to 30 sq. ft./min |
"Temperature and humidity are not suggestions. Apply coatings only when surface temperature is between 50°F and 90°F, relative humidity is below 85%, and no rain is forecast for at least 24 hours."
Pro Tip: Always apply coatings in two thinner passes rather than one thick pass. A single heavy application traps solvents and creates bubbling, while two passes build a uniform, fully cured film that bonds correctly to the substrate.
Any repairs needed before coating should be handled by a qualified contractor. Our professional roof repair team identifies and resolves substrate issues before they become coating failures.
Avoiding common mistakes and ensuring quality
Even the best-applied coating can fail if you overlook these frequent mistakes and quality checks.
The gap between a coating that lasts 15 years and one that fails in 18 months almost always comes down to preparation and application discipline. Common coating failures include poor surface preparation, adhesion failures, application during wrong temperature or humidity conditions, applying too thin a film, using ponding-intolerant coatings on flat roofs, and blistering caused by trapped moisture.
Mistakes that routinely sabotage coating projects:
- Coating over damp or wet substrate: moisture trapped under the coating creates blisters that expand and rupture
- Ignoring adhesion testing: a simple pull-off adhesion test before full application reveals bonding problems before they become expensive
- Applying in direct sunlight on hot days: surface temperatures above 90°F cause the coating to skin over before it bonds properly
- Skipping seam reinforcement: unsealed seams are the most common entry point for water infiltration on coated roofs
- Using a single coat when two are specified: under-thickness application voids warranties and reduces lifespan by 40 to 60%
- Neglecting drains and penetrations: these areas carry the highest water load and need extra attention, not less
"Most coating failures we investigate trace back to the first two hours of the job, not the coating itself. Surface prep and the first coat are where the project succeeds or fails."
Quality checkpoints to build into every project:
After the job is complete, establish a routine inspection schedule. Walk the roof every six months and look for bubbling, peeling edges, cracking at seams, and debris accumulation at drains. Address small issues immediately. A 10-minute repair in year two prevents a full recoat in year five.
Document your ongoing inspection records carefully. Most coating manufacturers require proof of regular inspections to honor warranty claims. Without that documentation, you are on your own financially when a defect appears. Review our successful commercial coatings portfolio to see what a properly executed project looks like from start to finish.
What most property managers overlook about roof coatings
Here is the honest reality after years of working on commercial roofs: most coating projects that underperform do so not because the product failed, but because the decision-making process was rushed.
Property managers often treat roof coating as a quick fix applied when a leak shows up or a budget surplus appears. That reactive mindset is expensive. A coating applied to a roof that needed 15% of its membrane replaced first will fail at those unrepaired areas within two to three seasons, requiring a full redo at full cost.
The second thing that gets overlooked is the financial structure of roof coatings. In many cases, a coating qualifies as a maintenance expense rather than a capital improvement, meaning it may be fully deductible in the year it is applied rather than depreciated over decades. That distinction can materially change the after-tax cost of the project. Your accountant should weigh in before you decide between coating and replacement.
The third overlooked factor is climate specificity. A silicone coating that performs brilliantly on a flat roof in a humid southeastern climate may not be the right call for a steep-slope metal roof in a freeze-thaw zone where thermal cycling is the primary stress. The best ROI comes from a coating strategy built around your specific building's use, your local climate patterns, and your long-term property goals, not from a generic product recommendation.
Finally, the value of proactive commercial roofing extends beyond the roof itself. A well-maintained, properly coated roof protects HVAC equipment, preserves insulation R-values, and keeps tenant spaces dry. Those downstream benefits add up to far more than the coating cost over a 10-year horizon.
Get expert help for your next commercial roof coating project
If you'd rather leave the roof to the pros or need ongoing assurance, here's how to get started.
Navigating coating selection, substrate evaluation, and application logistics takes time and technical knowledge that most property management teams don't have on staff. Mistakes at any stage cost significantly more to fix than they would have cost to prevent.
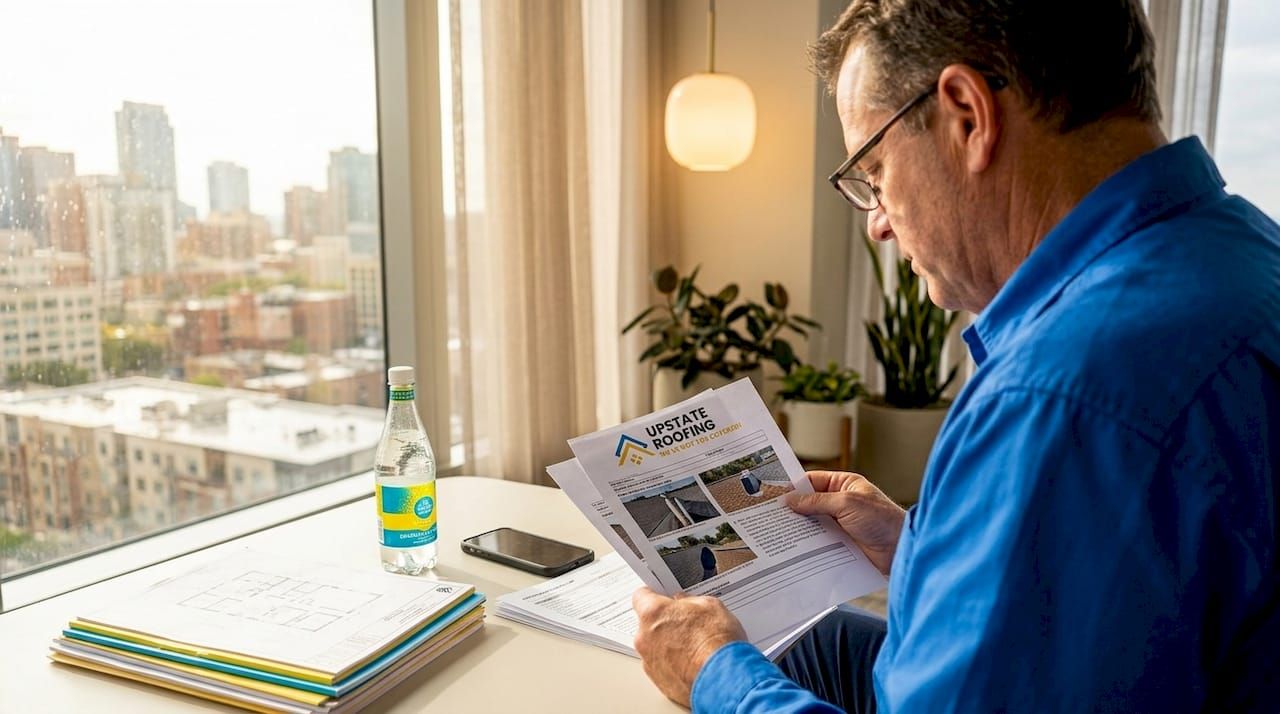
At Upstate Roofing , our licensed commercial roofing professionals handle every phase of your coating project, from moisture surveys and substrate repairs through application and post-job documentation. We build roof maintenance plans that keep your warranty active and your roof performing year after year. When issues arise between scheduled visits, our professional roof repair team responds quickly so small problems don't become large ones. Contact us today to schedule your commercial roof assessment and get a clear, detailed plan for protecting your property.
Frequently asked questions
How long does a commercial roof coating last?
A professionally applied commercial roof coating can last 10 to 20 years, with each application potentially adding 5 to 6 years of service life depending on the coating type and maintenance history.
What is the best coating for a flat roof with ponding water?
Silicone coatings are the recommended choice for flat roofs prone to ponding because of their superior water and UV resistance and ability to maintain performance for 20 or more years.
Can any roof be coated, or are there disqualifying conditions?
You should not coat roofs with over 25% wet insulation, more than 25% membrane damage, incompatible substrates, or structural problems. In those cases, replacement is the recommended path forward.
What are the biggest mistakes to avoid in commercial roof coating application?
The most common mistakes are poor surface preparation, coating during adverse weather, applying too thin a film, and using the wrong coating type for the roof's drainage conditions, all of which are documented failure modes in commercial coating projects.
Do commercial roof coatings help lower energy costs?
Yes, reflective roof coatings can reduce a roof's surface temperature by 50 to 60°F and cut cooling costs by 10 to 30%, making them one of the most cost-effective energy upgrades available for commercial buildings.
Recommended
Recent Posts